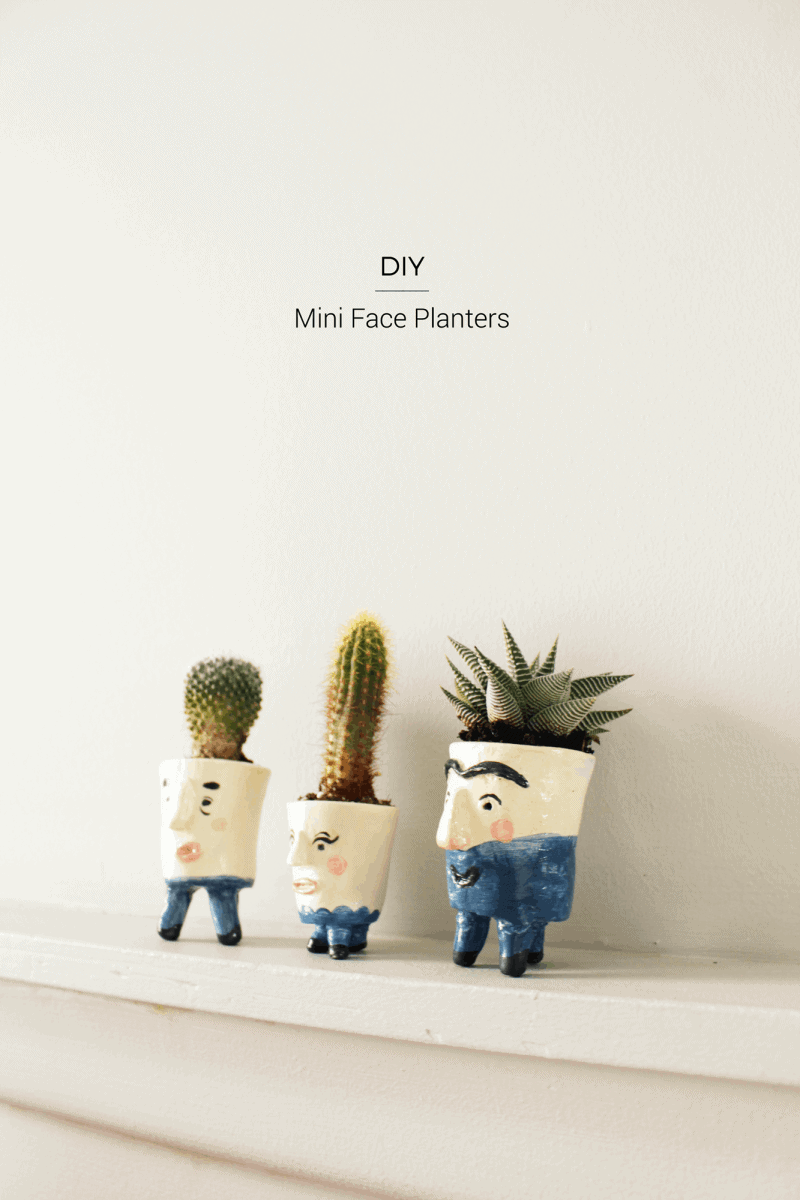
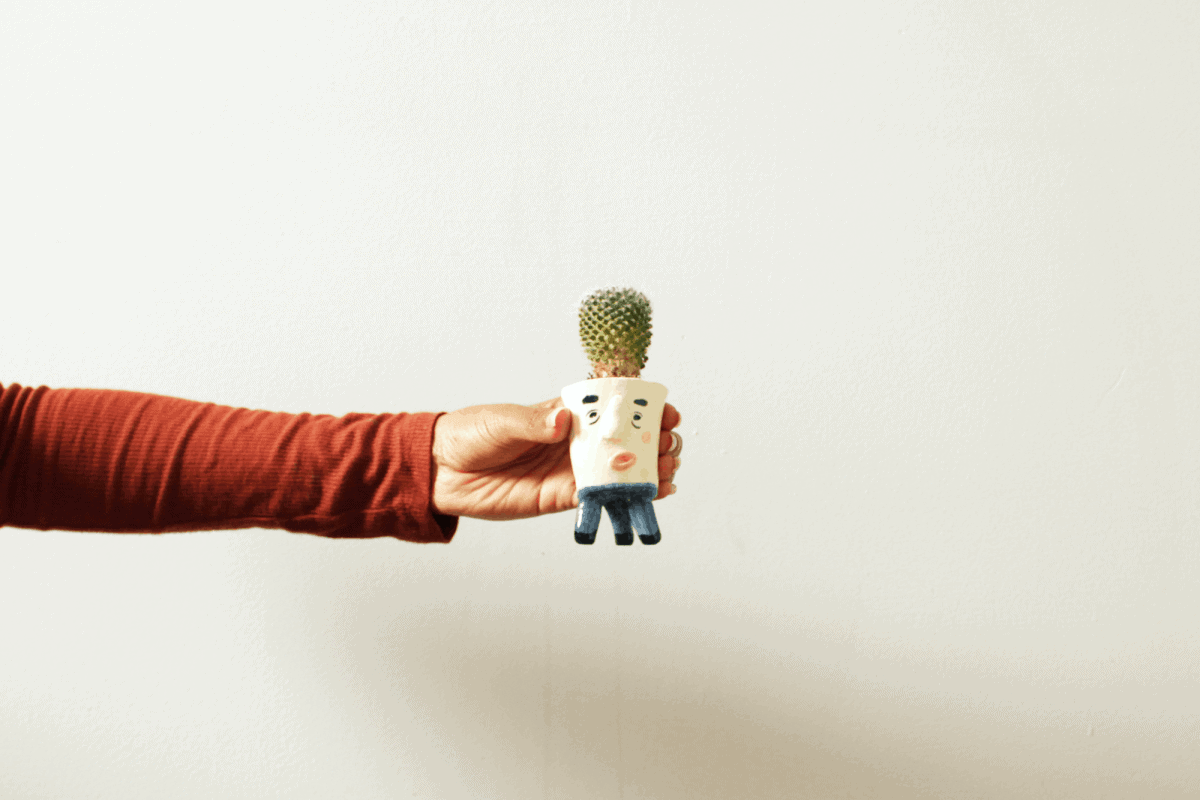
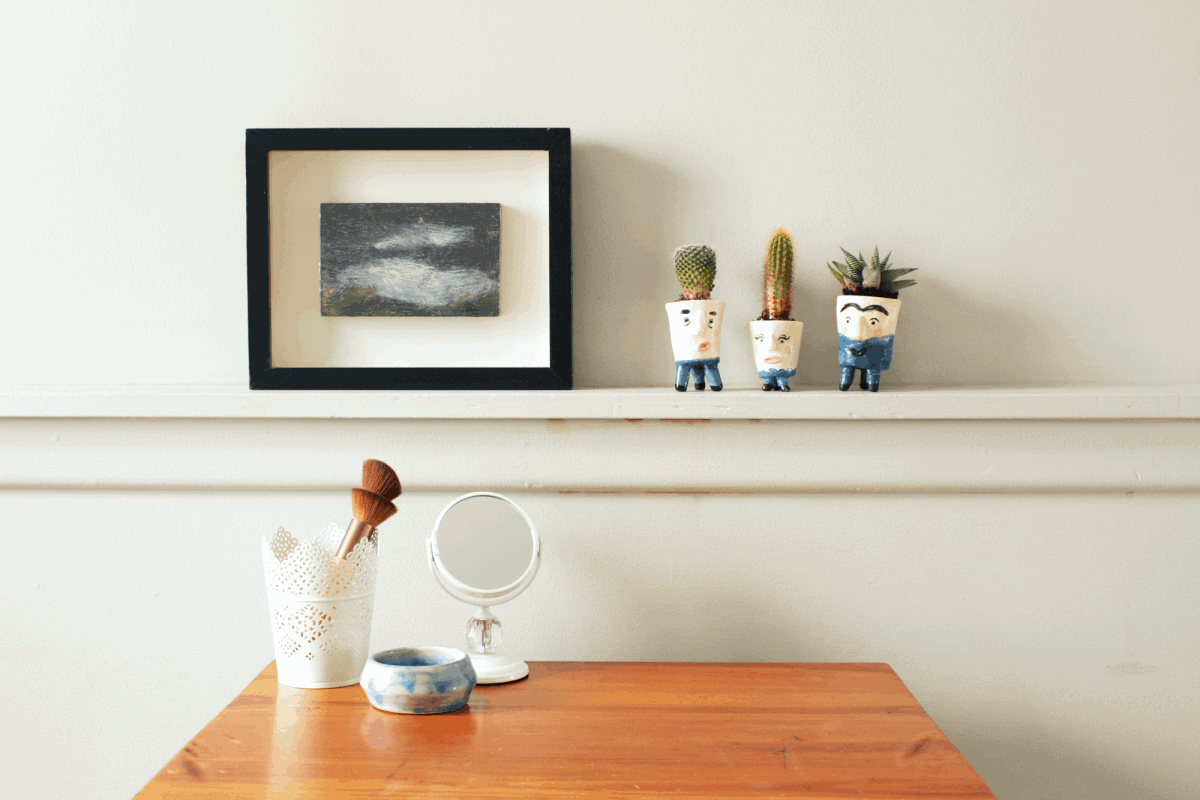
 I can’t tell you how hard it was to name this DIY project but there it is, DIY Mini Face Planters! I was trying very hard to stay away from names like Pot Heads or Pot People but these guys are charming little people. They’re plants with personality!
While I was shopping recently, I picked up a few tiny plants including tiny adorable cacti! I have a confession to make. I know the cactus is having a moment right now but I’m kinda afraid of big giant cacti with their prickly needles. Anyone else? Somehow my love of mini things overrode my fear of cacti so I bought a few but they came in horrible plastic pots. So I added buy tiny terracotta pots on my to-do list and then later realized like a dummy duh, I can make my own planters. Enter Sculpey, a.k.a oven-bake clay, which is really perfect for experimenting on small fun projects like this one (or working with kids) so if you’ve never tried it, you should get some so you can make more fun things with me.
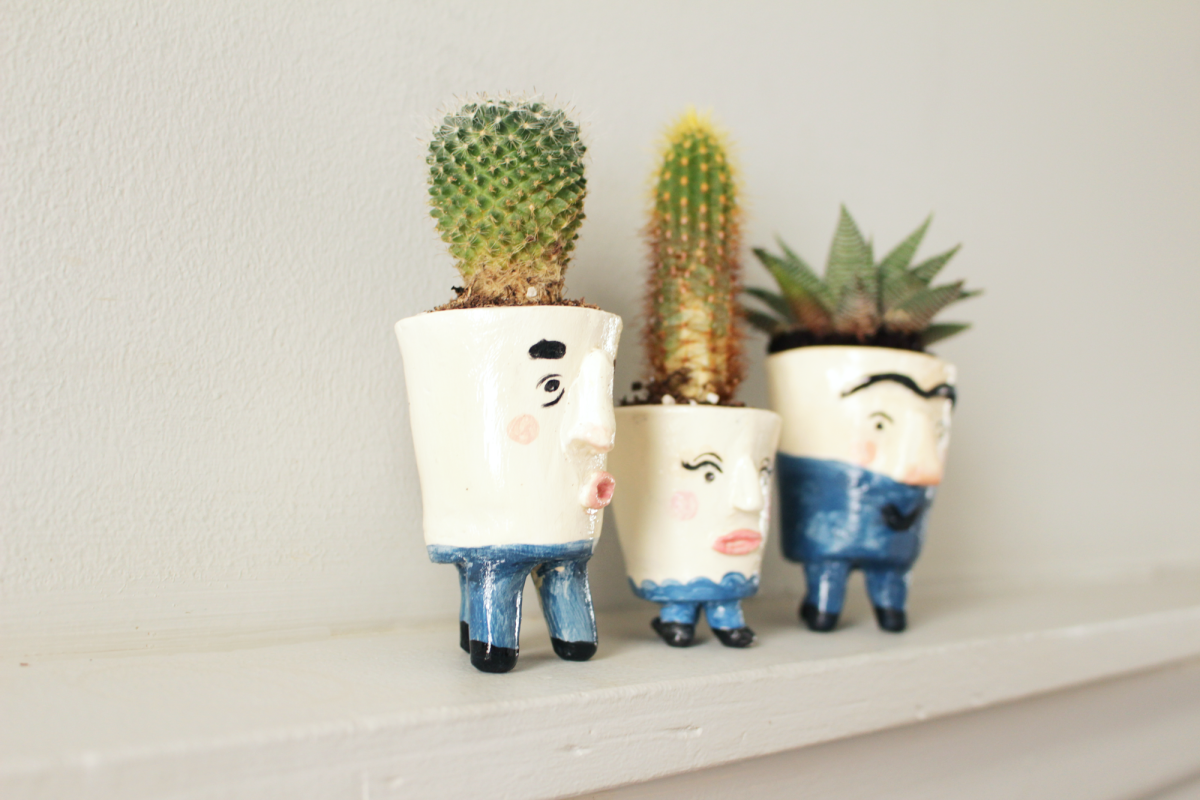
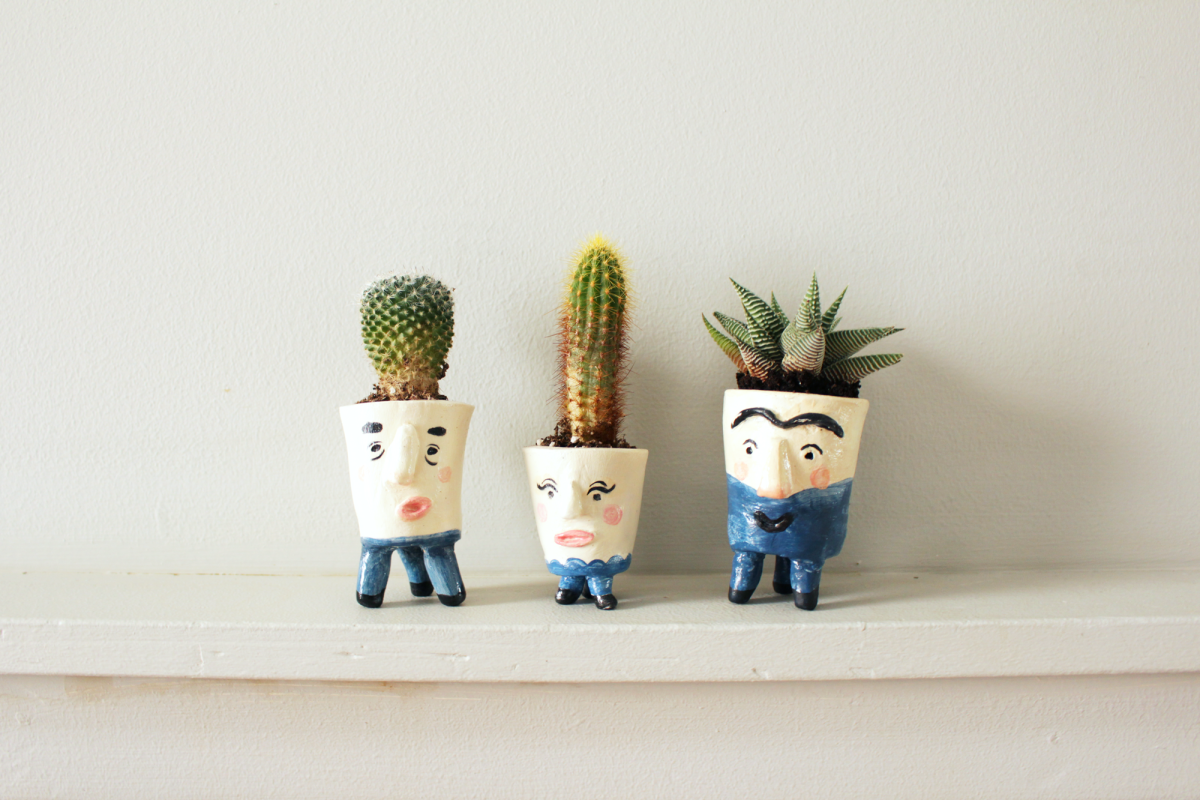 The directions and materials for this project might look a little intense but it’s actually an easy project. Once you have the planter made, it’s super fun to think of quirky little features to add to each character. I gave one planter an Owen Wilson-esque lopsided nose and it makes it super adorable so go nuts! M says these guys look like claymation from a Pixar movie and I agree, they should definitely have their own animated movie haha. I love the charm of mini face planters and they’re so much more fun to have around instead of boring brown pots, don’t you think?
Materials
+ Sculpey
+ Rolling pin
+ Exacto knife
+ Sandpaper
+ Needle
+ Acrylic Paint
+ Paintbrushes
+ Optional: Gloss varnish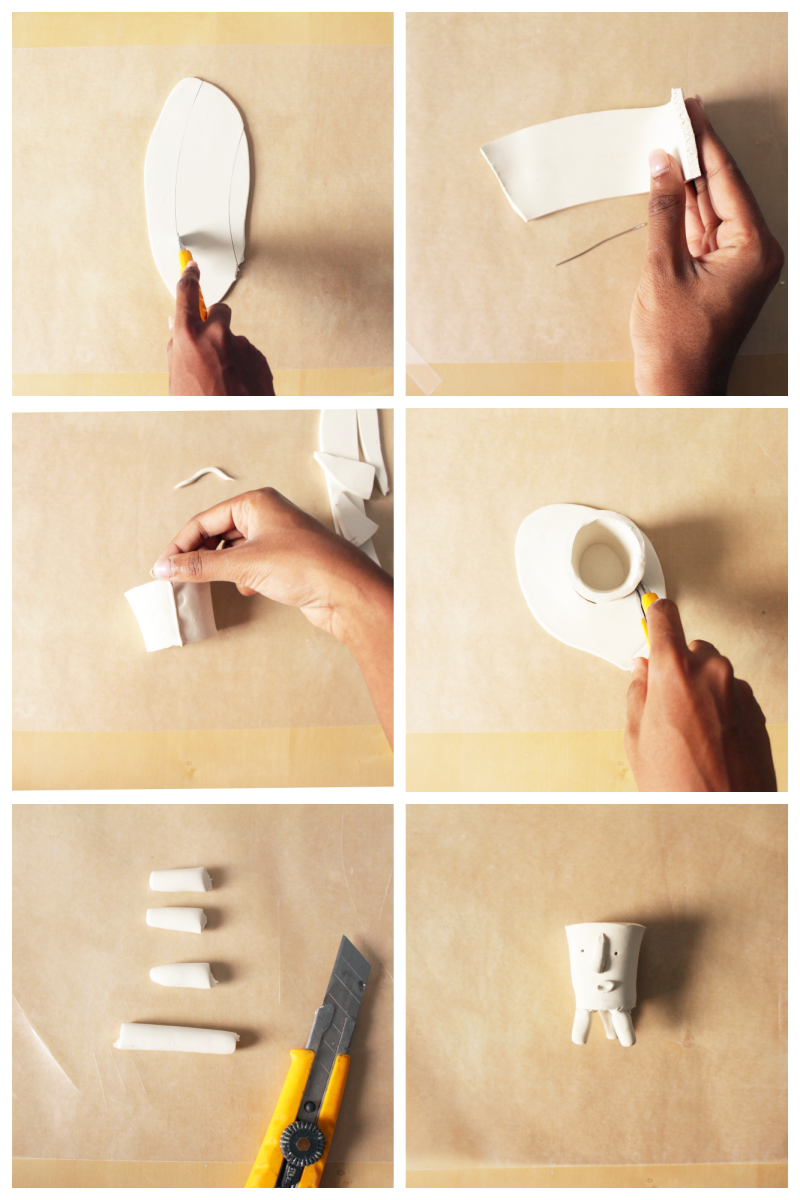 Directions
- Roll a ball of clay into a cylindrical shape. With a rolling pin, make a flat sheet abut 0.4″ thick.
Using an exacto knife, cut a long curved rectangle into the clay. You can use another pot to make an outline or just eyeball it, creating a curved semi-circle shape. - On both short sides of the rectangle, use a sewing needle or sharp object to create a rough cross-hatch pattern. The rough surface will make the clay stick together easily.
- Join the two sides of the pot together and squeeze a bit with your finger. Use extra clay to smooth over the joint and hold it together better.
- Place your pot on top of another rolled out piece of clay. You will be using this for the bottom of the pot.
- Use an exacto knife to trace around the pot and remove the excess clay.
- To attach the legs and bottom of the pot, use a needle to cross-hatch the joining parts and squeeze the clay together very gently. Use extra clay to reinforce the joint.
- To add eyes, I used a sewing needle to poke holes and extra clay to create a nose.
- Once you have followed the baking instructions, you can sand all the joints and rough edges smoother. Don’t sand it too much as the imperfections make it really charming and unique like real people!
- Paint away! Use acrylic paint to add cute little features like a unibrow, rosy cheeks, or freckles to give them their own personality.
- Optional: Add 2 layers of gloss varnish with a paintbrush to add a little shine and gloss over any imperfections.




These are so adorable! My kids would go nuts for them! 🙂 Lisa
Thanks Lisa, I love kid-friendly crafts!
These are so adorable Anusha, I love how glossy they are you could easily mistake it for an expensive ceramic planters.
Thanks so much Marwa!