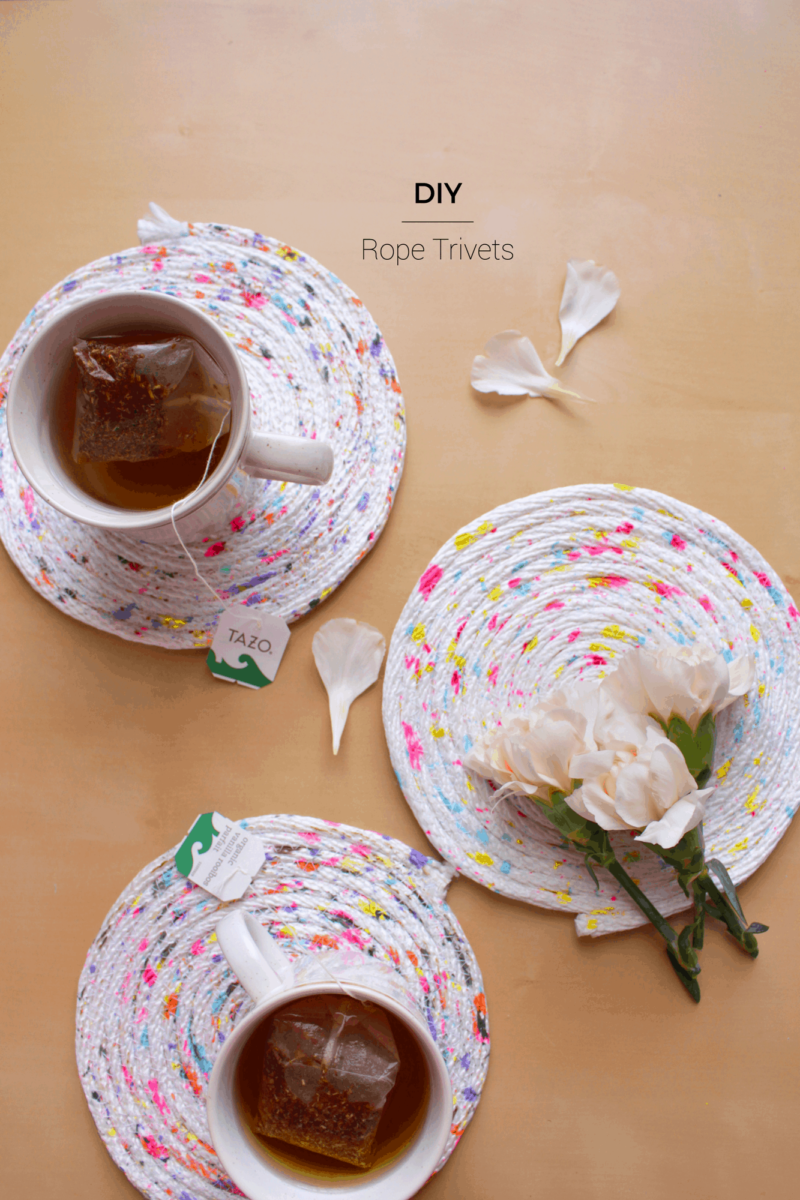
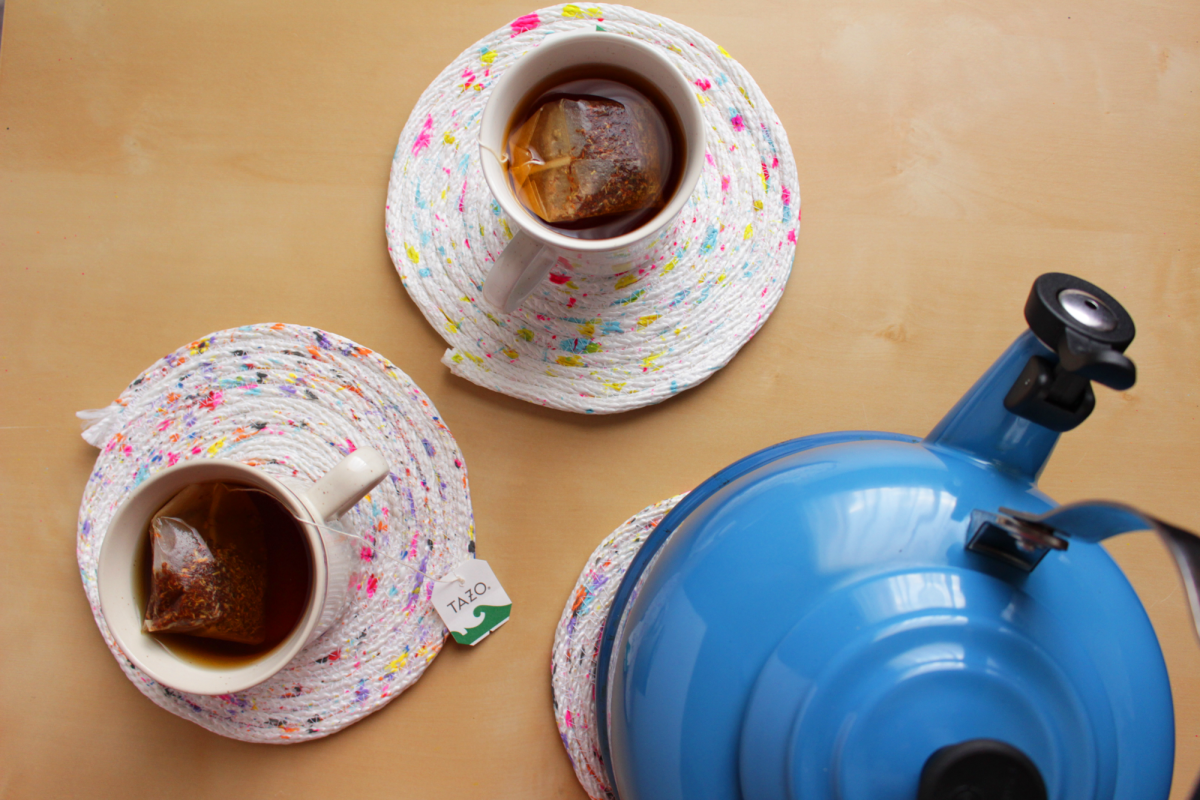
 Don’t you love it when you can make a DIY using leftover supplies from another project?! This DIY is exactly that! Using leftover rope from a previous project, I made DIY rope trivets to protect your tabletops and hold all your hot pots in style.
A few weeks ago I bought a few bags of rope for a previous DIY and I was left with a shopping bag full of leftover rope. What’s a girl to do with leftover rope but make more DIYs amirite? I wanted something bright and cheery so I landed on the idea to paint splatter my rope from Gemma Patford and after I purchased graffiti inspired yarn from the Isaac Mizrahi collection. At first I was going to make coasters but realized that if they were larger, they would look better and have a bigger impact. So rope trivets it was! I’m planning to use these to protect our wood trunk coffee table under hot soup bowls and flower vases but the great thing about this project is you can tweak it and make gorgeous placemats, rugs and storage bins! I really love how they just have a tiny hint of paint and colour without getting too grungy.
Materials
+ Rope
+ Acrylic Paint
+ Paintbrush
+ Sewing machine, white thread
1. Optional: Hold your frayed rope ends over a candle to have a nice smooth end.
2. Choose a paint colour scheme. I played around with different ones before settling on two I liked. For the graffiti inspired one use: purple, pale blue, cobalt blue, neon pink, orange, grey and little bits of yellow. For the second palette and my favourite colour combo use: neon pink, light blue and chartreuse green (mixing yellow and green).
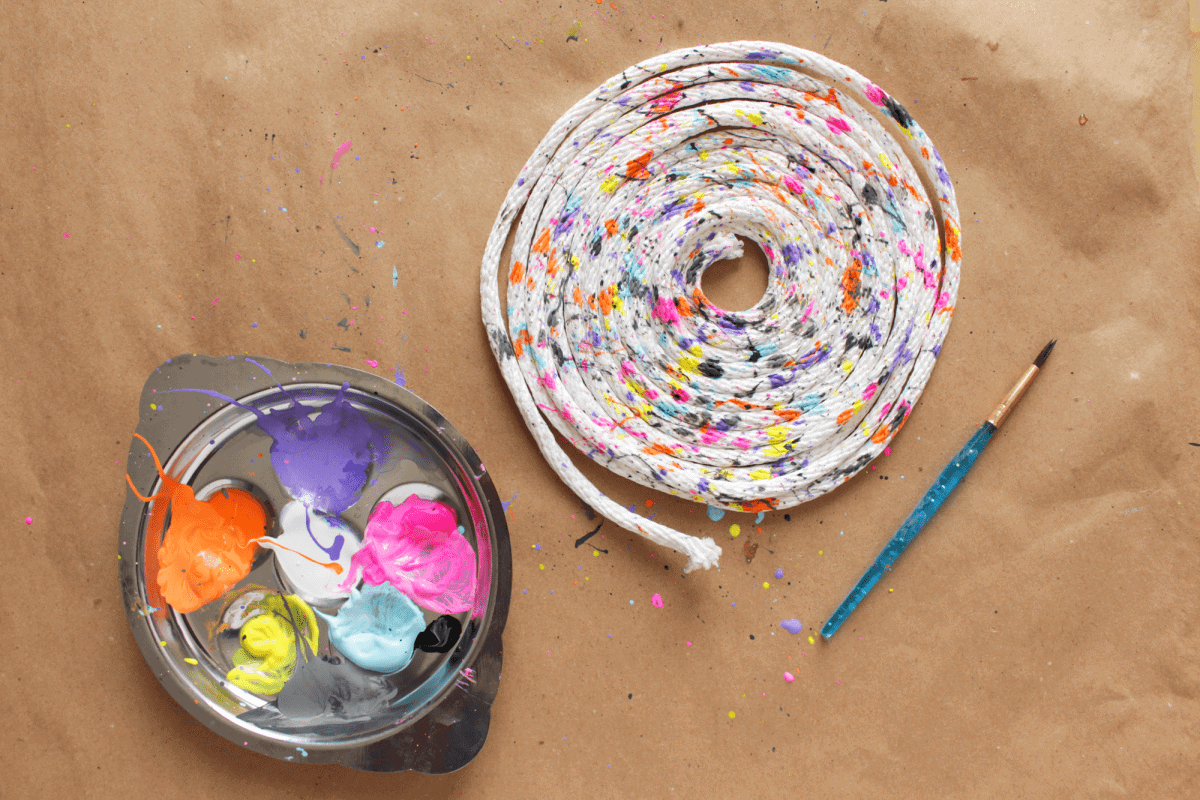 3. Coil the rope in a loose circle on your surface. Using your paintbrush, make splotches, splatters and spritz the rope in a random pattern so it looks natural.
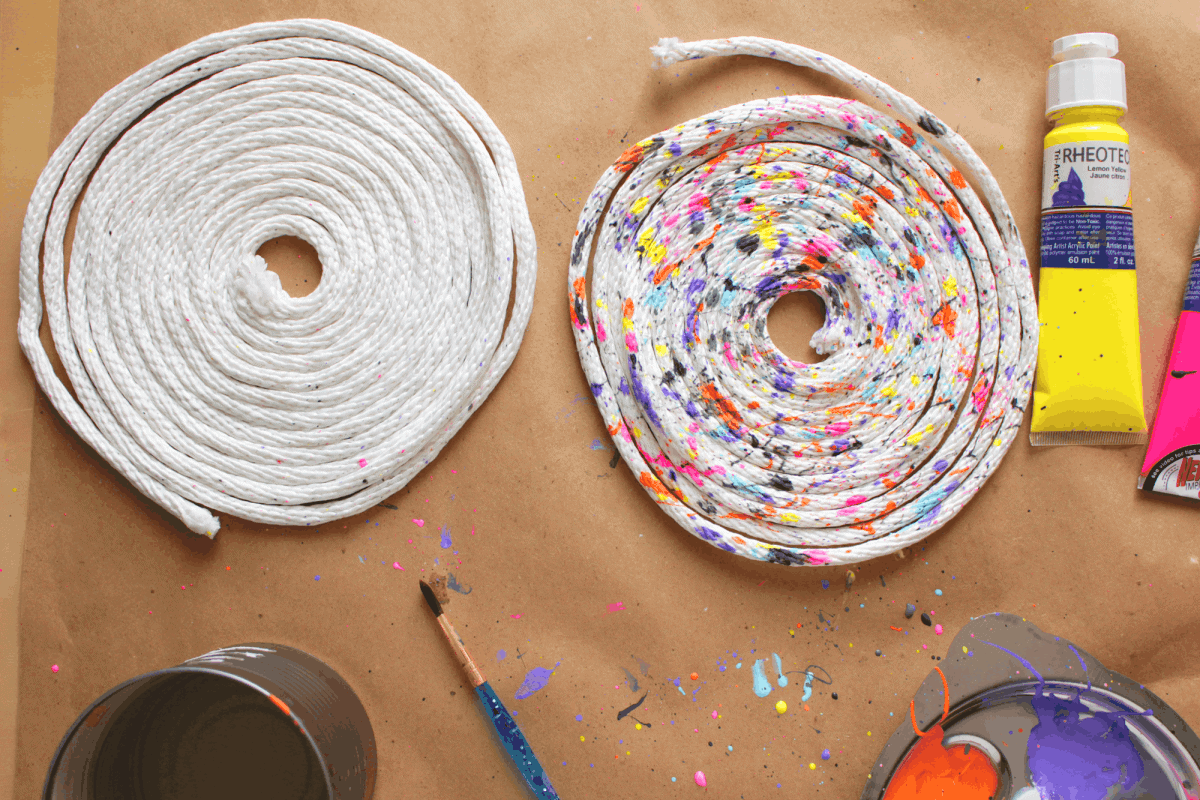
4. Optional: Turn the whole thing over to the blank side and do the same thing.
5. After it dries, uncoil your rope. Later, as you sew you will re-coil your rope to achieve a truly random paint splatter effect. At that point, you can twist and turn the rope to display the colours you want.
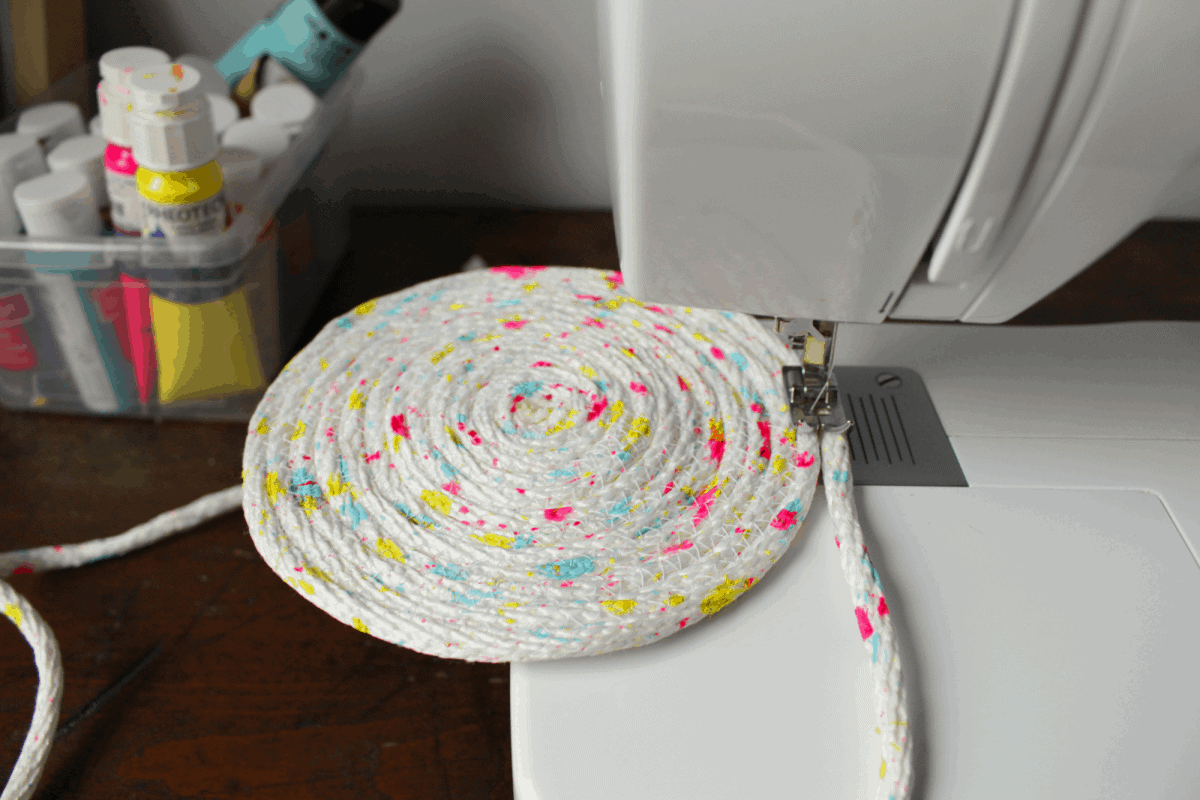 6. Set your sewing machine to a zigzag stich. Tightly coil your rope a little and then begin sewing together by moving the trivet slowly in a circular motion on the machine.You don’t need to glue the center, I didn’t.
7. The best part is you can sew like a madman without worrying about it looking good. You won’t be able to see the stitches anyway. That’s it!




I just LOVE this tutorial. The trivets turned out great! I’ve included your project on my roundup found here http://www.babybugjournals.com/rope-diys.html
Cheers,Lindsay
Thanks for sharing Lindsay! Love your roundup.
These are so darling! Need to make some out of the tangled rope mess I have in my closet!
Thanks Lindsey!
I love this tutorial, but I wonder what sort of rope, and what thickness, you used?
I’ve been looking to make a trivet that I can use under hot pans, so how heat resistant it would be is important for me!
Thanks!
Hi Fiona, I used a cotton/polyester blend but I’ve used these as coasters mostly so I don’t know how they’ll handle very high heat. Your local hardware store might know more about heat-resistant ropes. Good luck!