
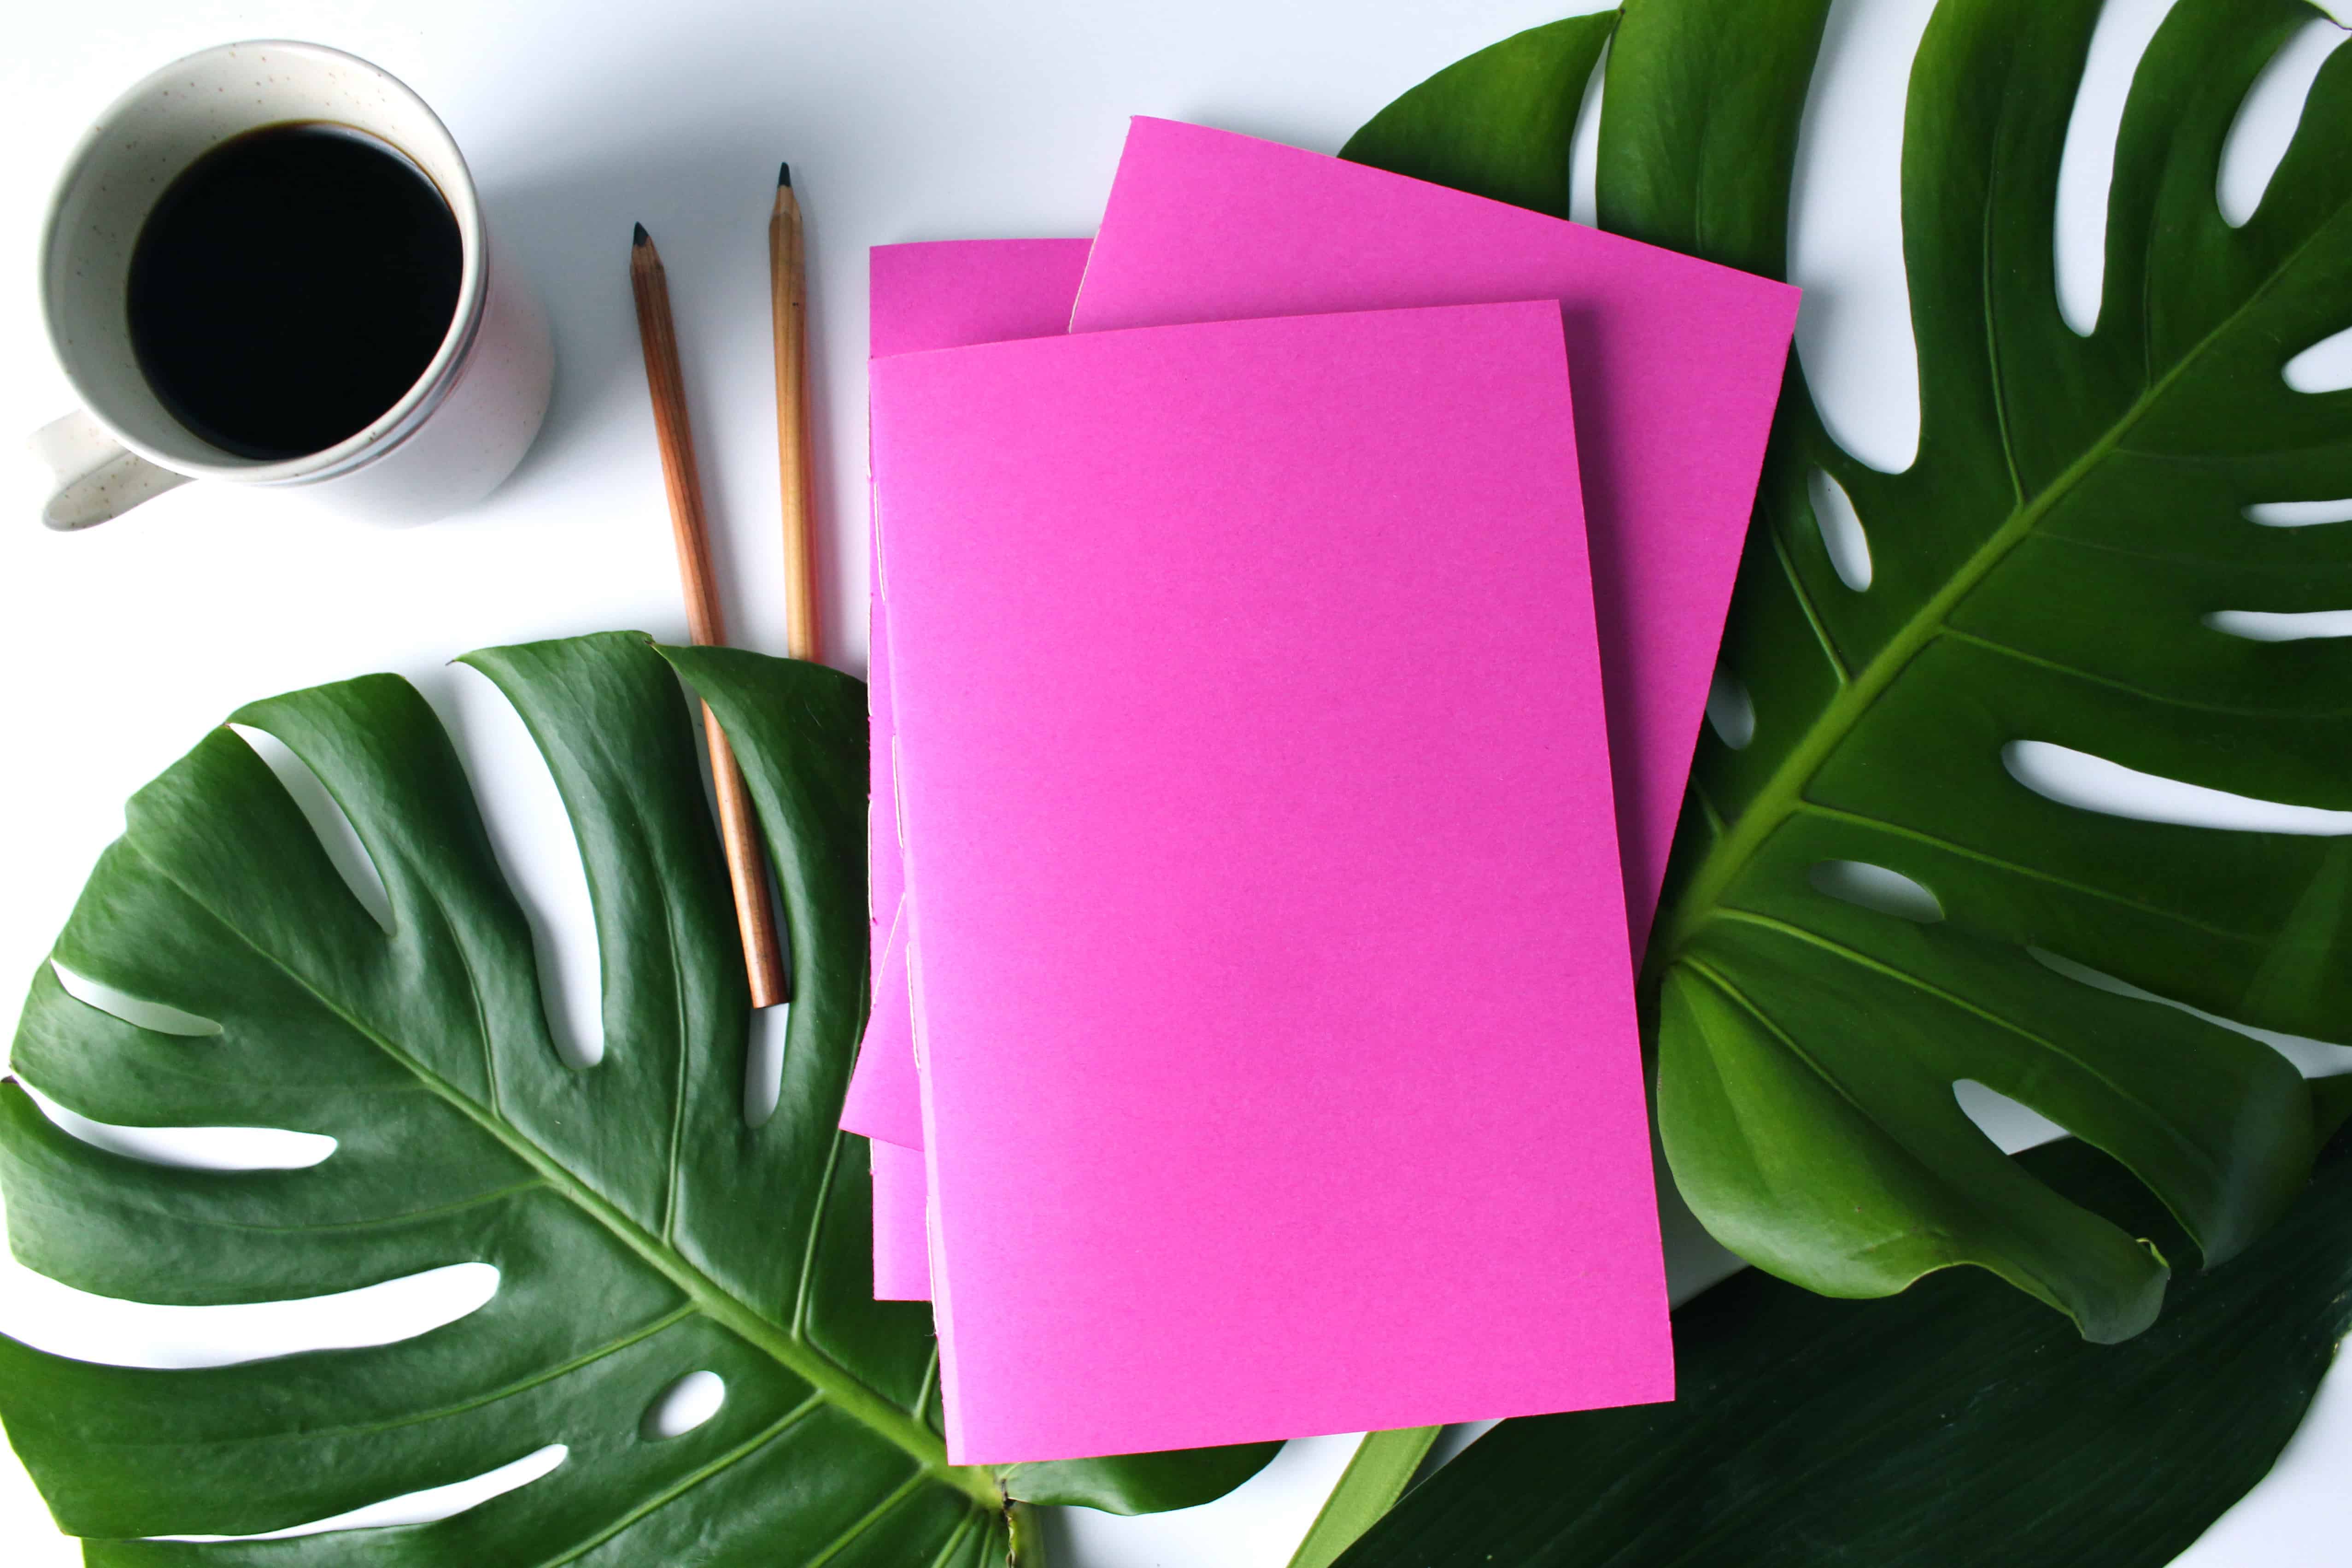
 Are you running short on time and can’t keep your to-do lists straight? Me too! Try making a DIY notebook in just 10 short minutes. You can whip these up ahead of time and throw one in your purse, keep one in the car and make extras for the kiddos in your life to colour in.
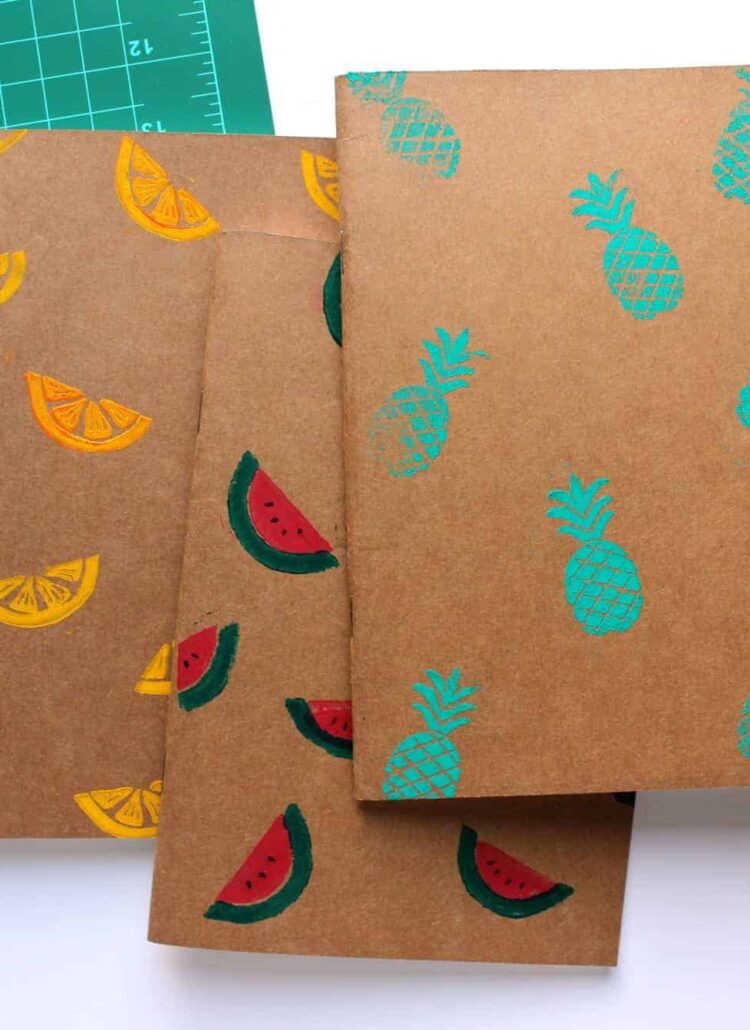
Notebooks are my #1 must-have because I make a lot of lists. And while I like note-taking apps as much as the next girl, nothing beats paper and a pen. If you want to jazz up your notebooks you can check out my DIY Fruity Print Moleskines to add a cute fruit print to your covers.
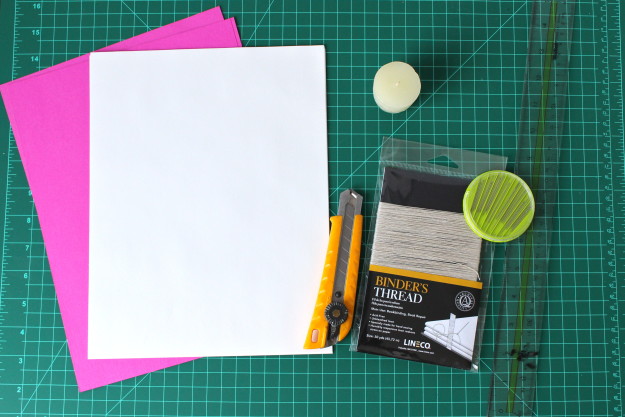
MATERIALS
+ Cardstock or similar
+ Printer paper
+ Lead pencil or bone folder
+ Bookbinding needle or embroidery needle with large eyehole
+ Binding thread
+ Wax candle
DIRECTIONS
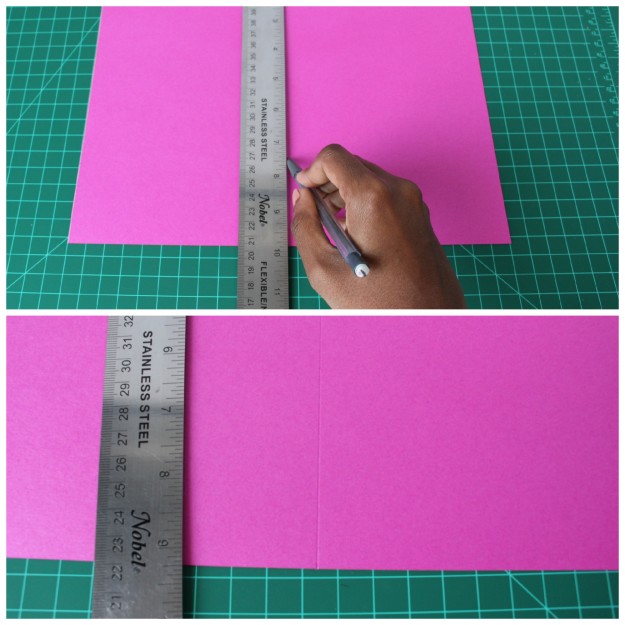
1. Measure and trim your cardstock to the same size as your pages. (8.5″ x 11″ for printer paper)
2. Fold your pages in half
3. To fold thick paper like cardstock easily, mark with a pencil where you want to fold it
4. Using a blunt edge, make a line to crease it. I used a lead pencil tip minus the lead or you can use a bone folder. This trick indents the page and results in a crisp clean fold.
5. On your centre page, measure and mark four dots 1″ apart from the top and bottom
6. Pierce holes you marked with a sharp needle to prepare it for when you will thread the book together
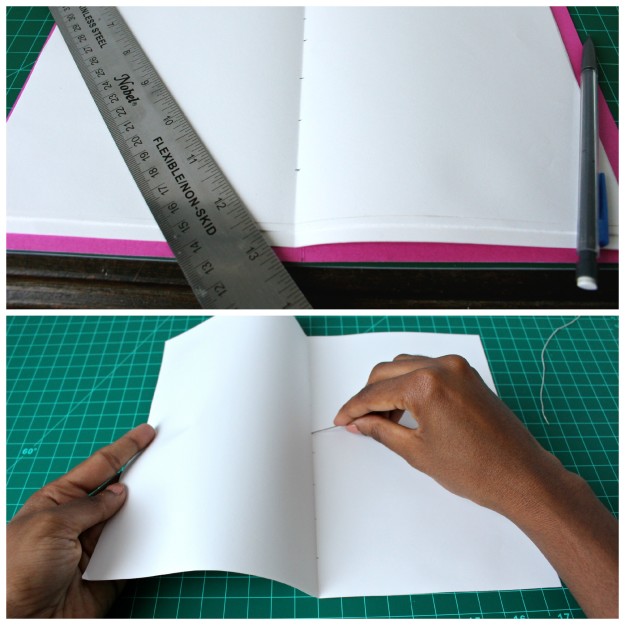
7. Stack 2-3 pages together and using the center page as a template, pierce holes through all your pages and cardstock
8. Holding it taut, run the binding thread through your old wax candle. Waxed thread is used in bookbinding to prevent tangles, keep the thread in place as you stitch, etc. Thread your needle
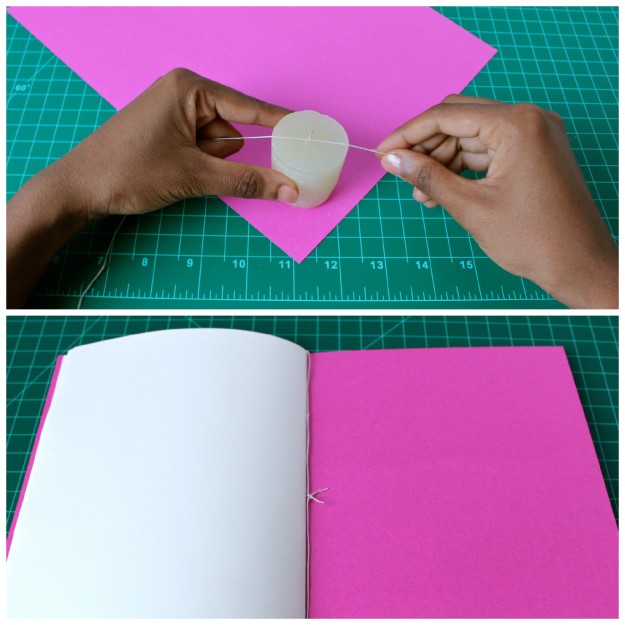
9. Stack all the pages in order and align holes. Starting at the top inside hole, pull the needle through leaving about 6″ of thread hanging
10. Once you have pulled your thread through the pages, you can tie off the remaining thread at the back of the book.
After your first notebook is done they just get easier. And they make a great last-minute gift if you have 10 minutes to spare and cost almost nothing to make. Happy bookmaking!


