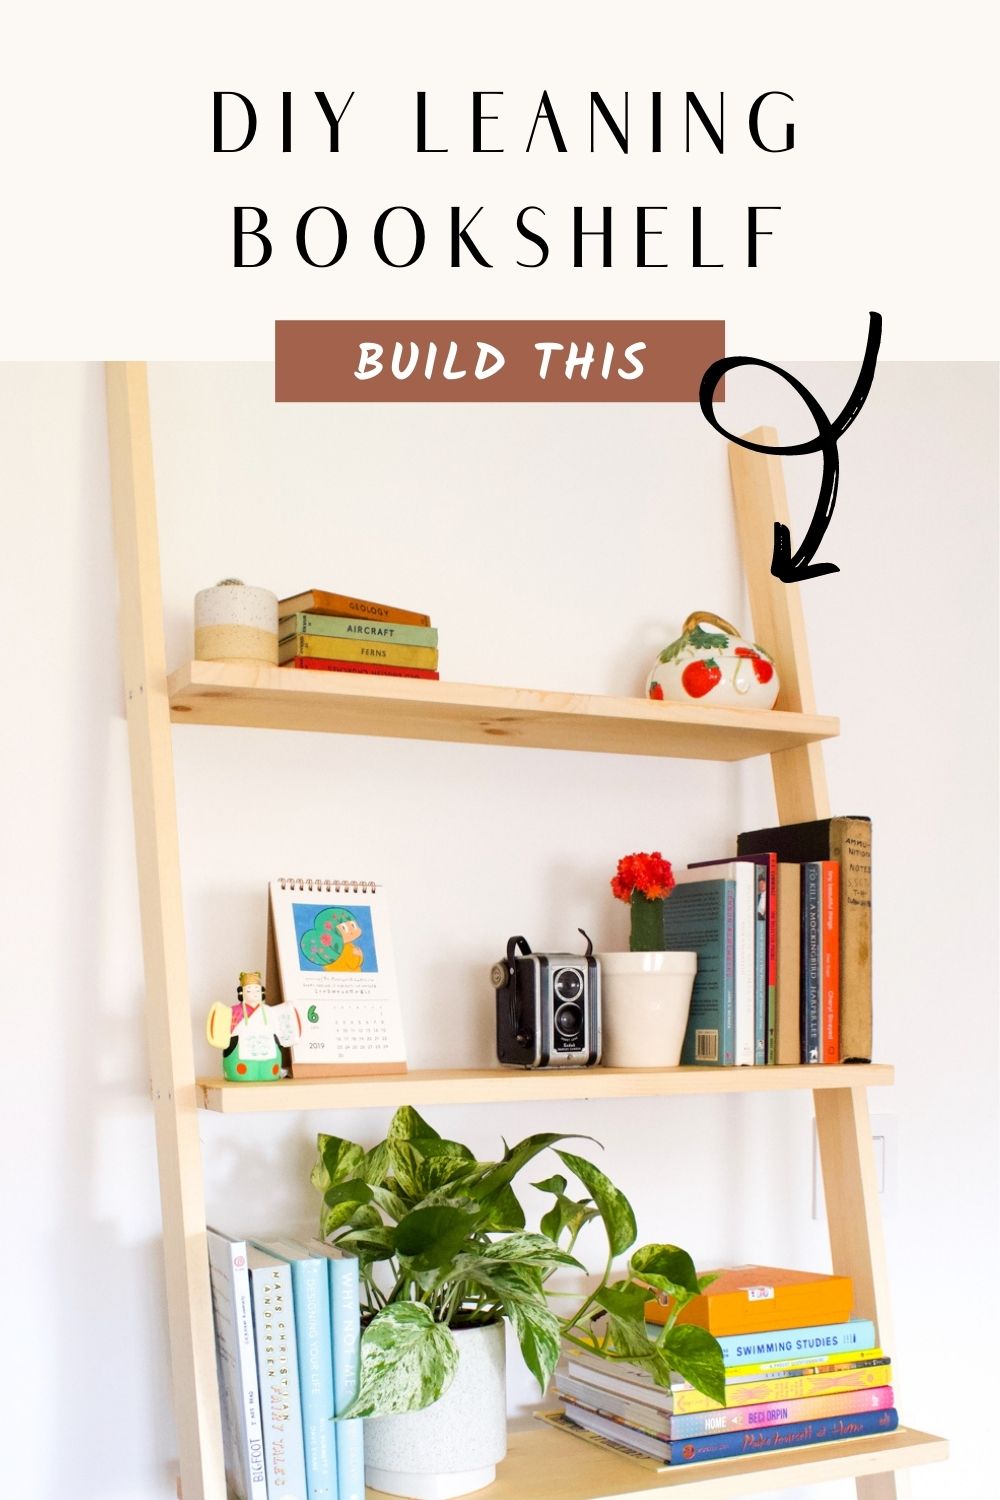
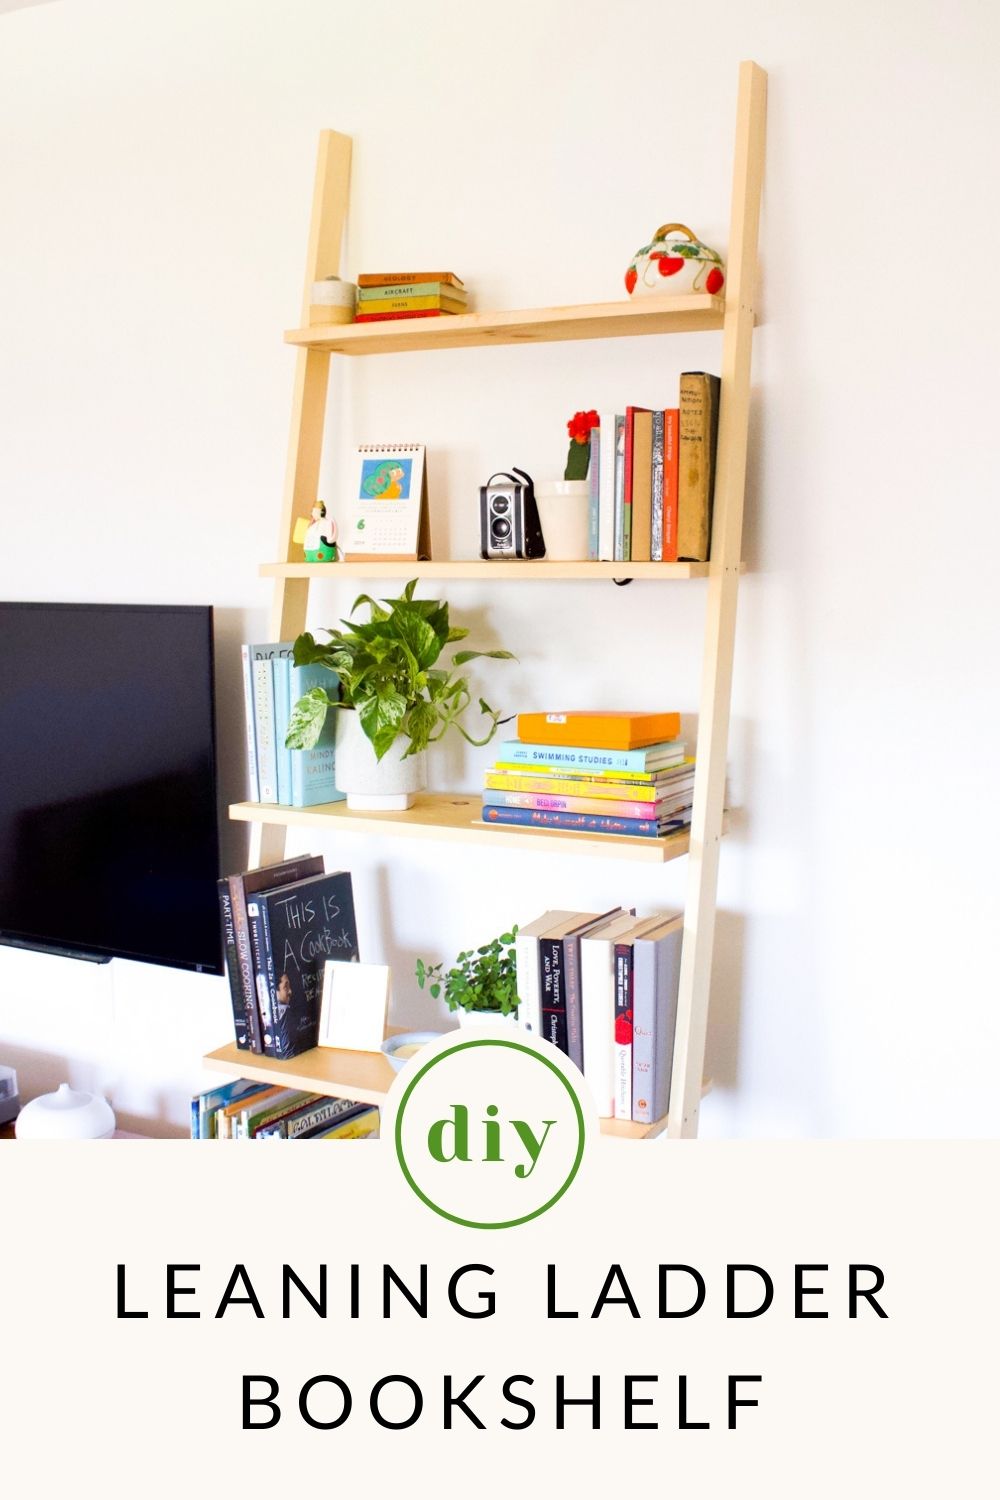
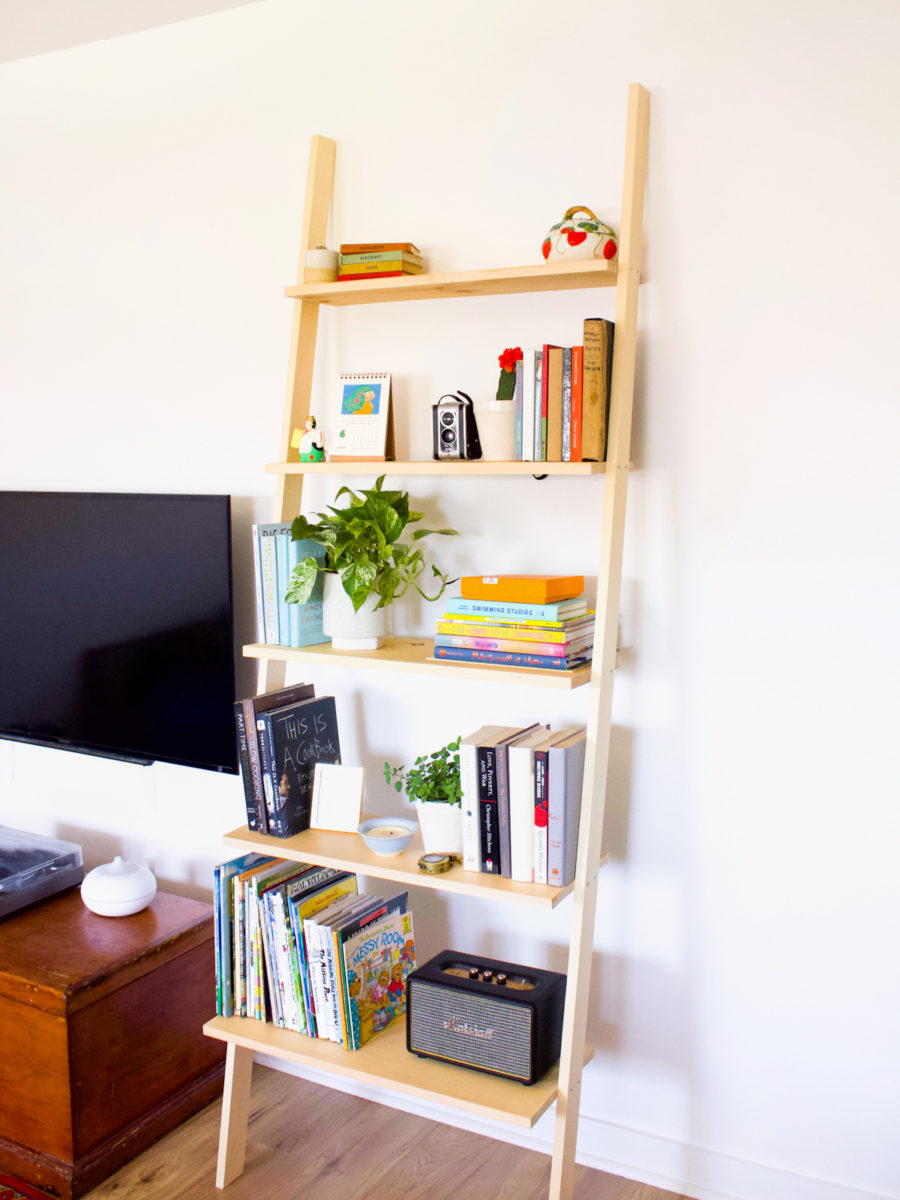
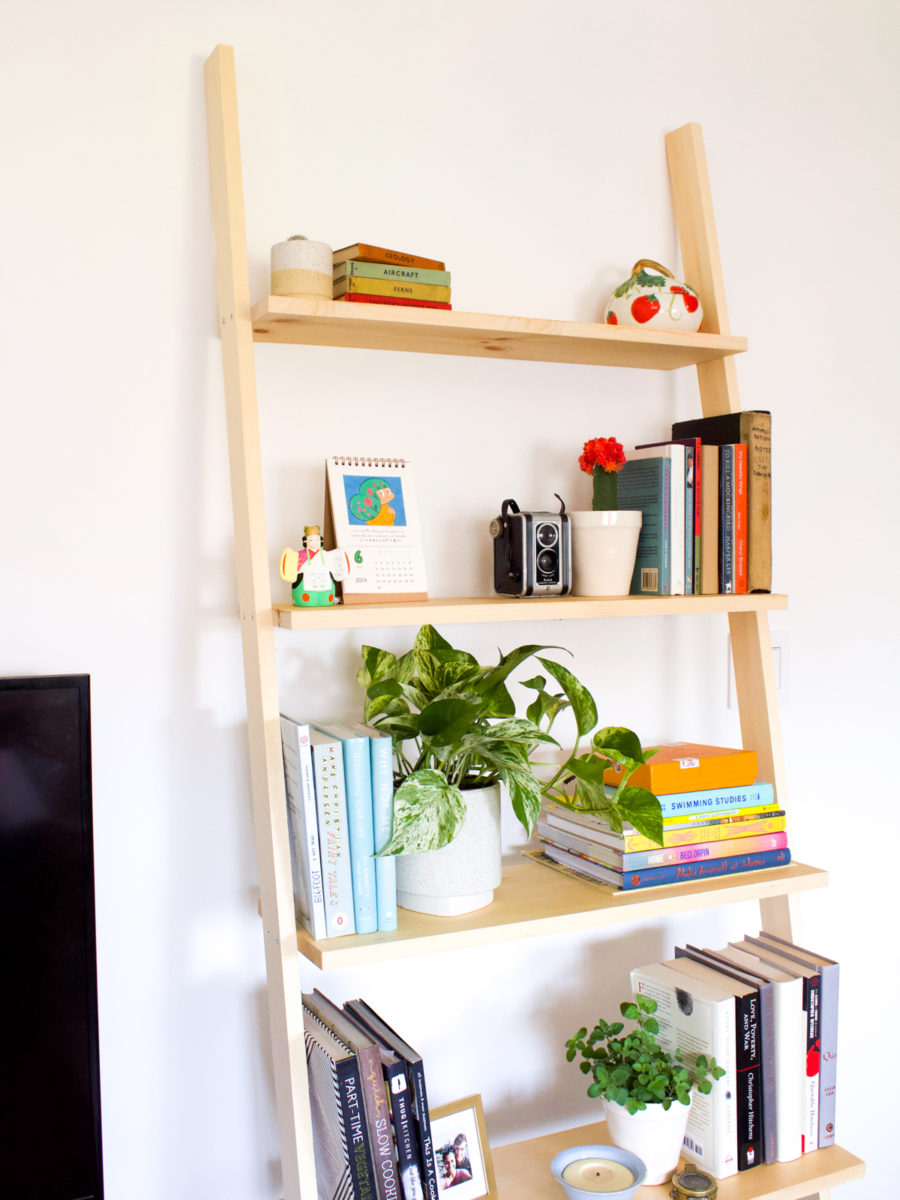
After we unpacked all of our boxes in our new house, I realized we needed a new bookshelf, stat! I found one from Urban Outfitters that checked all the boxes. Natural wood finish and minimal style, check, check, check. BUT it cost more than $200 and when you’re renovating, every penny counts. So instead, I made a DIY Leaning Bookshelf and you can do it too!
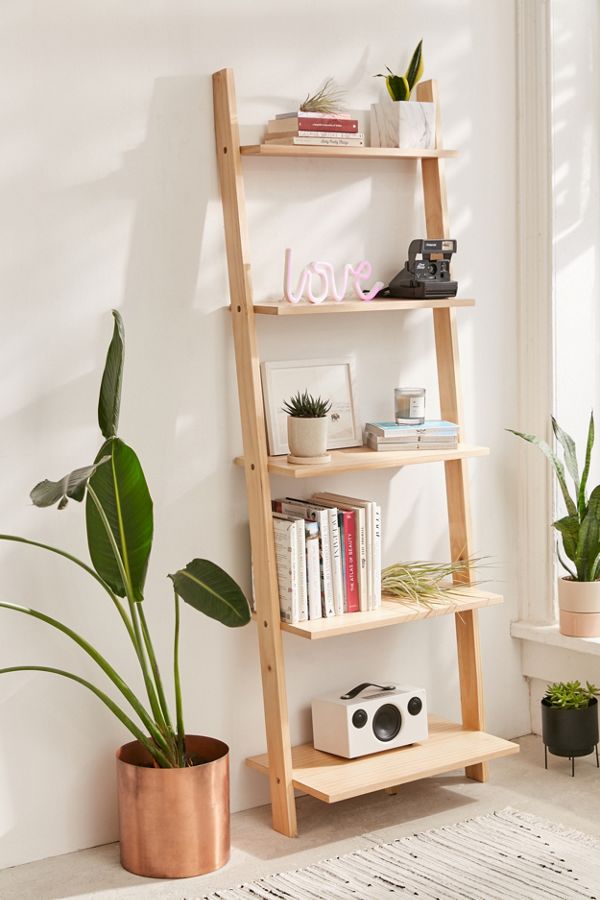
This was the inspiration photo from UO. It was full price at the time but it’s on sale now for $200. Normally leaning bookshelves or ladder shelves run between $200 – $300 and you can’t always be sure of the quality. For that price, it wasn’t worth it. Sorry not sorry 🙂 My DIY leaning bookshelf cost me about $60 total and most of that went towards getting good quality pine for the shelves.
TOOLS
- Chop Saw
- Table saw (or ask the hardware store to cut your shelves)
- Power drill
MATERIALS
- Pencil
- Ruler
- Measuring tape
- Screws, long
- Wood sealer, clear
- Sandpaper, medium grit
- Two pine boards, 1″ x 2.5″ x 84″ (7 feet)
- Two pine boards (or scrap pieces), 1” x 2.5” x 27.25”
- Five pine boards cut to these measurements:
- Shelf no. 1: 1” x 7.5” x 27.25”
- Shelf no. 2: 1” x 8.5” x 27.25”
- Shelf no. 3: 1” x 9.25” x 27.25”
- Shelf no. 4, 1” x 10” x 27.25”
- Shelf no. 5, 1” x 11” x 27.25”
You can change the shelf depth to your preferences. Just choose the minimum depth that you want for the top shelf and the maximum depth for your bottom shelf. Then keeping in mind the number of shelves you’re installing, calculate how much extra depth you’ll need to add to each shelf to reach the maximum number.
INSTRUCTIONS
- Measure and mark the wood pieces to your measurements. I like to use painters tape to mark a line so it’s very obvious where you have to cut
2. Cut the shelf pieces to the measurements if you have a table saw. If you buy pine boards from a local lumber yard, they sometimes can cut it for you.
3. Set the chop saw blade at a 10 degree angle. Cut the two 1” x 2.5” x 84” (7 ft) pine boards at the top and bottom with the angles going in the same direction. This is so when you lean your bookshelf against the wall at a 10 degree angle, the bottom will sit flat on the ground.
*Once all the pieces are cut, this is when it is easiest to paint, seal or stain the wood if you choose to. I sealed it with a clear sealer to preserve its natural pine color.
4. To measure where each shelf will sit, divide the total length of the side pieces by 6. For example 84” length divided by 6 = 14”. Mark a line at 14” increments along the length of both side pieces – mark 14” inch increments from the left side and right side, then connect the dots with a line. The line should also be a 10 degree angle so the shelves sit level.
5. Mark two holes on each line – I marked them 1 inch apart which equalled 0.5 inch inward from each side. Once you have marked them, pre-drill all the holes with a small drill bit.
On the sides of each shelf, measure and mark matching two holes 1 inch apart in the centre. When you screw everything together the marks should align.
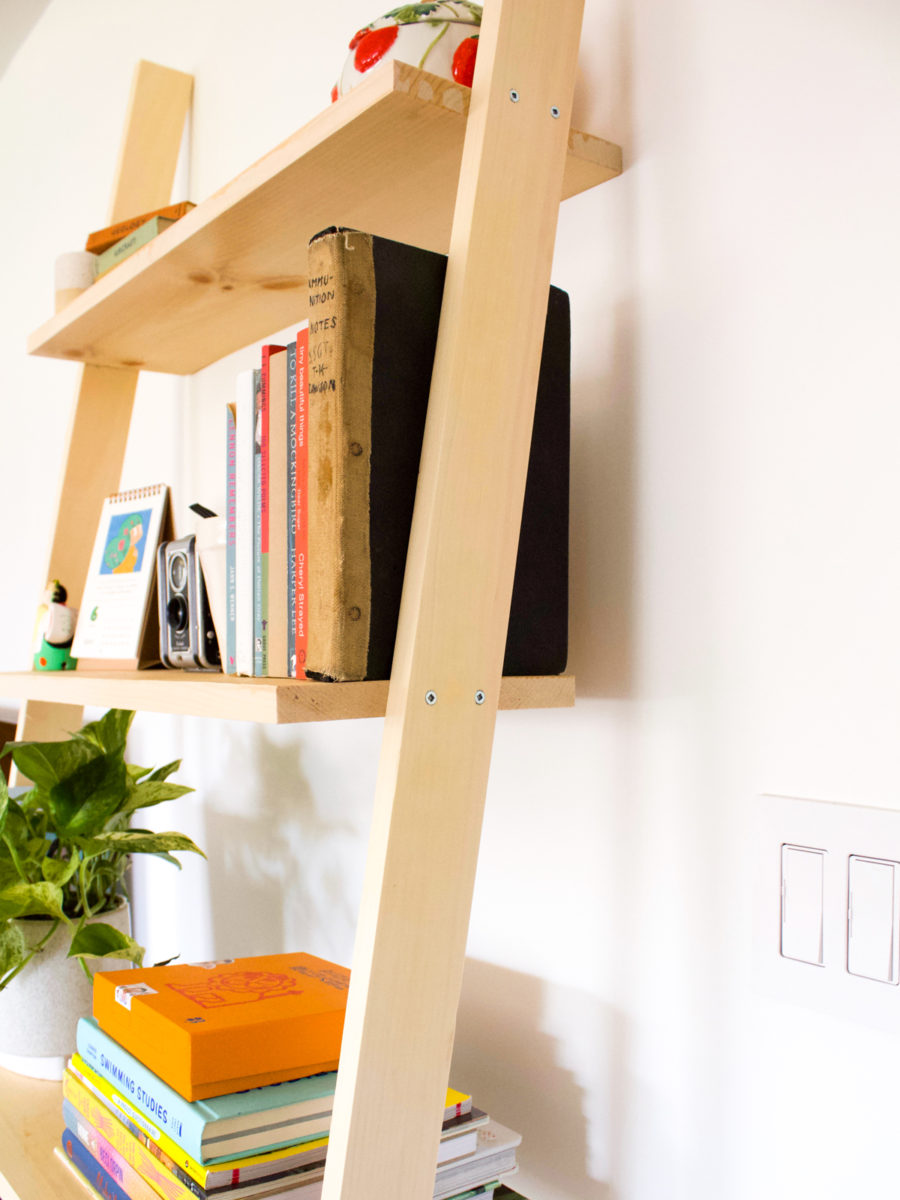
This is what the screws will look like when done – they don’t bother me but you can cover them. They were the longest screws I could find, about 2 inches long because I wanted the shelves to be screwed in tight and very sturdy. So far they’ve held a lot of heavy books so it worked!
6. Stand up the long side pieces and lean it against the wall at a 10 degree angle. Have someone help you while you screw in the two scrap pieces of wood you prepared, one where the top shelf will go and one at the bottom.
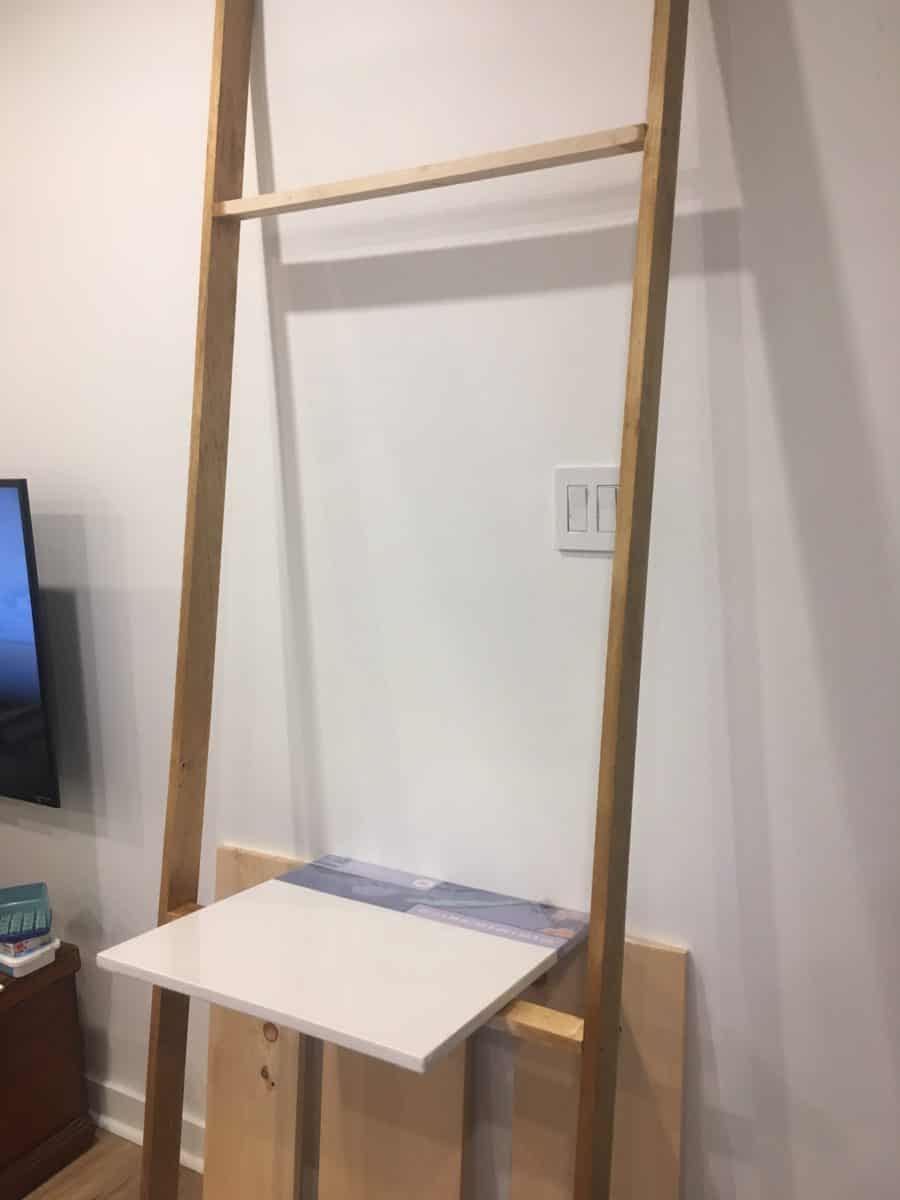
This is a rough photo of the process. Check to make sure the scrap pieces of wood are level and adjust if needed.

7. Have someone help you with this final step to hold up each shelf. Use the power drill to drive the screws into the side pieces and shelf. Just do one screw at a time making sure that it’s level as you go. Last, unscrew the scrap pieces of wood and replace them with the real shelves.
OTHER POSTS YOU MAY LIKE