Here’s a step-by-step tutorial for building a beautiful kitchen wine rack cabinet to store wine bottles, cookbooks, and more!
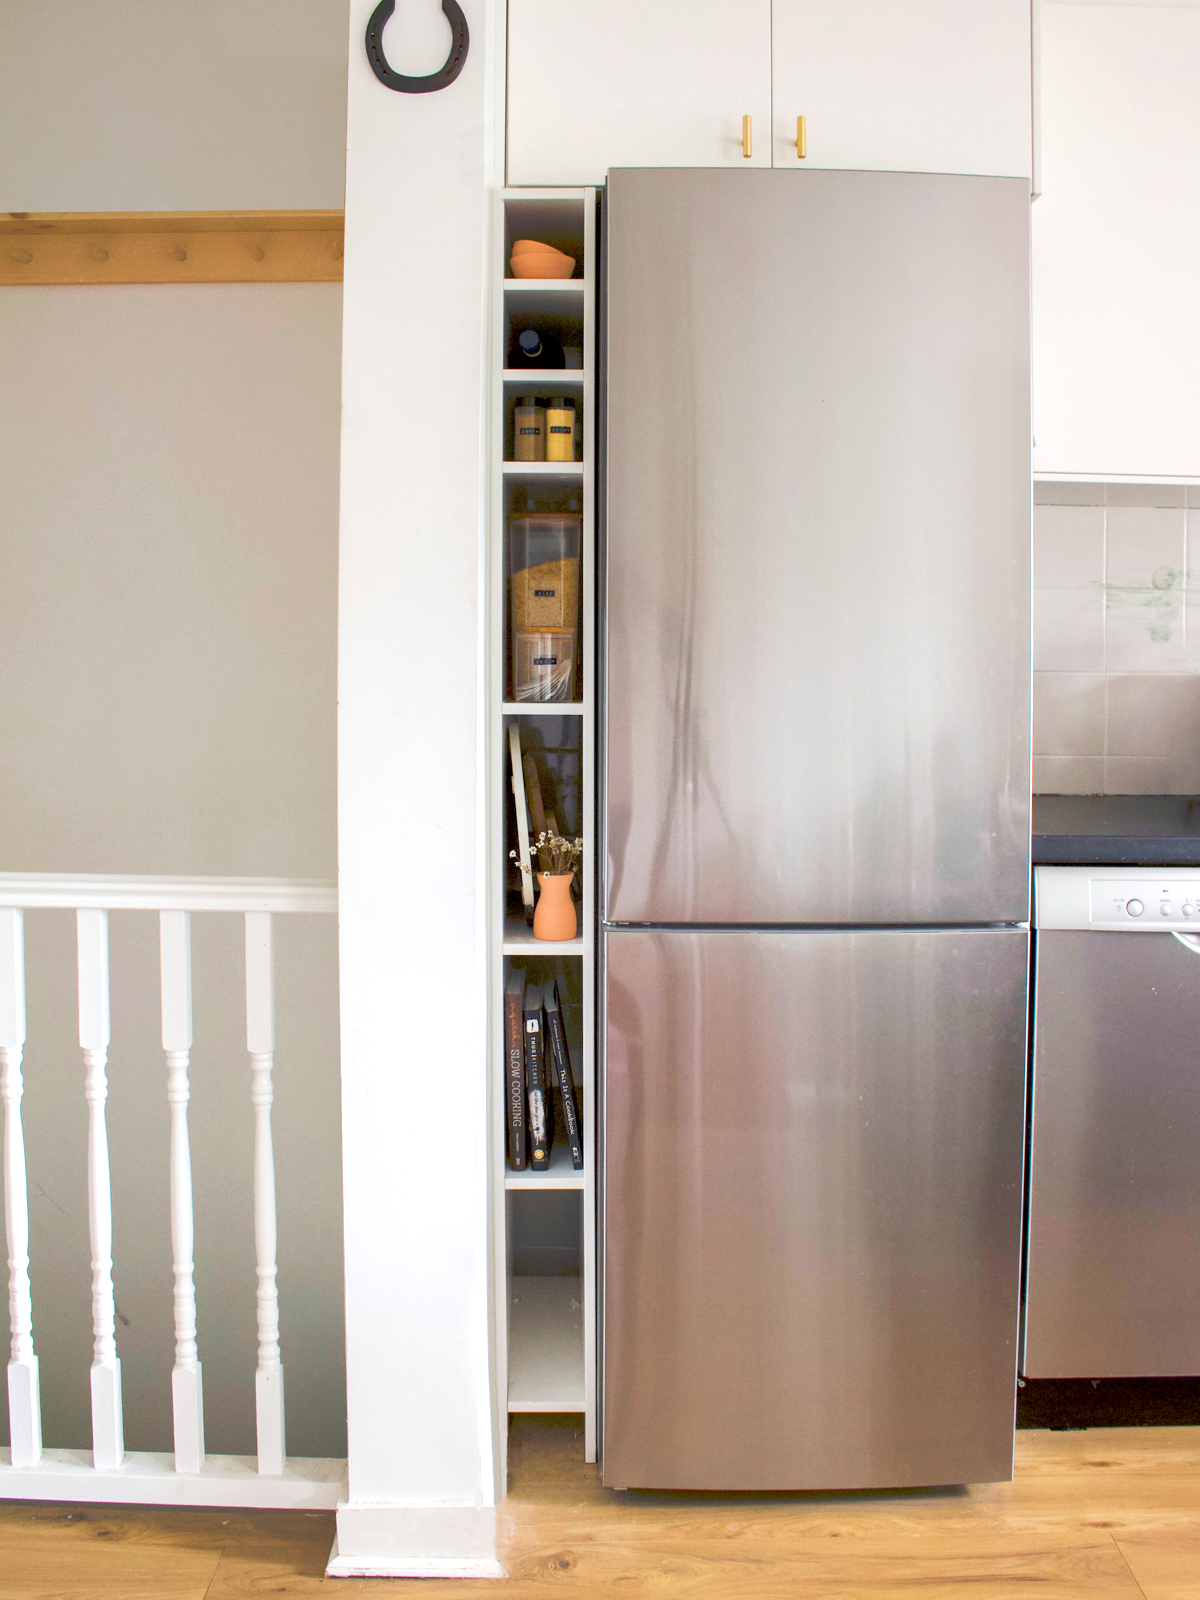
When we ordered our new fridge, it was too thin for the area our old fridge had taken up. No matter what we tried there was a five inch gap, too big to ignore but too small to really fit anything. It was pretty annoying but after some sketching I was excited to come up with a creative solution!
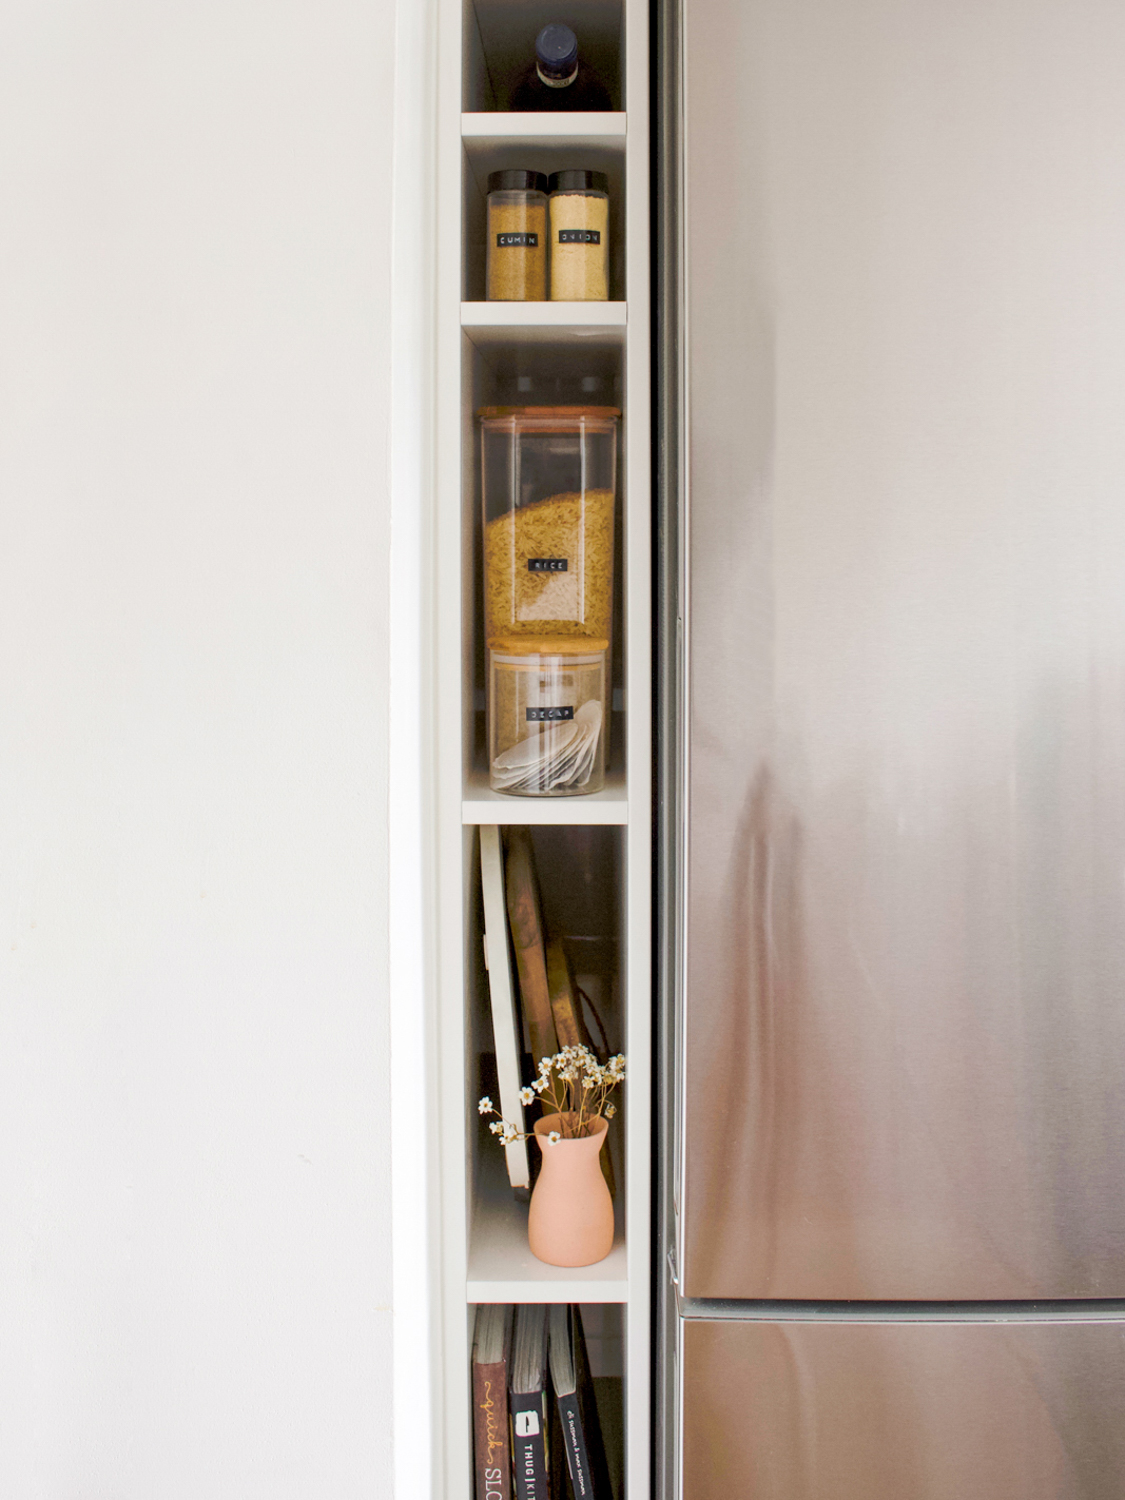
The term “kitchen wine rack cabinet” was the best I could think of to describe this compact built-in kitchen shelf next to the fridge. As you can see, we actually use it for cookbooks and cutting boards. You can really use it for anything as long as it fits!
MATERIALS
- Wood (we ordered panels from Ikea to match our cabinets)
- Table saw
- Level
- Screws
- Power drill
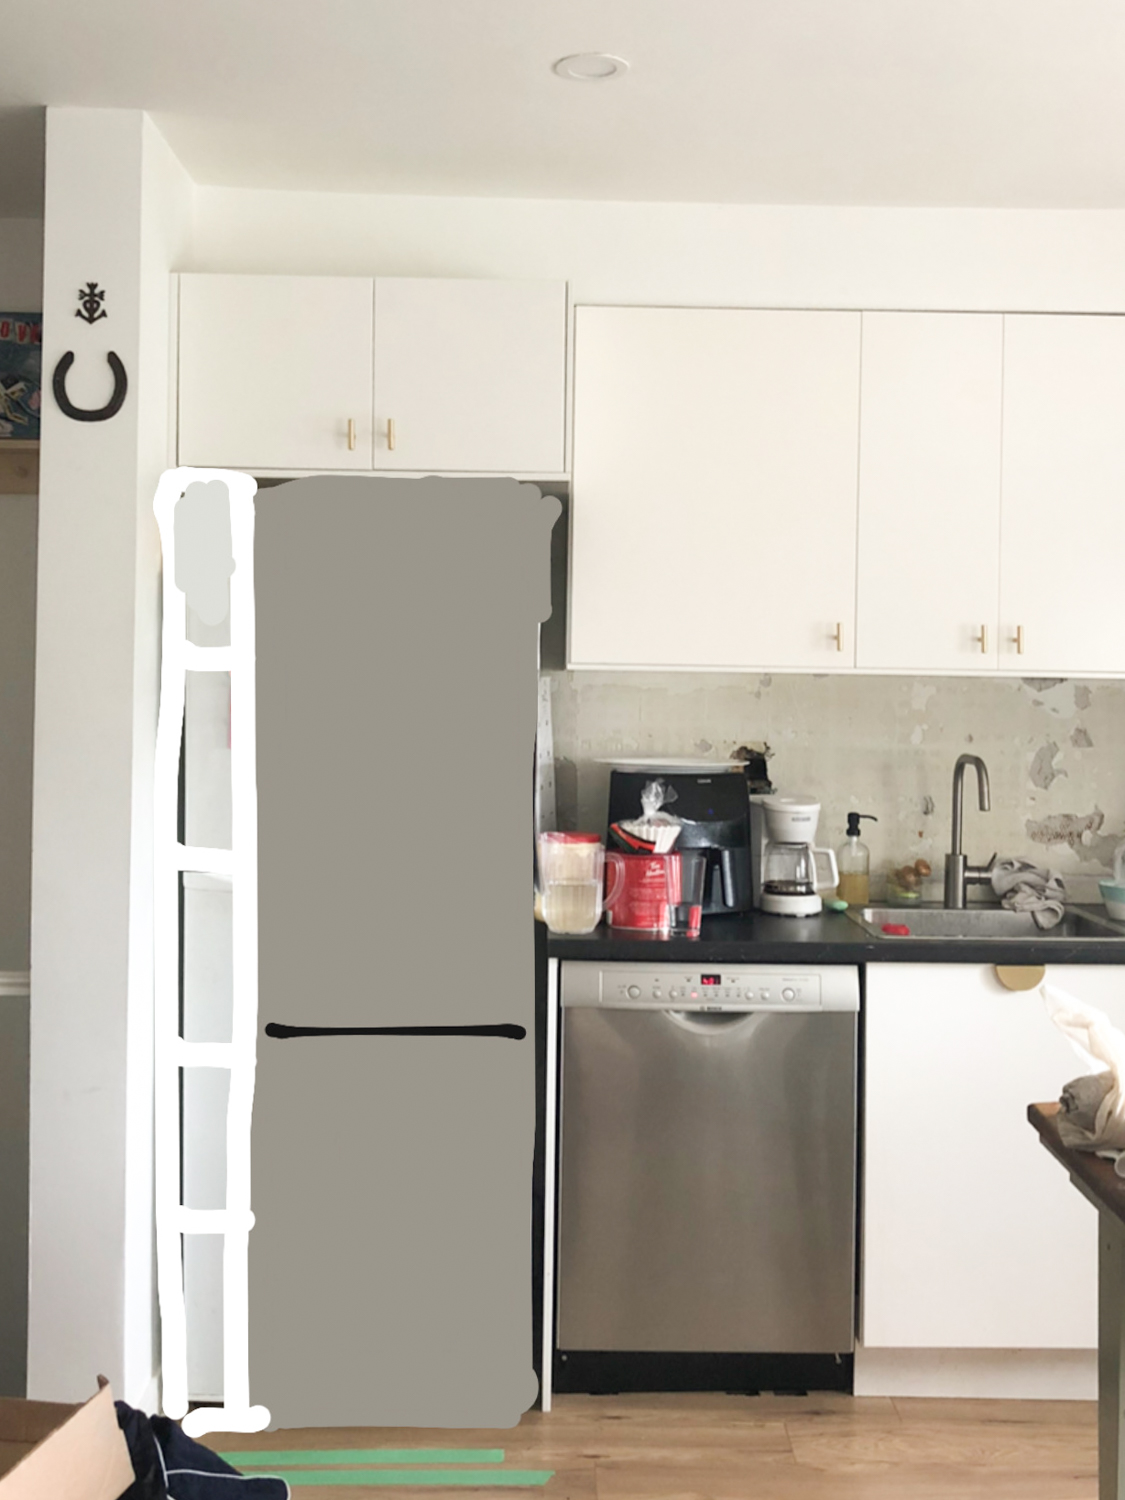
Here’s my embarrassing sketch of our kitchen with the fridge we ordered and the design I was dreaming of. It’s not pretty but you get the idea 😉
INSTRUCTIONS
- Measure the height of the space you need to fill while the fridge is in place. For the shelf height, we wanted the right side to go all the way to the top of our kitchen cabinet as one seamless piece so it was 88 inches. For the left, it stopped under the cabinet at 73 inches.
2. Measure the total width of the space and leave a 1/2 inch gap of extra space so the fridge can be moved in or out. Remember to account for the width of the wood panels on each side. We cut our horizontal shelves to 4.5 inches wide.
3. Use a table saw to cut all of the wood pieces down to size.
4. Slide both vertical pieces into place to double check that it’s the right height. Set aside.
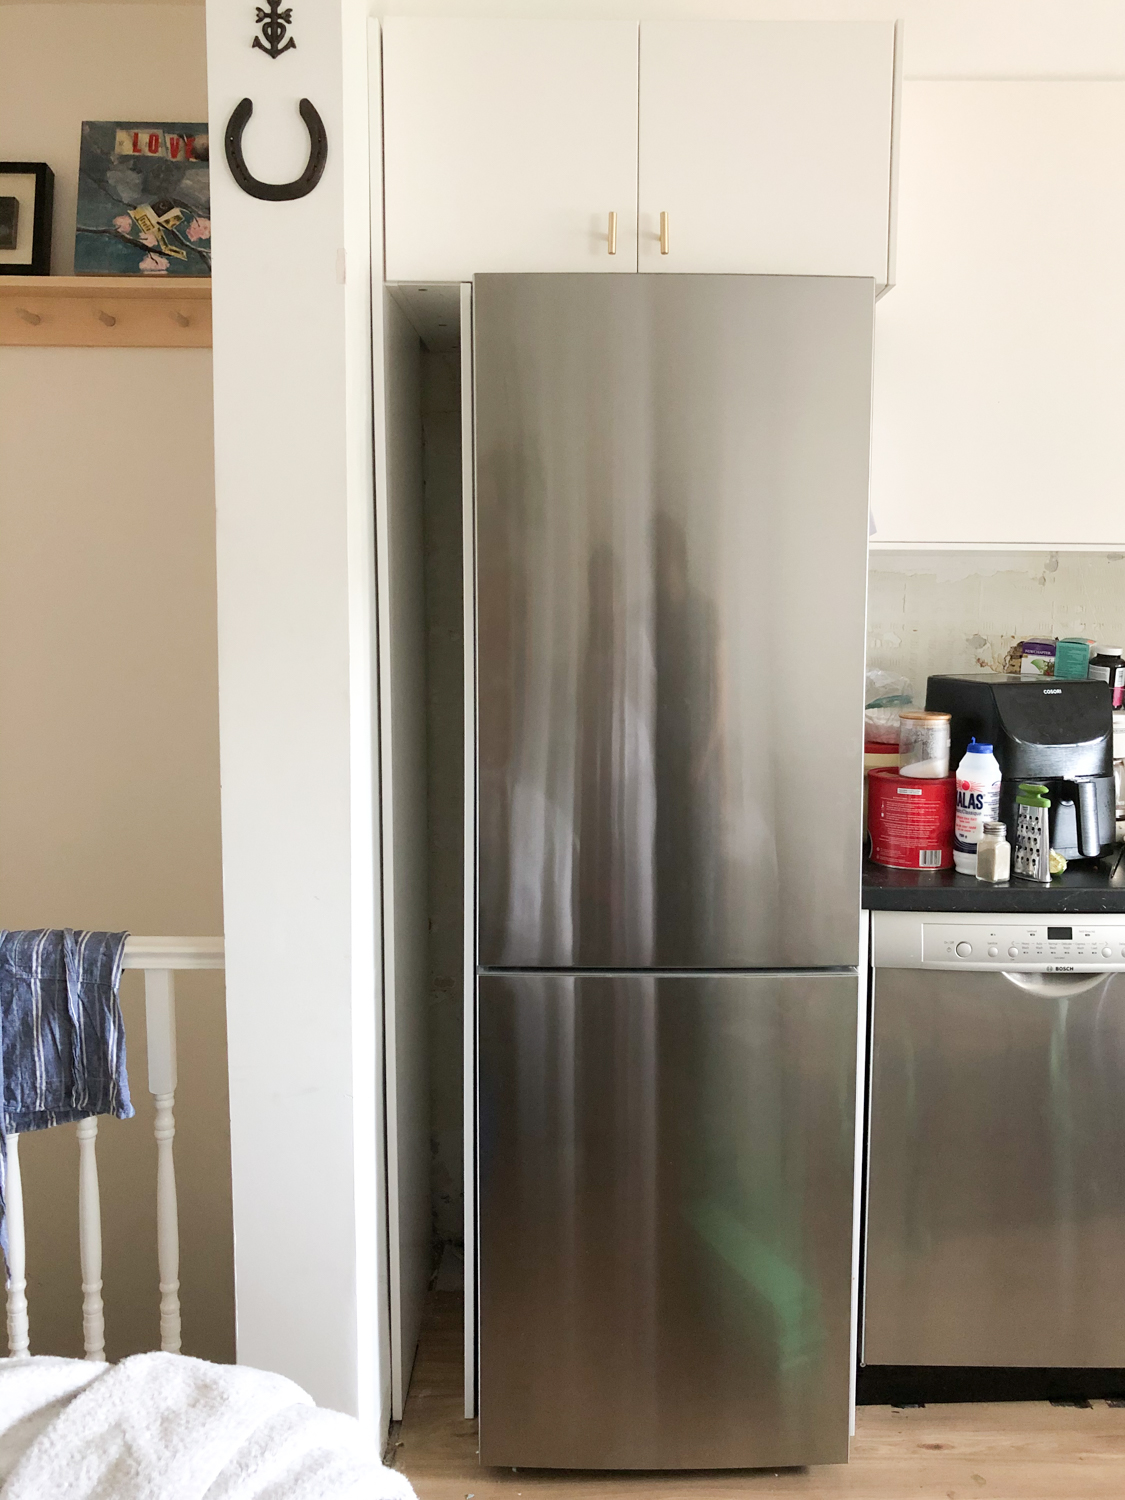
5. Unplug and remove the fridge so you have space to install the shelf.
6. On the long piece that will be against the wall, measure and mark where the kitchen cabinet will end.
7. Measure the rest of the panel and divide that into as many portions as you want. We measured three small sections for wine bottles and spices and four bigger sections for cutting boards and cookbooks. In total, this made seven shelves.
8. On the longest piece of wood, the left piece, measure and mark where the horizontal shelves will go.
9. Lay the long piece on its side (one person may have to hold it up) and drill each shelf in from the outside to hide the screws.
10. Stand upright, check that the shelves are level and then slide the whole piece into place without the right side.
11. Screw the long panel into the wall at the top and bottom. The photo below is how it should look.
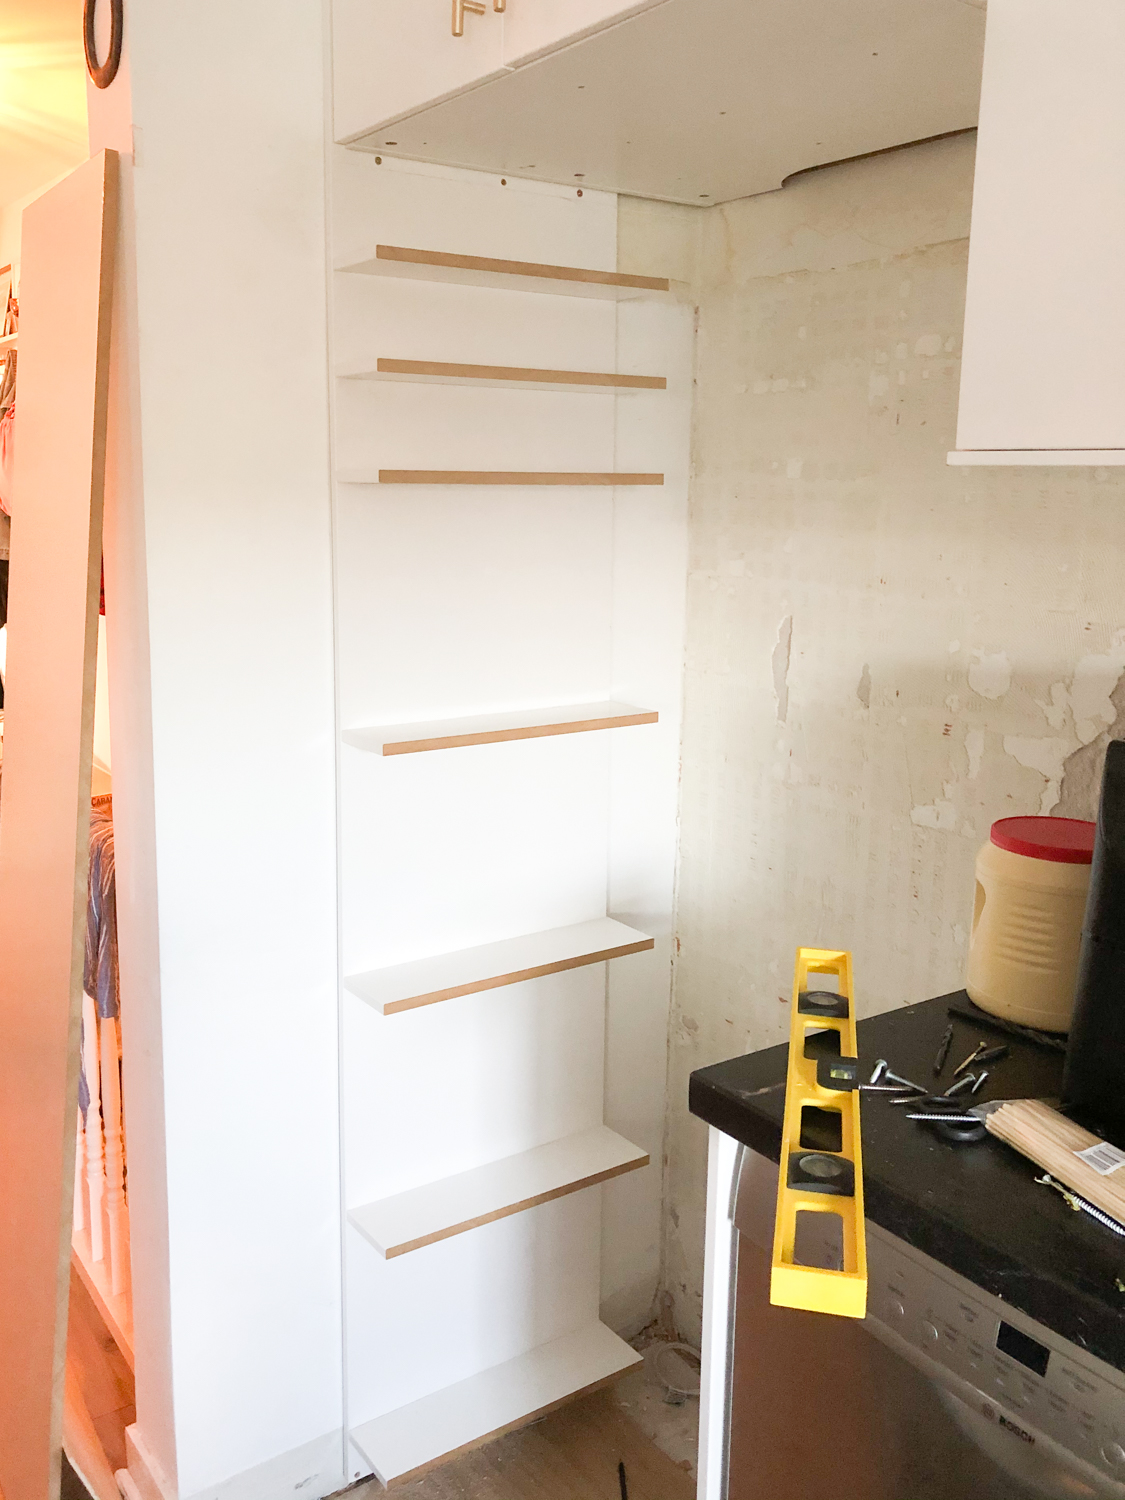
12. Attach the right piece by screwing it into each shelf starting at the top, middle and bottom.
13. Slide the fridge back into place and caulk the edge where the wood meets the wall for a finished look.
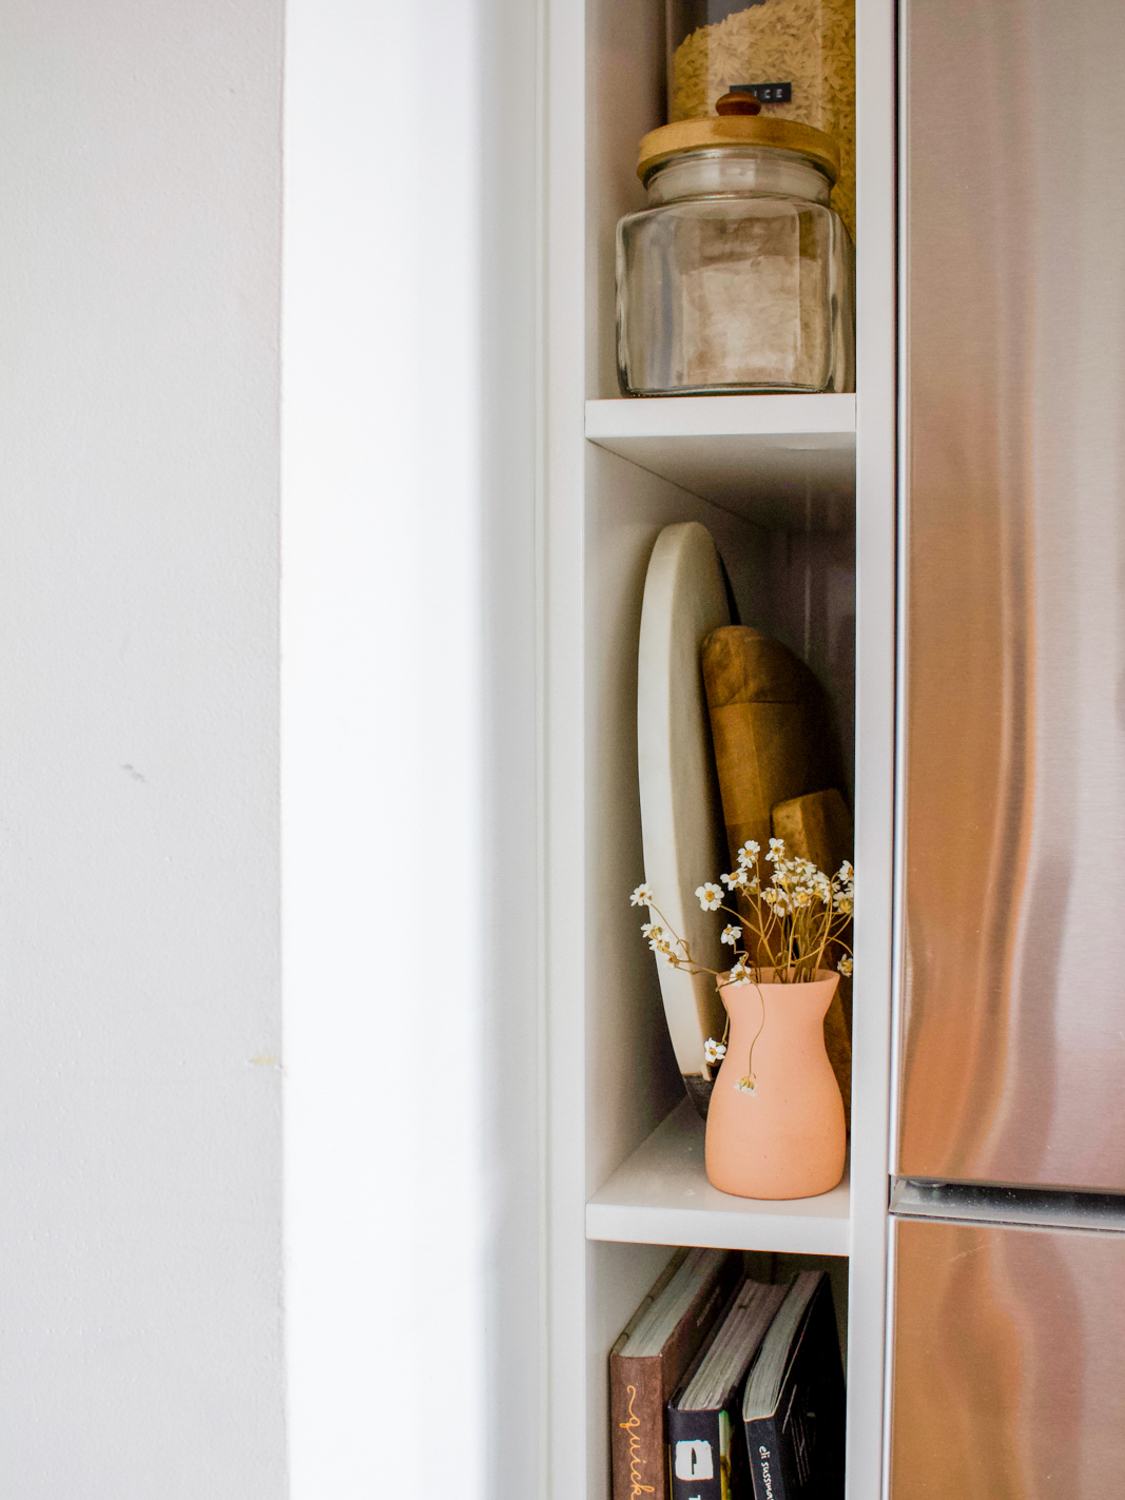
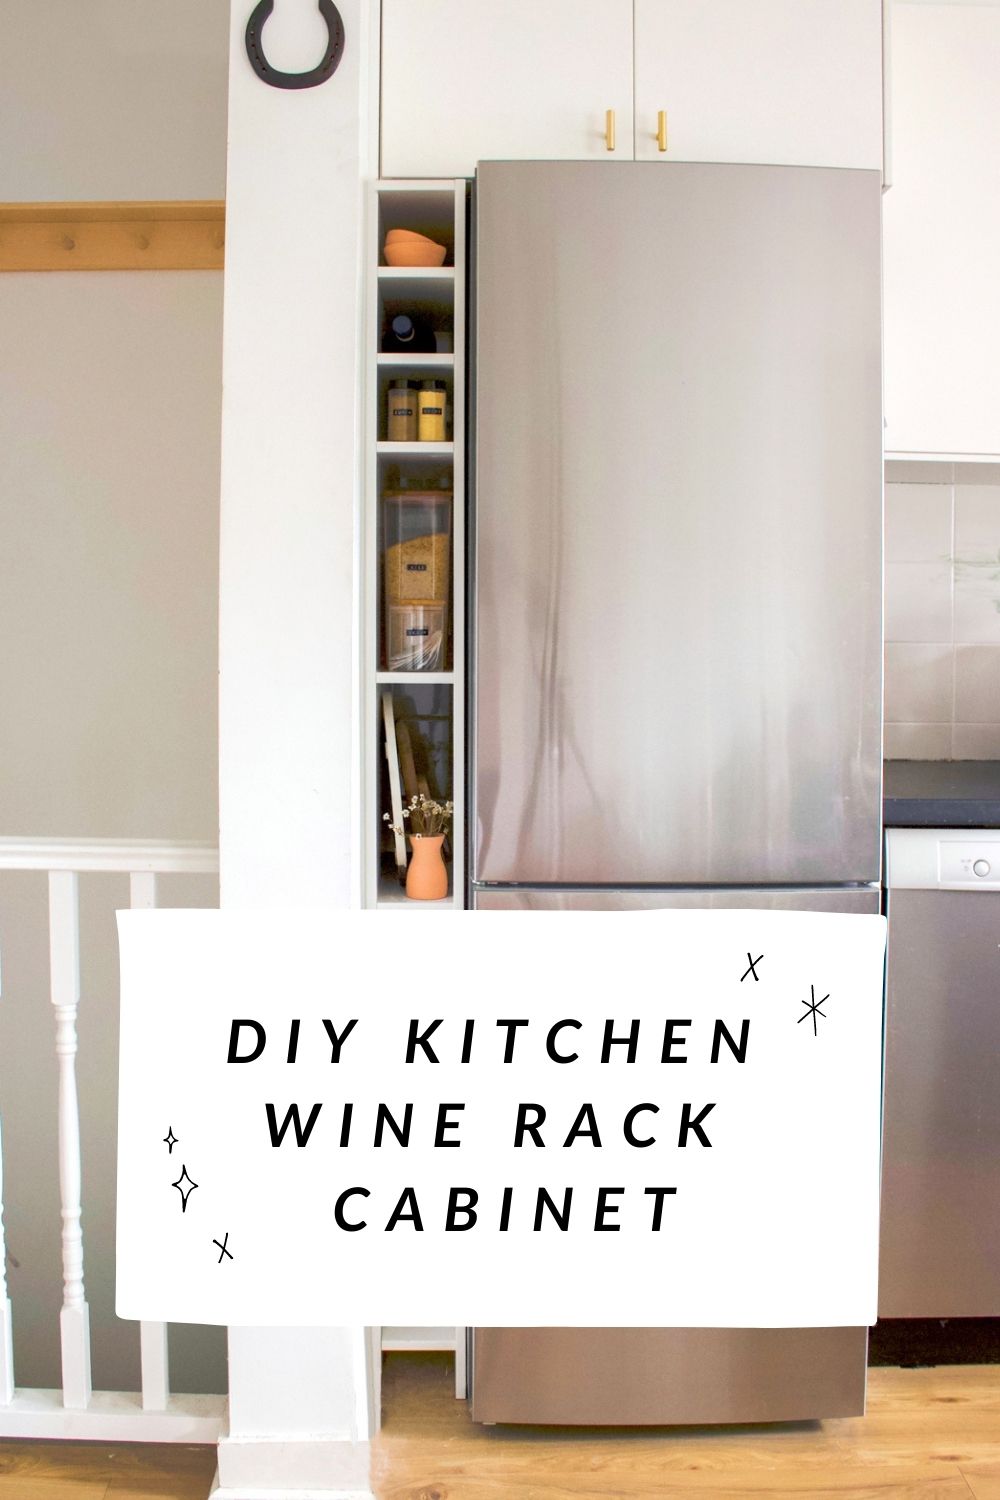
It took us one weekend to cut, build and install our shelf so this project is totally doable. It’s a great way to make your kitchen look custom built and we always get compliments from friends when they see it.
OTHER POSTS YOU MAY LIKE:
How to Build a DIY Leaning Ladder Bookshelf


