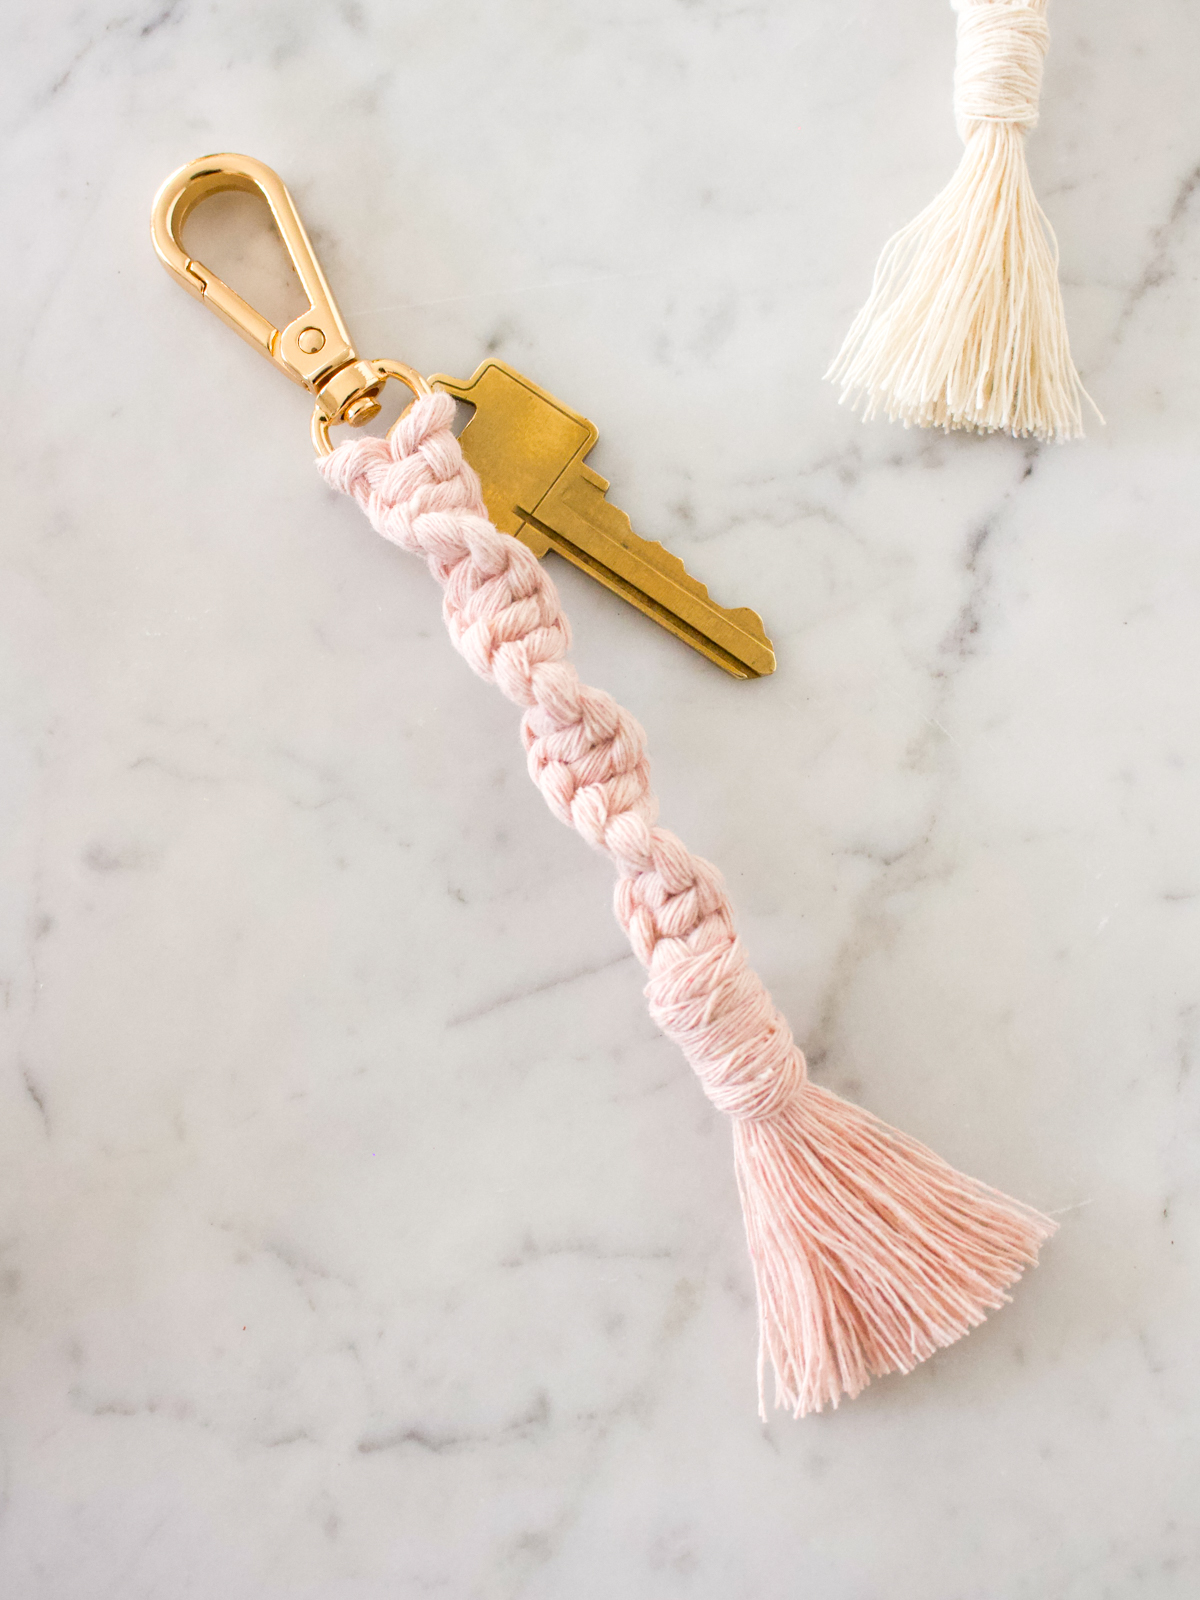
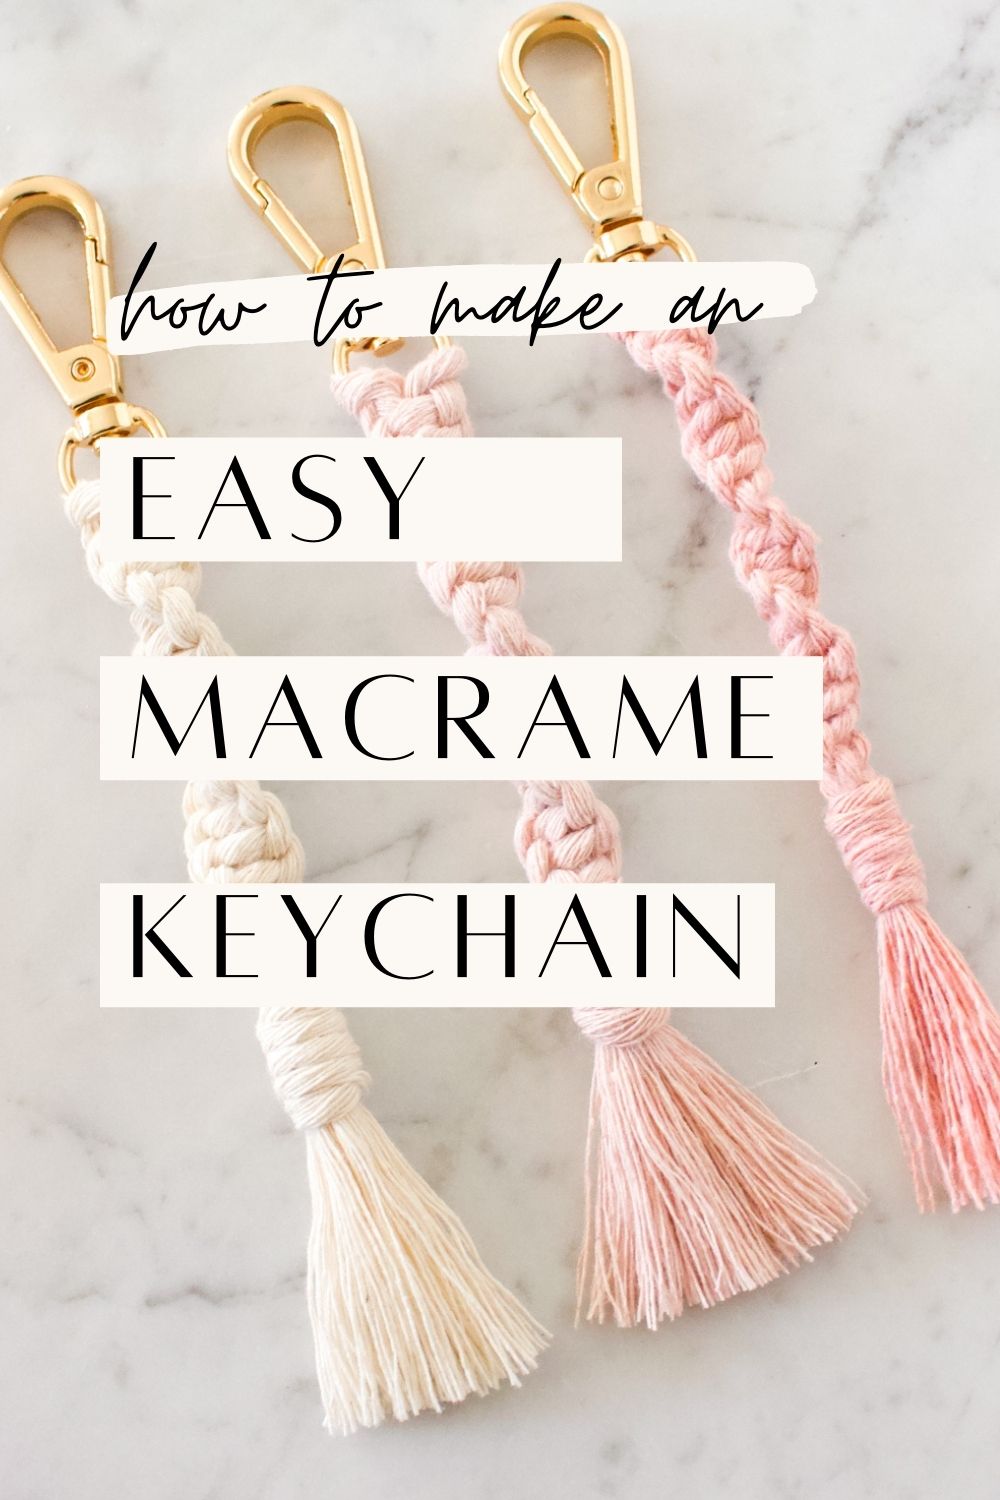
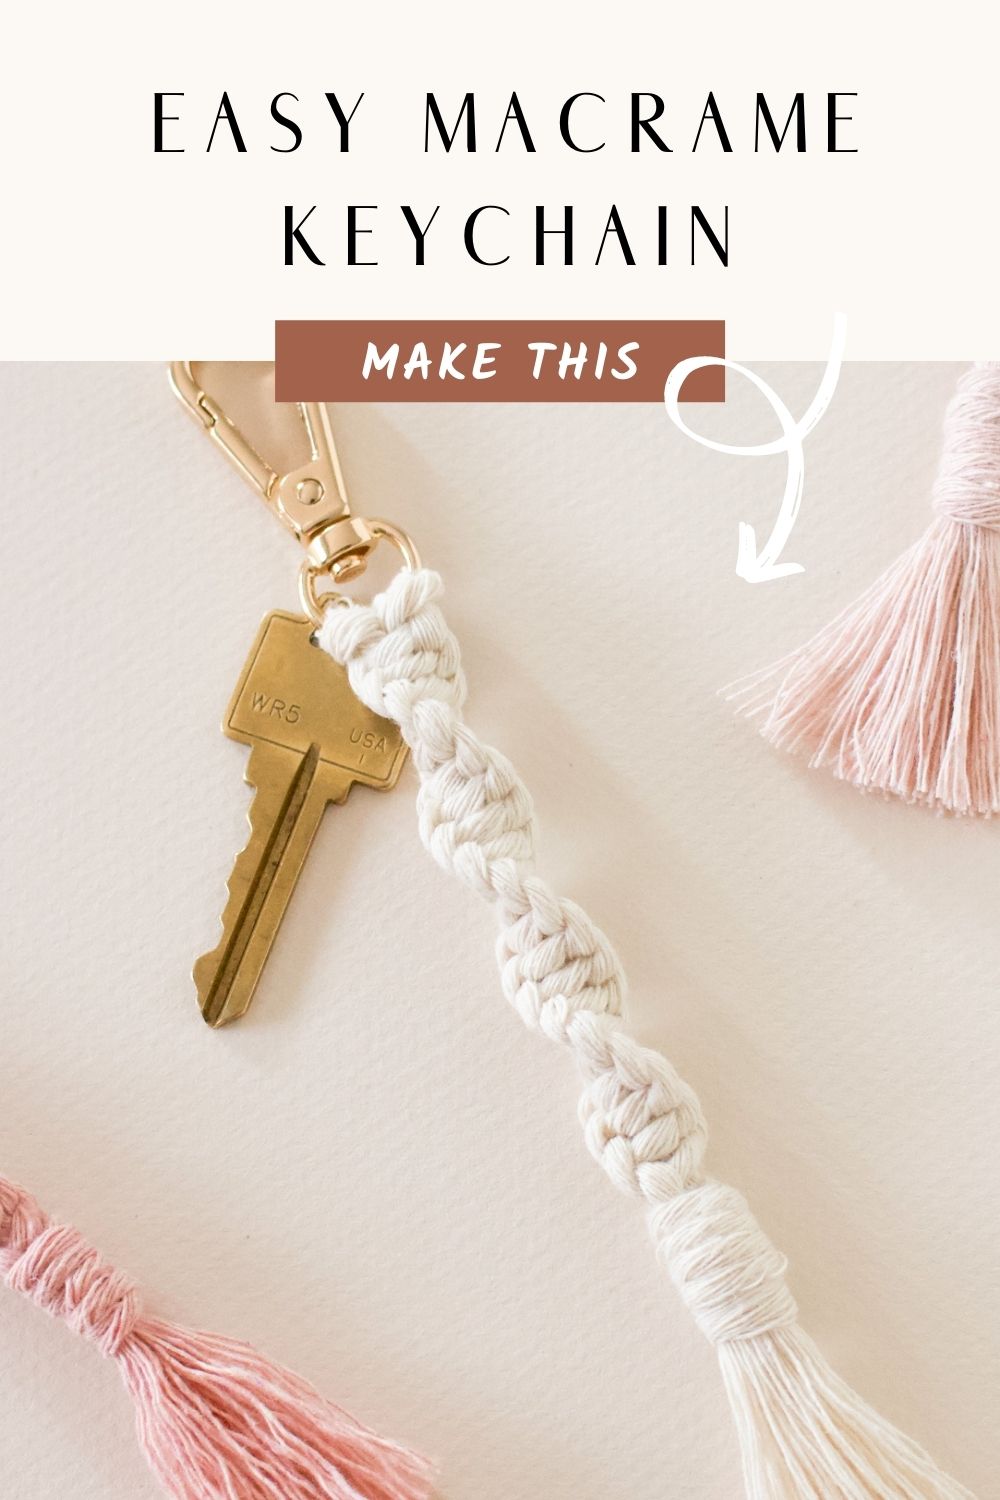
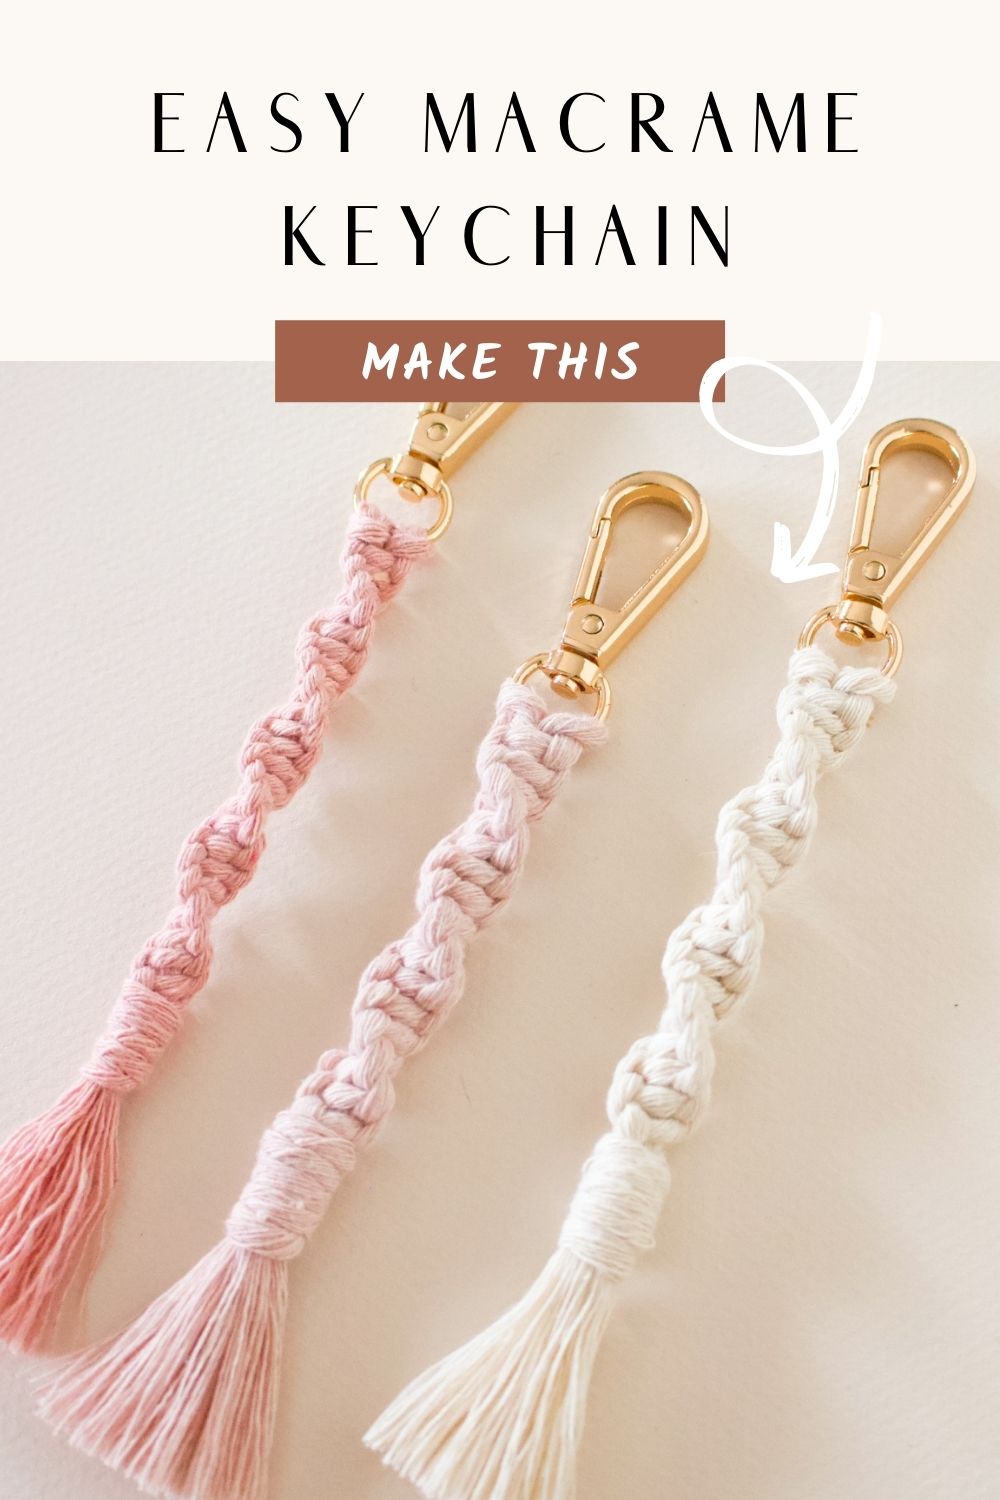
This beginner macrame keychain pattern will add a cute boho vibe to your everyday style. A step by step tutorial will show you how easy it is to make your own.

This post contains affiliate links which means I’ll receive a small commission if you purchase through my link, at no extra cost to you.
If you’re interested in learning more about macrame, this macrame keychain is a great beginner project. There are only 3 easy knots you need to learn – lark’s head knot, spiral knot and gathering knot – which I explain in more detail down below.
Macrame always looks complicated but it’s actually not. Anyone who can tie a knot, can do macrame.

This keychain takes only 10 minutes if you can believe it. It’s super cute and minimal effort!
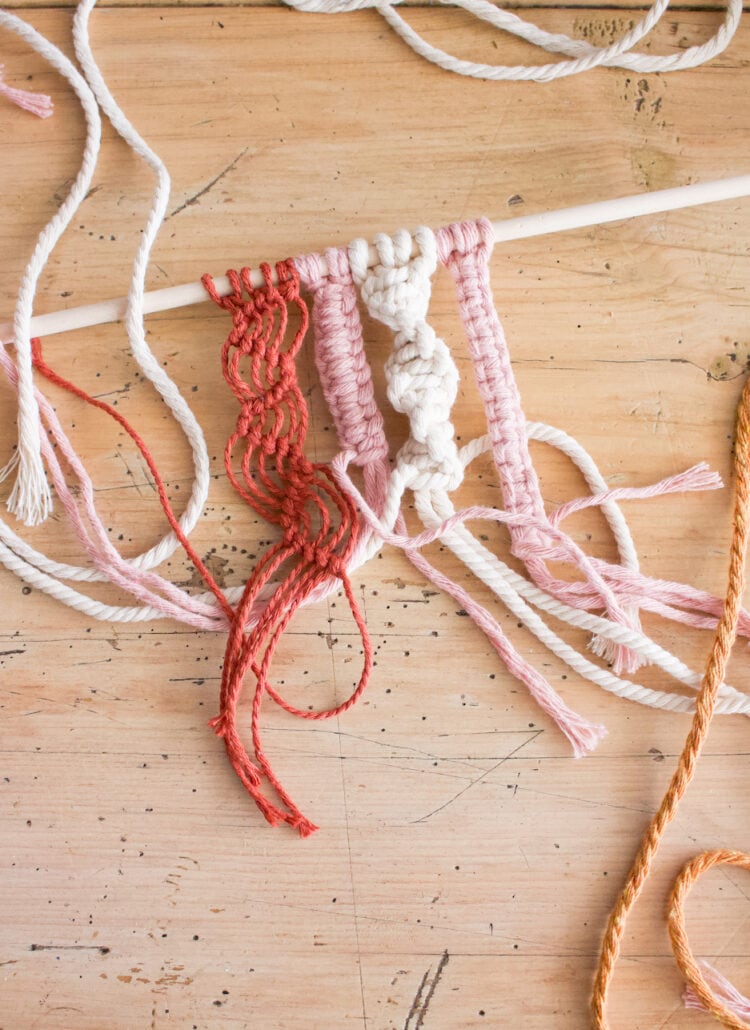
Learning the Basic Knots
The knots used in this macrame keychain are:
- lark’s head knot
- spiral knot
- gathering knot
These knots are very easy to learn and once you know them, you can follow lots of different macrame patterns. Many macrame projects use these basic knots, in different patterns to create a unique look.
How Do I Measure Macrame Cord?
To make a macrame keychain, the rule of thumb is that the cord needs to be twice as long at least.
If you are using a lark’s head knot (which involves folding one cord in half) you will need to measure four times as long.

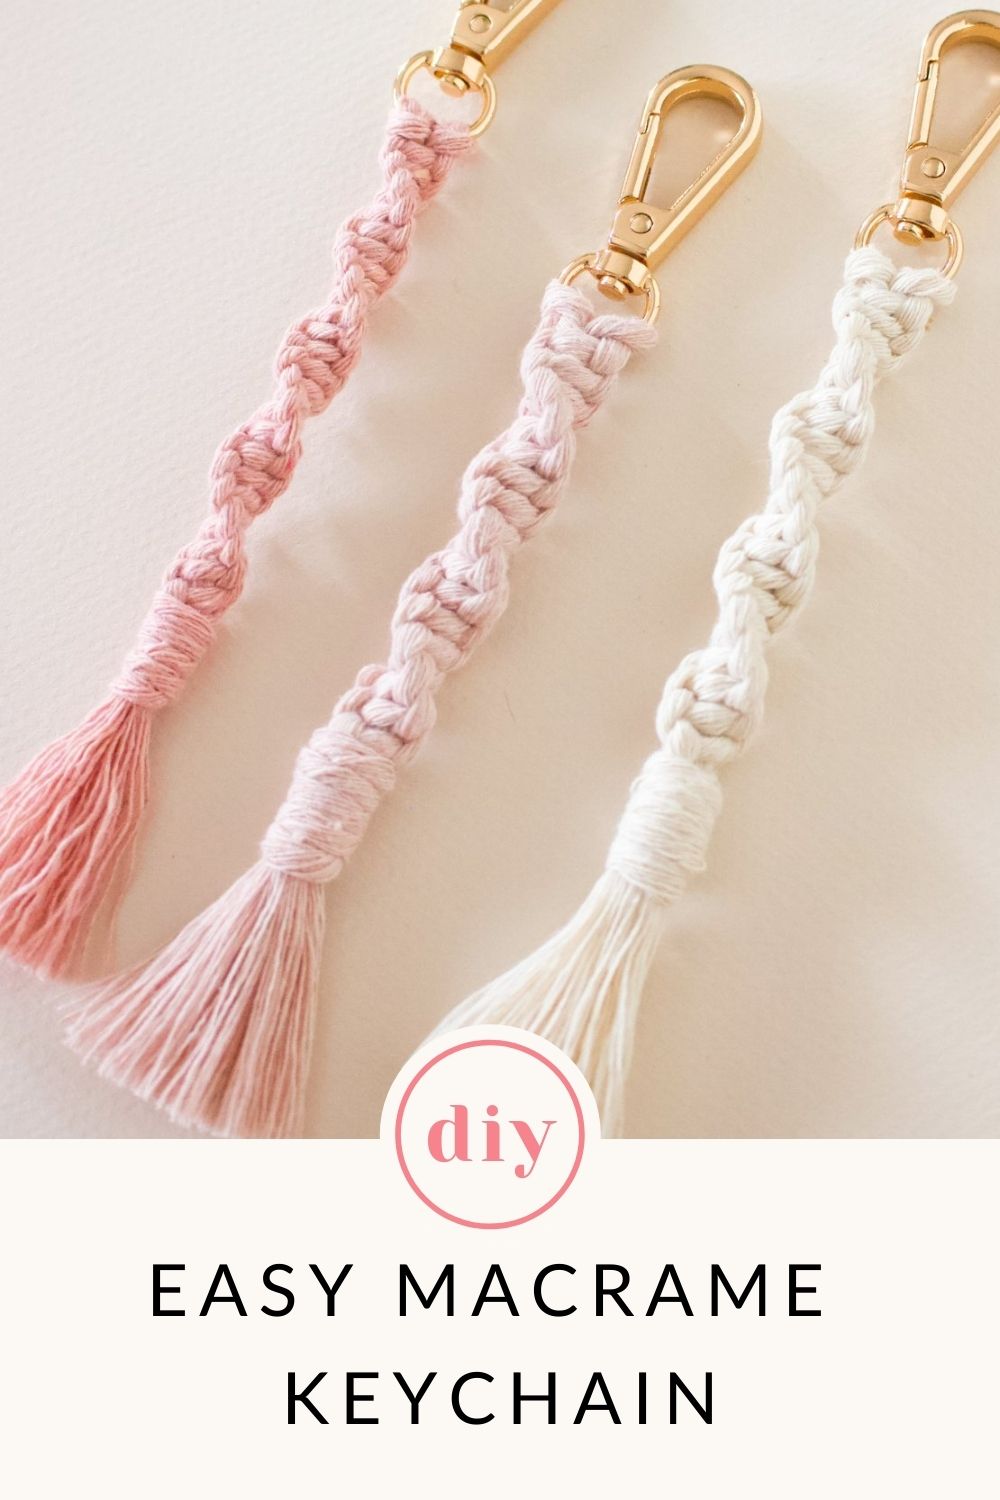
DIY Macrame Keychain
Ingredients
- 1 Keychain ring: 3/4 inch x 2 inches
- 2 Macrame cords: 31 inches long each
- 1 Macrame cord: 6 inches long, 2mm thickness
- 1 Tape measure
- 1 Sharp scissors
Instructions
- Fold one cord in half. Pull the cord so that the outside length is longer (25 inches) and the inside length is shorter (8 inches). Note: you want the outer length to be longer because it’s your working cord that you’ll use to make knots and the inner cords will be your holding cord.
- Attach it to the keychain ring with a lark’s head knot.
- Lark’s head knot: fold the cord in half and wrap the top folded end of the cord around the ring. Pull the bottom ends of the cord through the loop of the folded end. Pull to tighten.
- Repeat steps one and two for the second cord.
- Create a spiral knot.
- Spiral knot: take the outer left cord and cross it over the two middle cords making the number four shape. Then take the outer right cord and place it over the end of the left cord and under the two middle cords and loop it through the hole on the left side. Pull it tight.
- Continue with spiral knots, making sure you always start with the left cord on top.
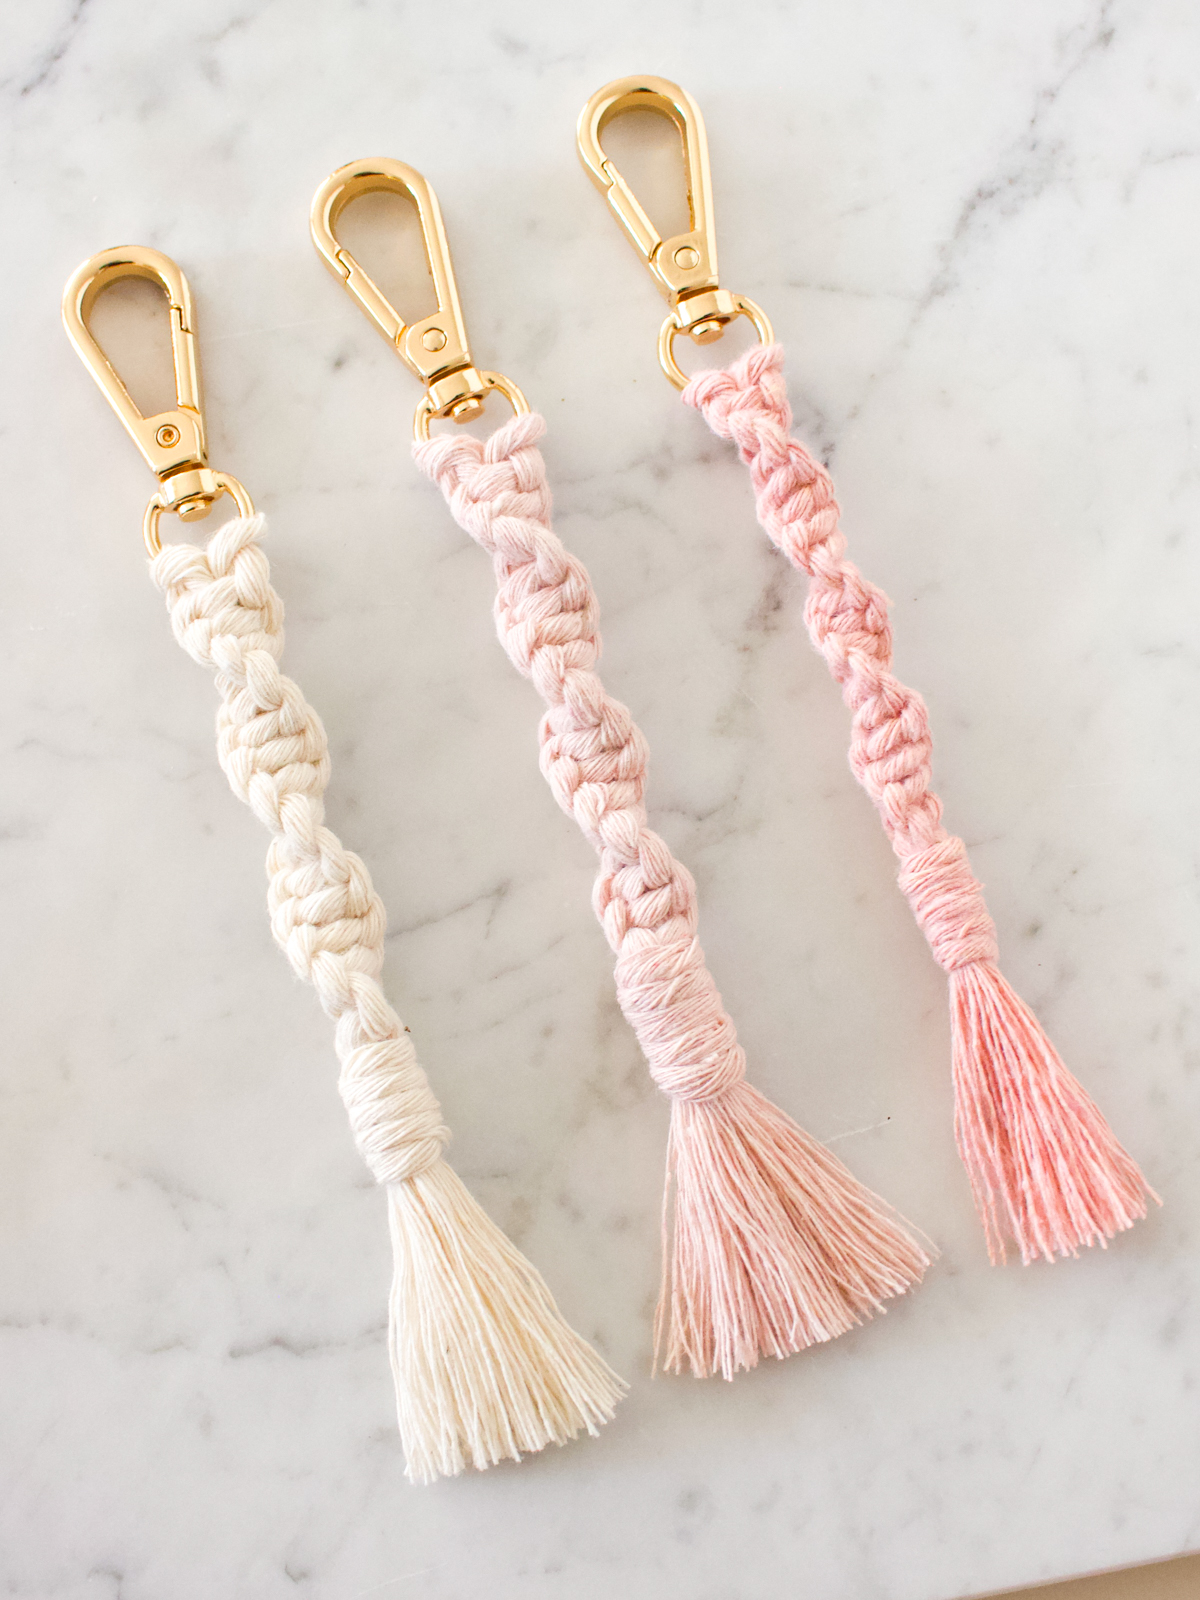
- Once it is three inches long, make a gathering knot.
- Gathering knot: take a 6 inch cord and make a U shape. Take the long end and wrap it around all of your other cords. Wrap it around five times then take the long cord and pull it through the U shape at the bottom. Pull the cord at the top until the long cord is hidden underneath. Trim both pieces.
- Use a comb to fray the ends of the keychain. Trim all the cord at the bottom so that it’s even.
Notes