 Have you ever hosted a last-minute dinner or party at your place and had to scramble for fun decor? Let’s be honest, it takes a lot of prep work to get your place party-ready and I just don’t have that kind of time. Ok, I’m a little lazy too. Don’t even get me started on finding anything to match a colour scheme. That’s where DIY circle confetti comes to the rescue!
As an adult I don’t want Disney balloons and streamers everywhere. I just want to add a classy bit of fun and flair to the cake table. That’s why confetti is so amazing because it’s low-key, colourful and has a million, trillion uses. I’m already trying to find an excuse to throw around confetti in my everyday routine.
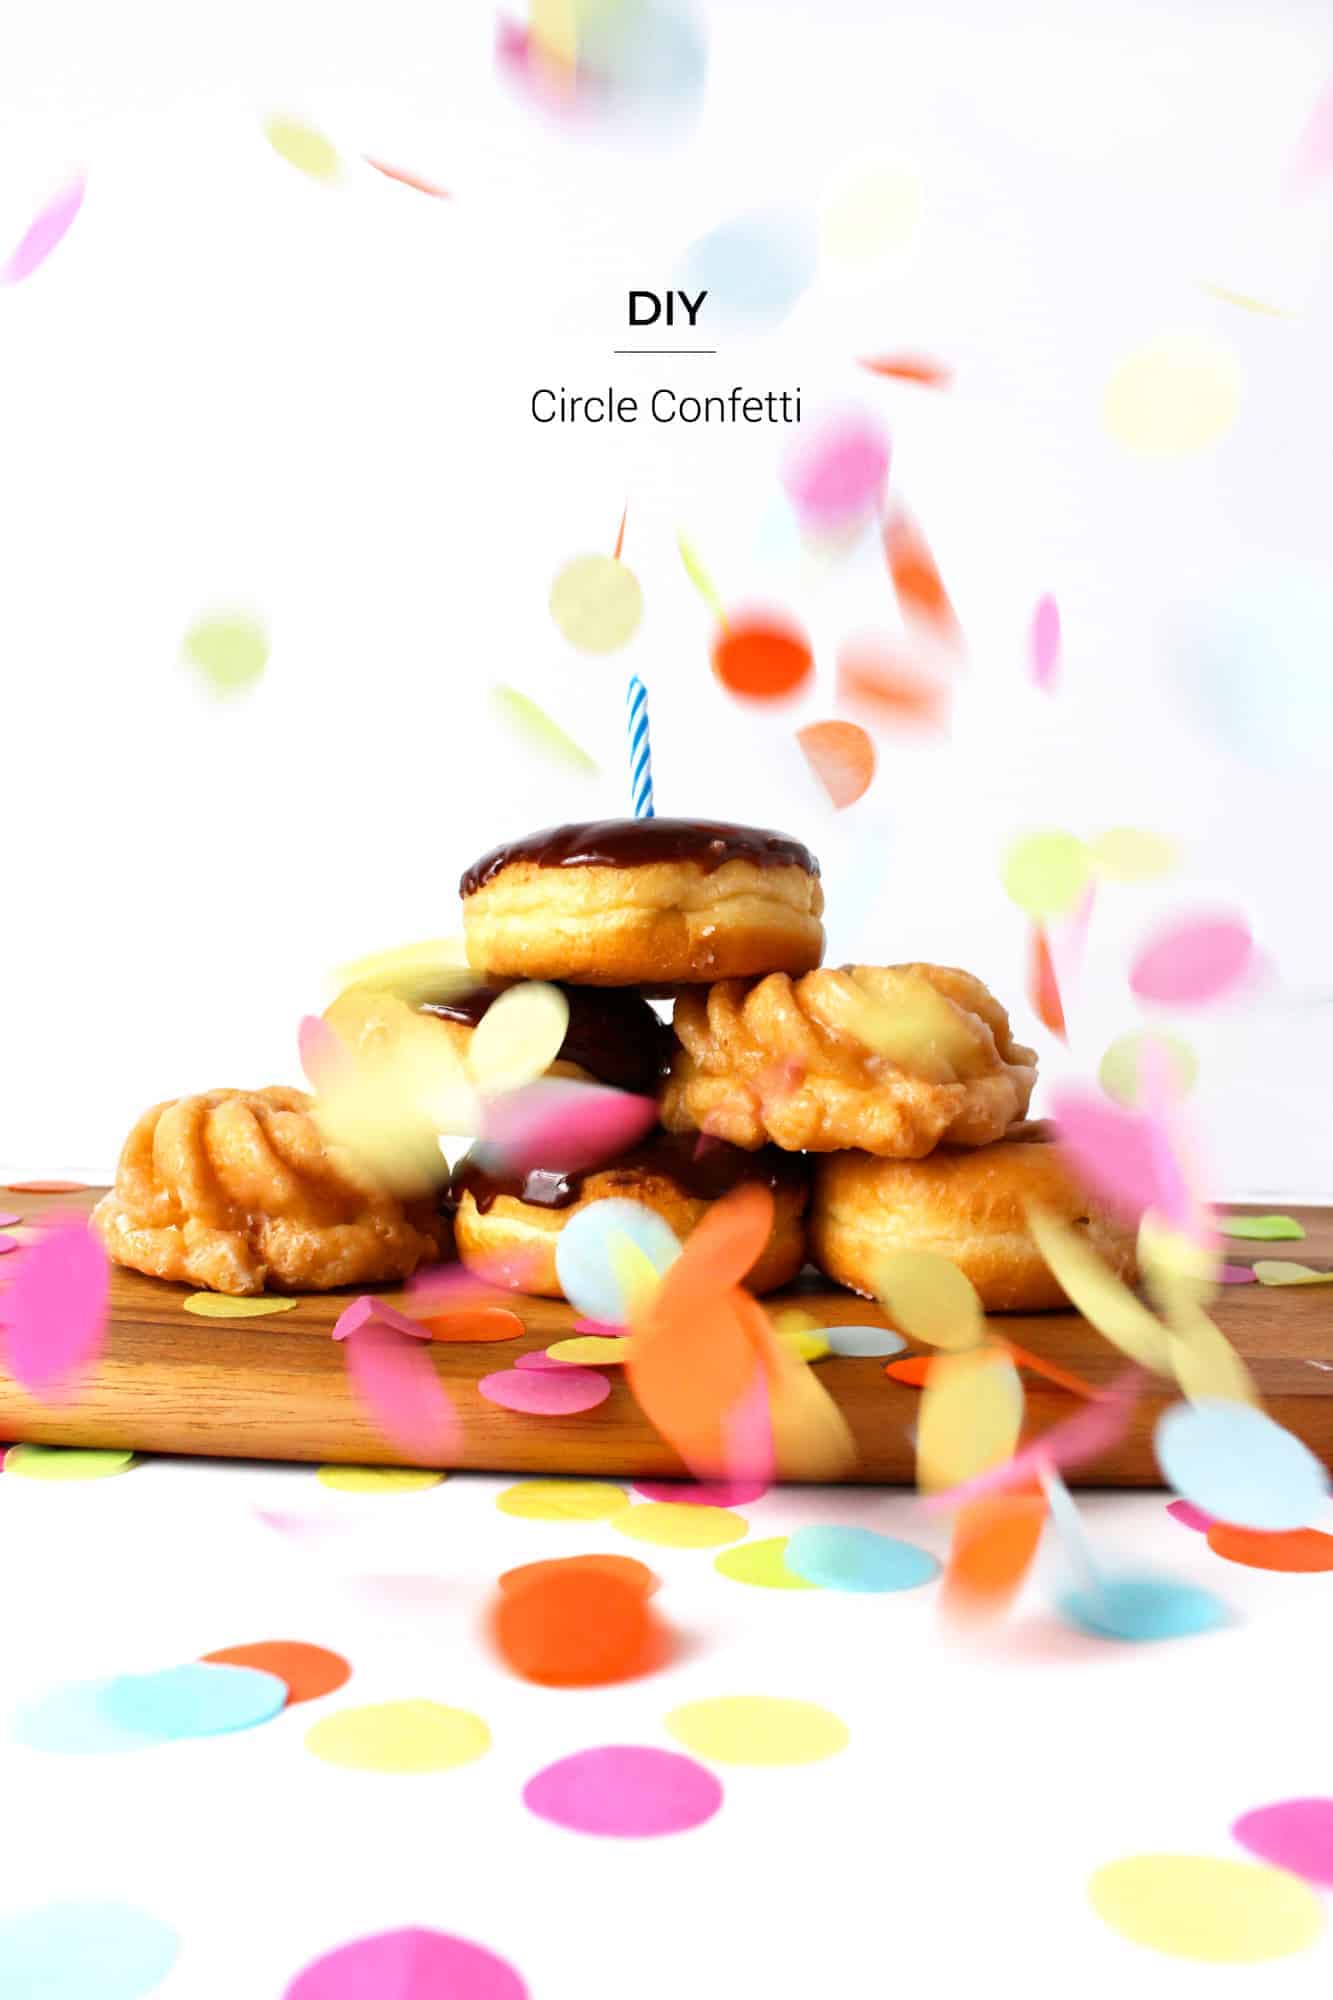
 I’m sure you can buy tissue paper confetti in stores, but this is for the last-minute hustle or a low-budget affair. With a quick run to the dollar store for tissue paper or using your old gift wrap, you can have circle confetti in any colour combination. I went with the old classic, rainbow confetti to decorate for an impromptu party. Sorry I didn’t get a real cake but I made a donut tower instead! Which was just as delicious.
This is one of those DIYs that are best to knock out while watching tv as it takes a bit of time. How long depends on how much confetti you’ll need but it took me about 15 minutes to get a small bowl of confetti just so you know.

 Materials
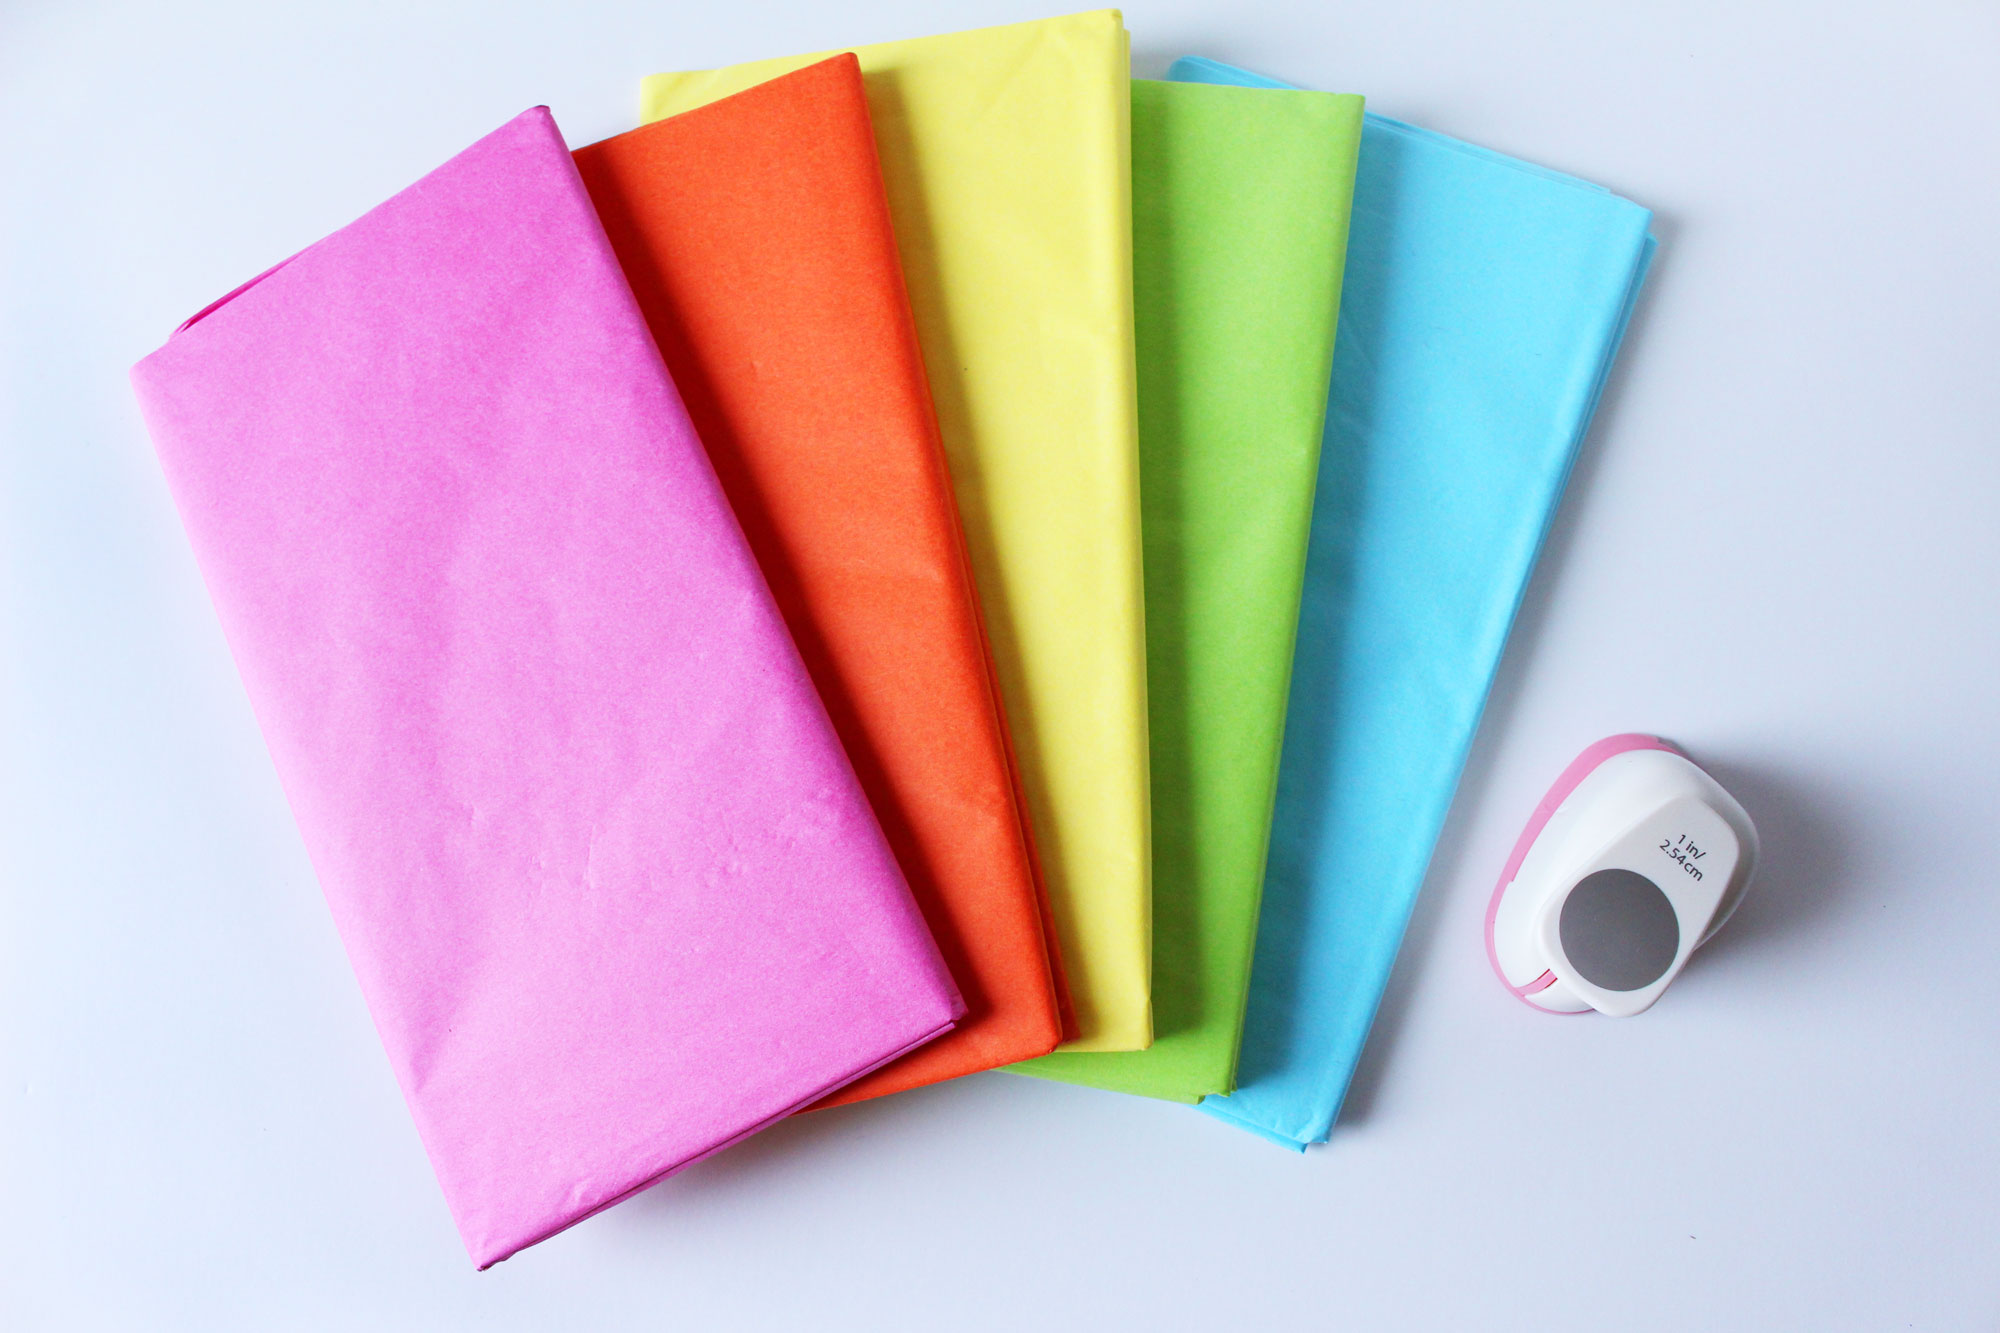
+ Tissue gift wrap
+ Sheet of regular weight paper
+ 1″ circle punch
Directions
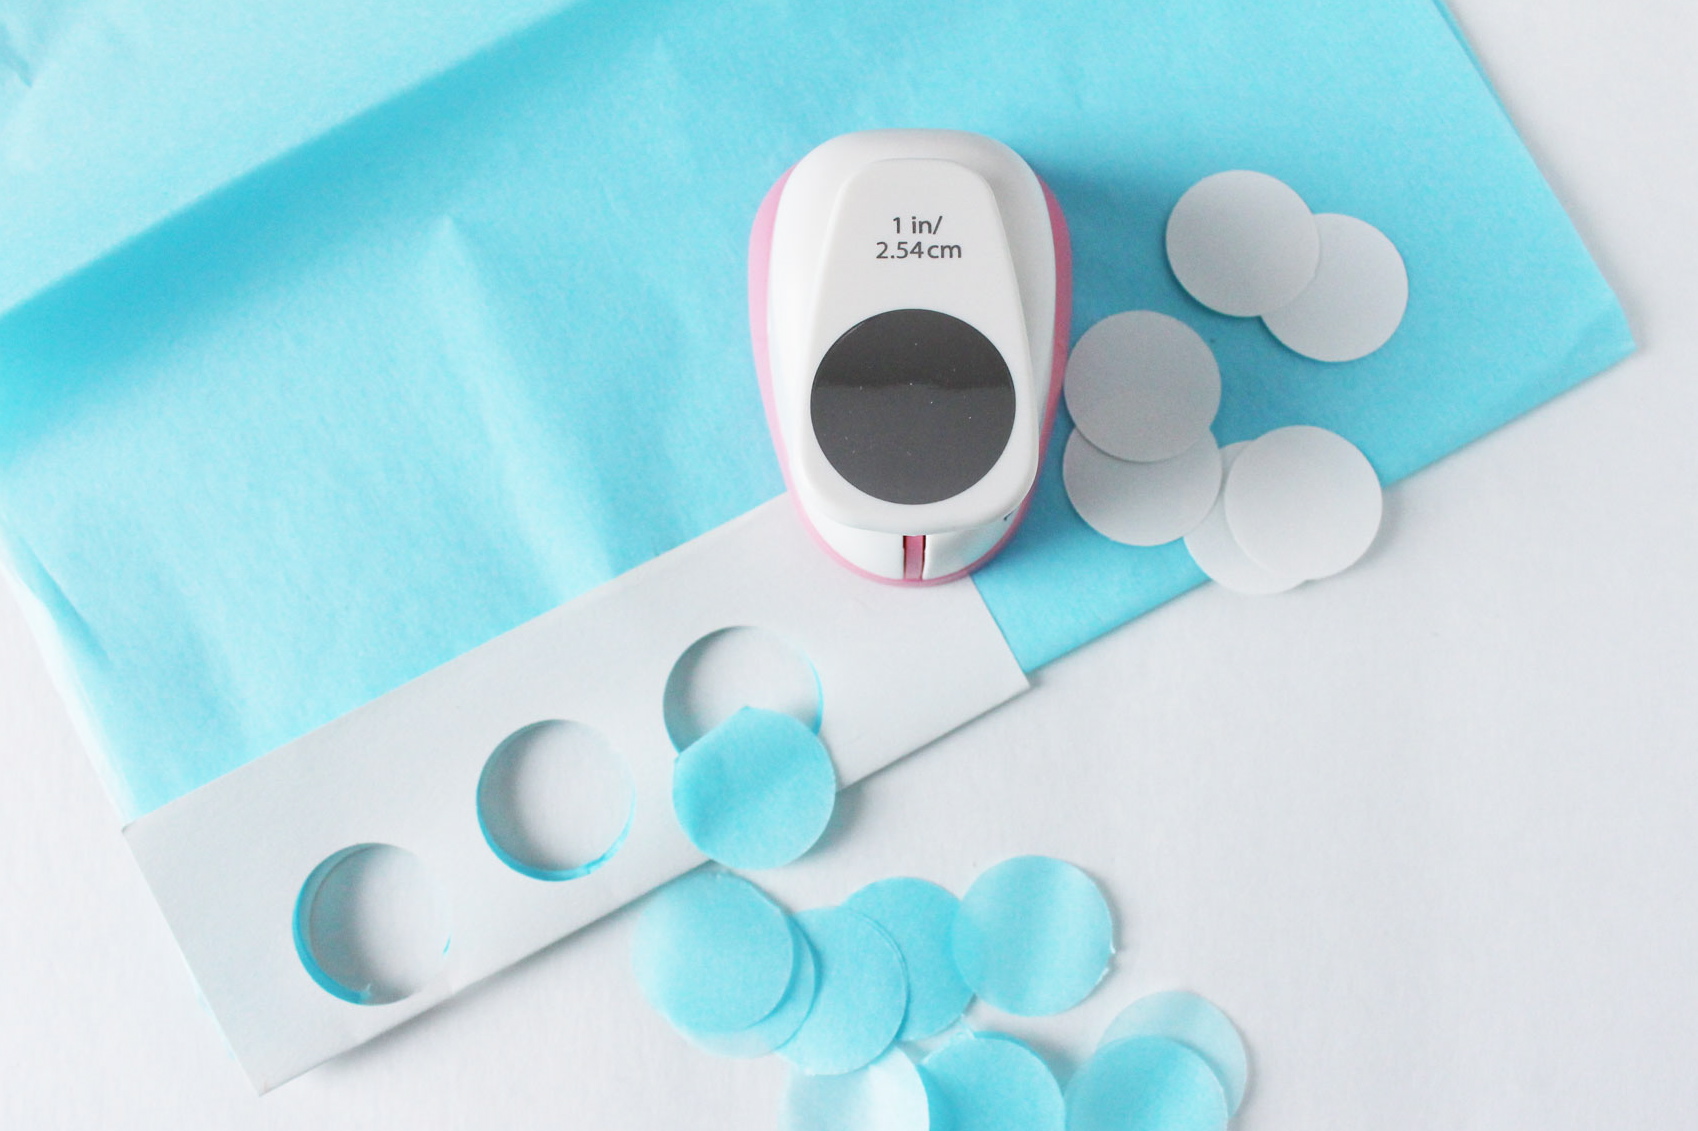
1. Layer 8 sheets or less of tissue paper together or fold one sheet into 8 layers. I tried a different number of layers but 8 layers was the most I could hole punch without jamming the circle punch.
2. Fold regular printer paper or scrap paper so that it sandwiches the tissue paper in the middle. The regular paper helps create a clean cut so that the thin tissue paper doesn’t snag in the circle punch.
Punch away! It literally is that easy but takes some time so remember to do this the night before any events. You can use all sorts of sizes like a regular hole punch but remember to sandwich the tissue paper in regular paper. Now you can have confetti in all sorts of wacky colour combinations which is great for themed parties or even photoshoots.