 I love the look of cyanotypes, a photo printing process which creates beautiful cyan-blue prints. I remember, in high school experimenting with cyanotypes by gathering foliage, arranging it on a light sensitive paper and exposing it to the sunshine. The end result was always so pretty, delicate and ethereal.
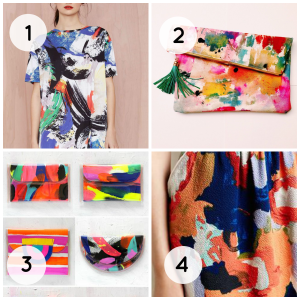
It’s barely spring right now in Canada so without flowers or sunshine, I experimented with recreating the look of cyanotypes using only common household items. Instead of using paper, I wanted to make a bold piece to hang above our bed and used this wall hanging DIY as inspiration.
Materials:
+ Dropcloth
+ Fabric dye, blue
+ Bleach
+ Paintbrushes
+ Wooden rod or dowel
+ String
 Directions:
1. Cut the dropcloth to size, leaving an extra few inches for a sleeve to slide the wooden rod in later.
2. Dye fabric according to the package instructions. I used iDye for Natural Fabrics in Navy.
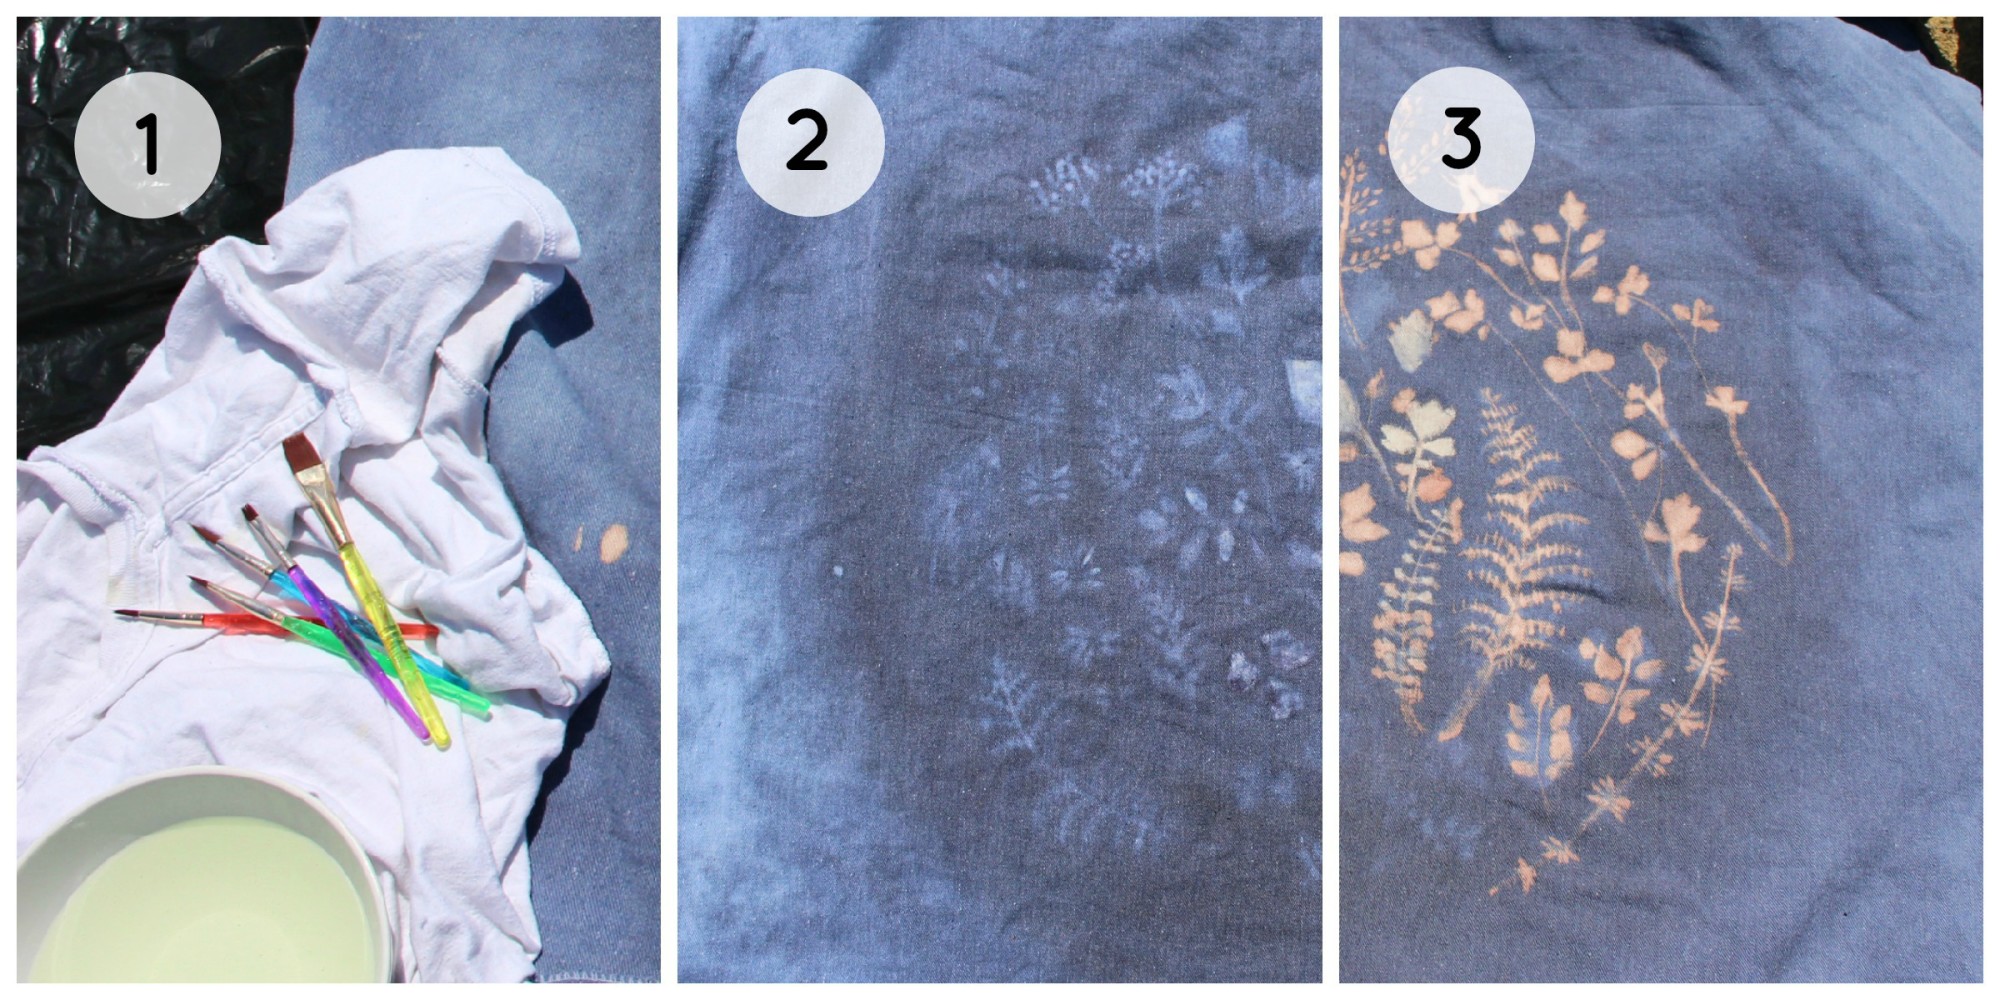
3. On the back of the fabric, sketch out your design in chalk.
4. In a well-ventilated area, lay out the wall hanging on top of a plastic sheet to prevent bleach leaking on your surface. Wear protective gear like gloves, a mask and glasses.
5. Paint your chalk design with a diluted bleach solution. I used a 50/50 ratio of water and bleach. By painting on the back side, the bleach soaks through to the front creating a softer effect with variations in shade, true to cyanotypes.
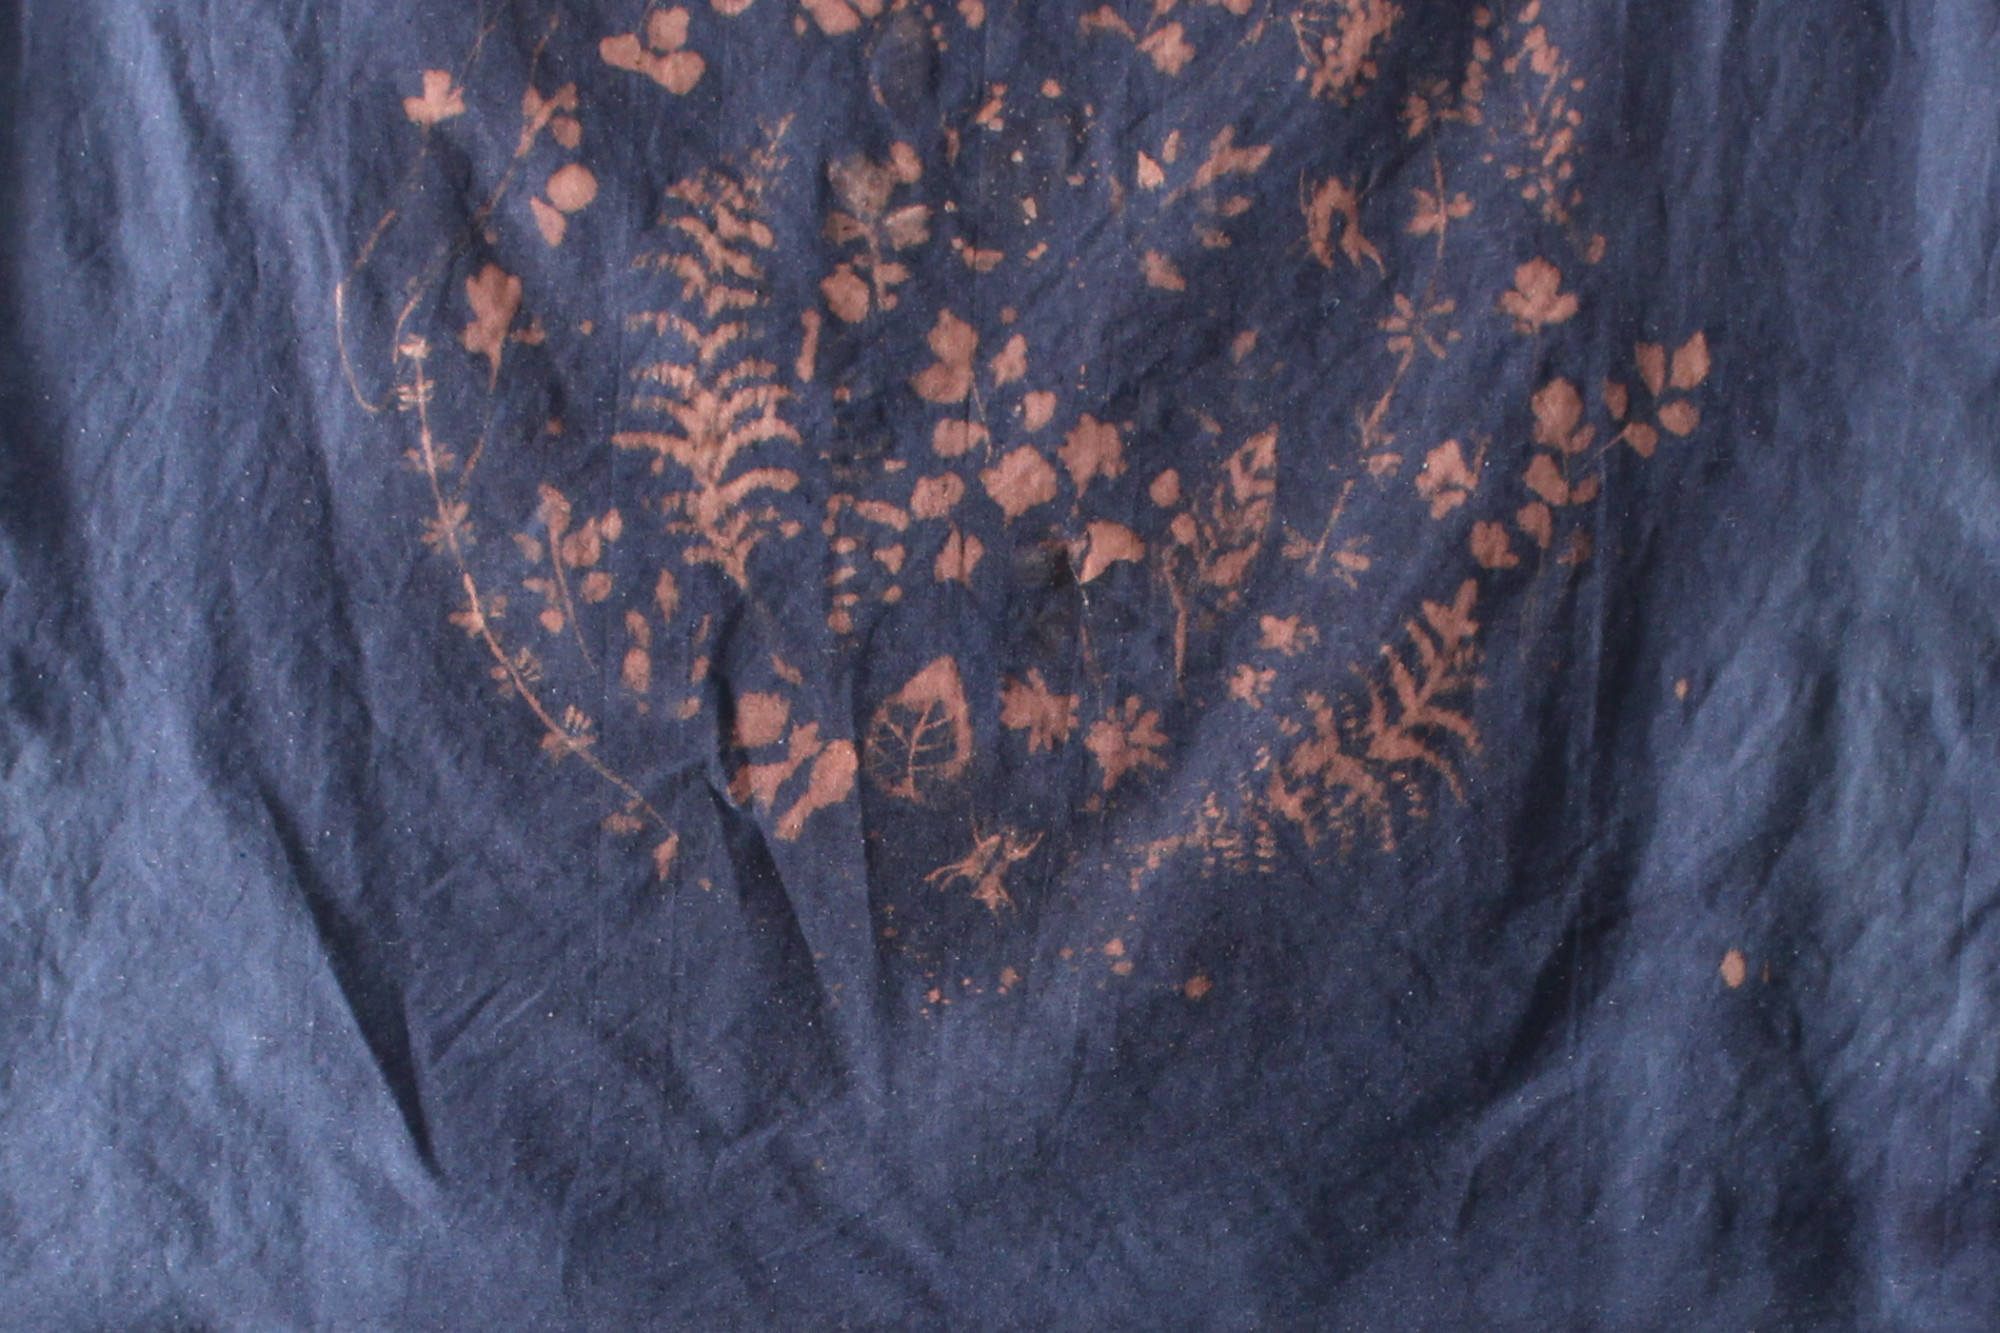
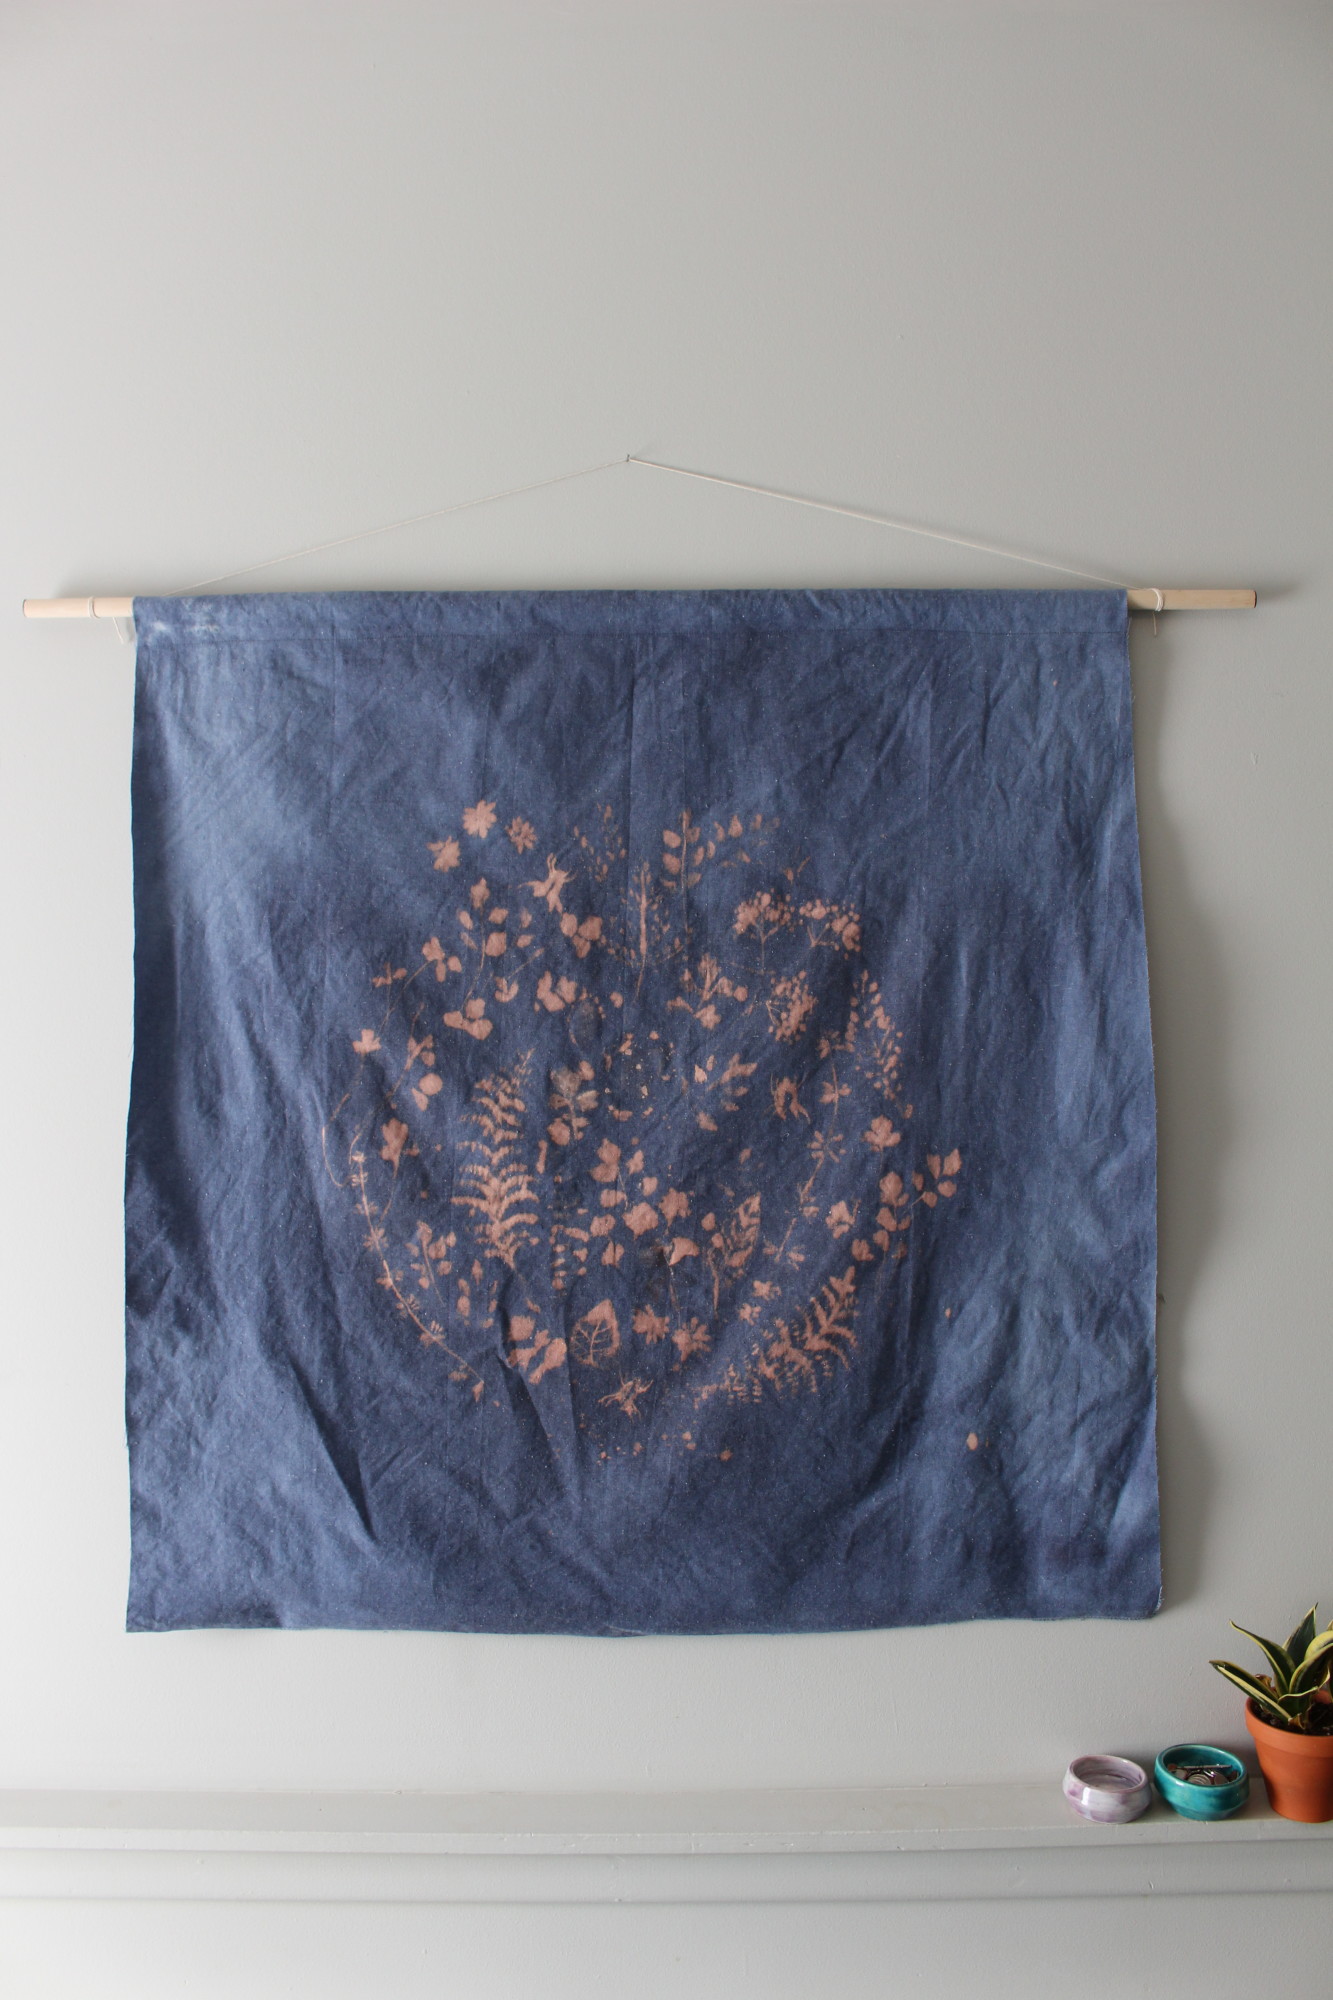
6. Once completed, wash the wall hanging to stop the bleach process. Depending on fabric type, bleach can lighten fabric from reddish to white. My fabric stopped at a peach shade.
7. Make a 2″ sleeve by measuring and folding the top 2.5″ inches of fabric and sewing straight across. Insert rod, attach rope and hang!
I want to mention this DIY went through so many mishaps before the finished product – including using a resist paint to outline the design which washed out in the dyeing process, using too much dye and staining my hands blue in the process. DIY fails are so common and a bit discouraging but I’m so glad I stuck with it. The end result is a perfect addition to our home, just in time for spring.
 Creativity is allowing yourself to make mistakes. Art is knowing which ones to keep. – Scott Adams