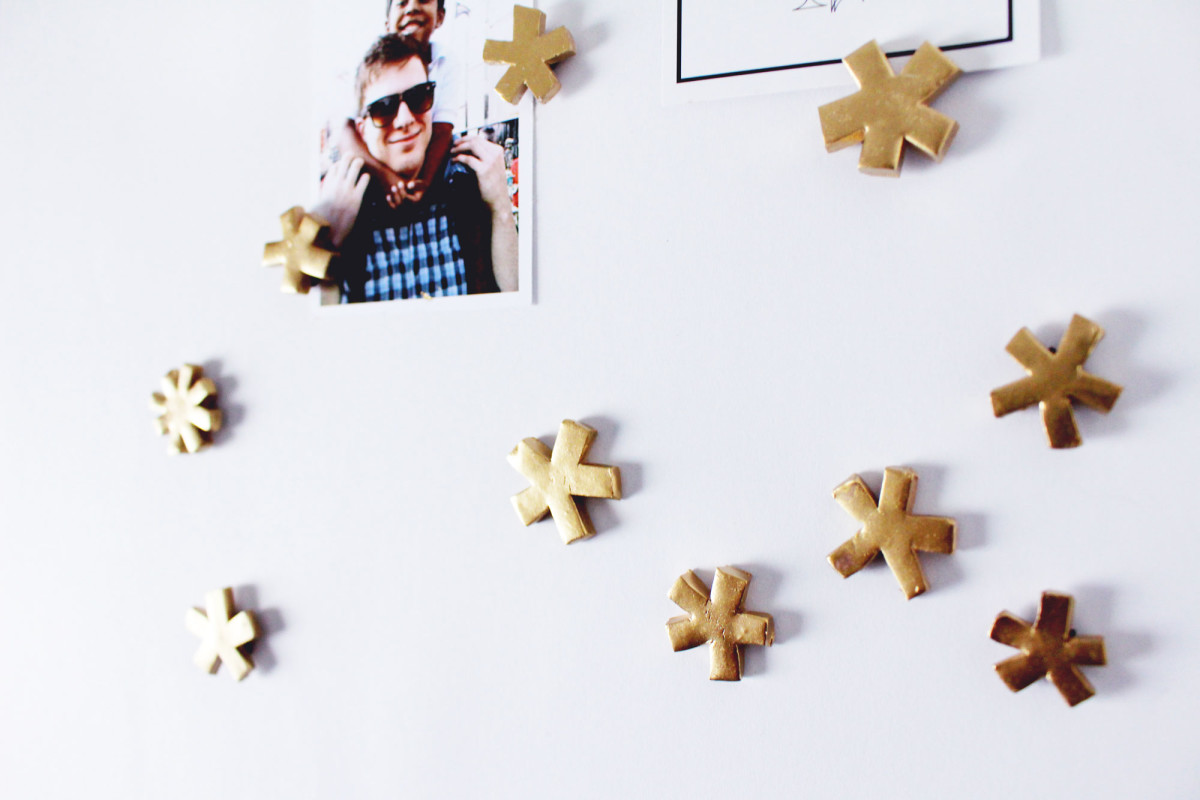
 Well it had to happen at some point: the holidays are here! Yay! For my first holiday project of the season I’m taking it slow with a simple DIY to bring some festivity to your home. Todays project is all about adding some glam to your ol’ fridge with DIY festive gold fridge magnets!
First things first, I’ve let a bit too much time pass since my last post and I missed it here! Fish & Bull is growing everyday and I’m trying to keep up which no one tells you is a bit like juggling. But the good news is that I have exciting projects coming up and I can’t wait to share it with you, my readers!
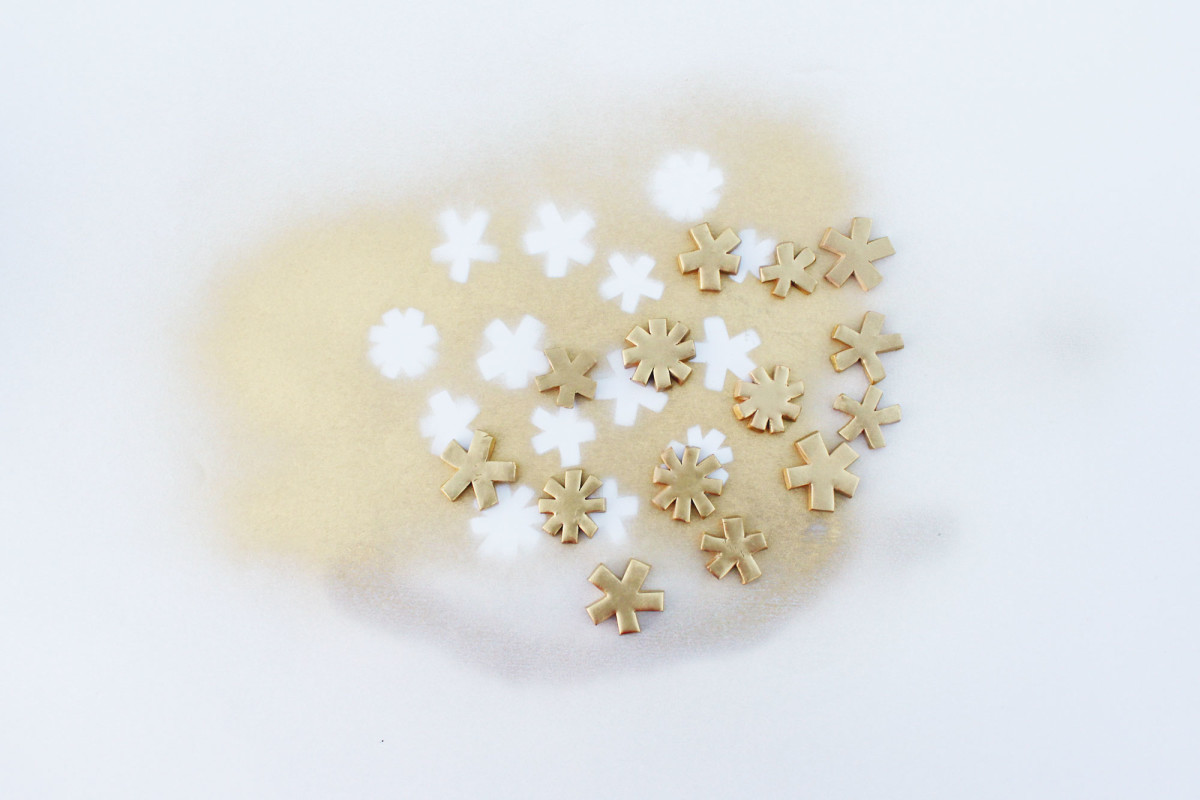 Anyway, I’ve been meaning to make fridge magnets for a loooong time but somehow it kept getting bumped down the to-do list….until now! The holidays are seriously one of my favorite times to tackle projects because I’m in nesting mode – I know I’ll be hibernating for the winter and entertaining friends for the holidays. Both good motivators to get stuff done so you don’t look like a slob. Like when guests come over during the holidays, I don’t want them to judge me for my weird mismatched magnet collection. I’m kidding about that but little details like that actually do bother me hah.
I love metallic color schemes during the winter and I thought the asterisk was a fun nod to star shapes and snowflakes while still being graphic and eye-catching. With a little oven-bake clay and gold spray paint I have a new matching set of magnets that I can proudly display on my fridge. Here’s how you can make your own.
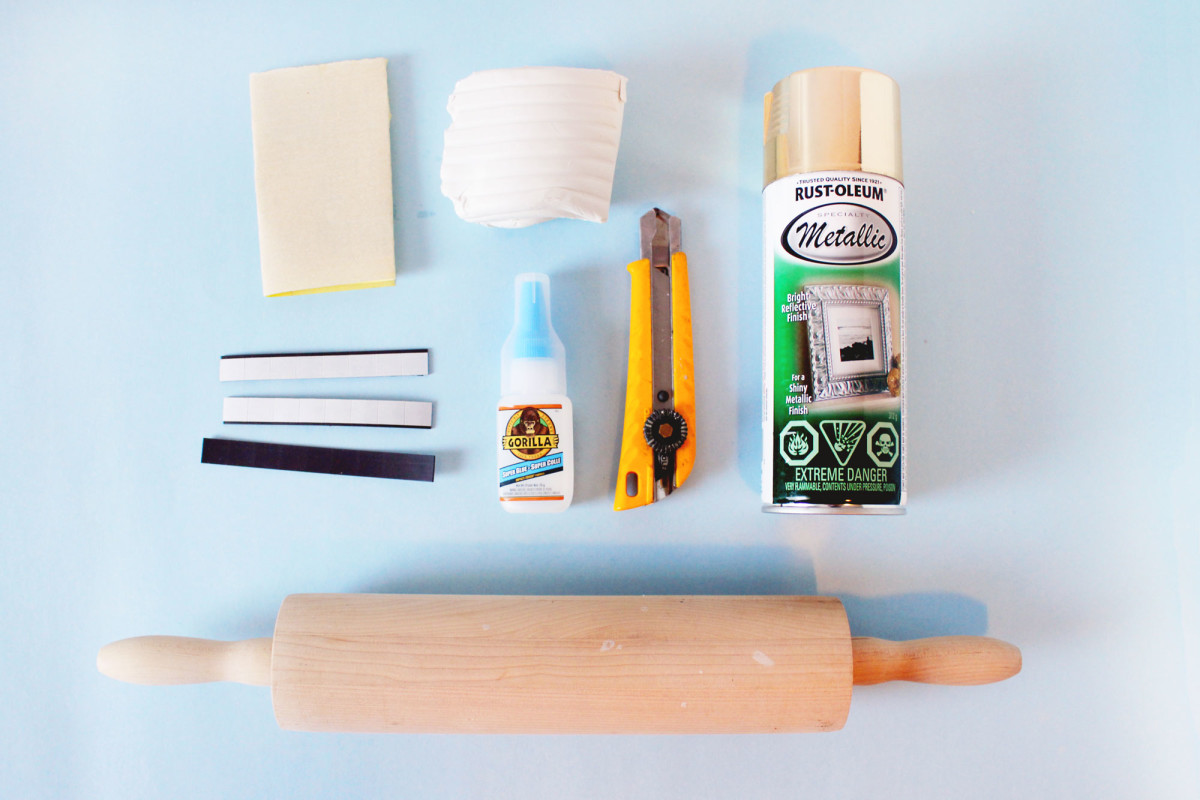
+ Oven Bake Clay
+ X-acto knife
+ Baking sheet and tray
+ Sandpaper (optional)
+ Gold spray Paint
+ Magnet strips
+ Super glue
Directions:
1. Use a rolling pin to roll out a ball of clay into a flat sheet about 1/4″ thick.
2. Cut out an asterisk shape with the x-acto knife.
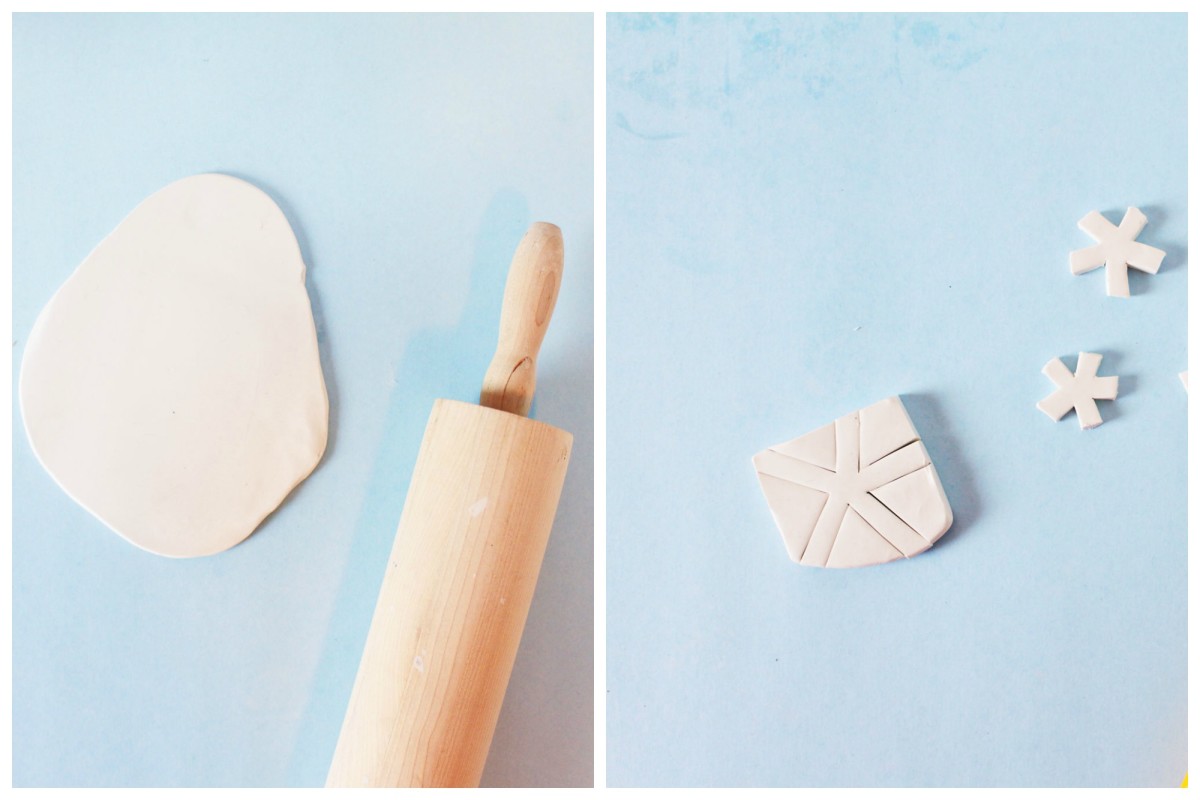 3. Bake the clay according to the package instructions. Once baked, remove the clay from the oven and let it cool for a few minutes.
4. Optional: Sand any rough edges or bumpy surfaces with sandpaper.
5. In a well ventilated area, spray paint your clay in gold. I sprayed them three times in thin layers for a nice even coat.
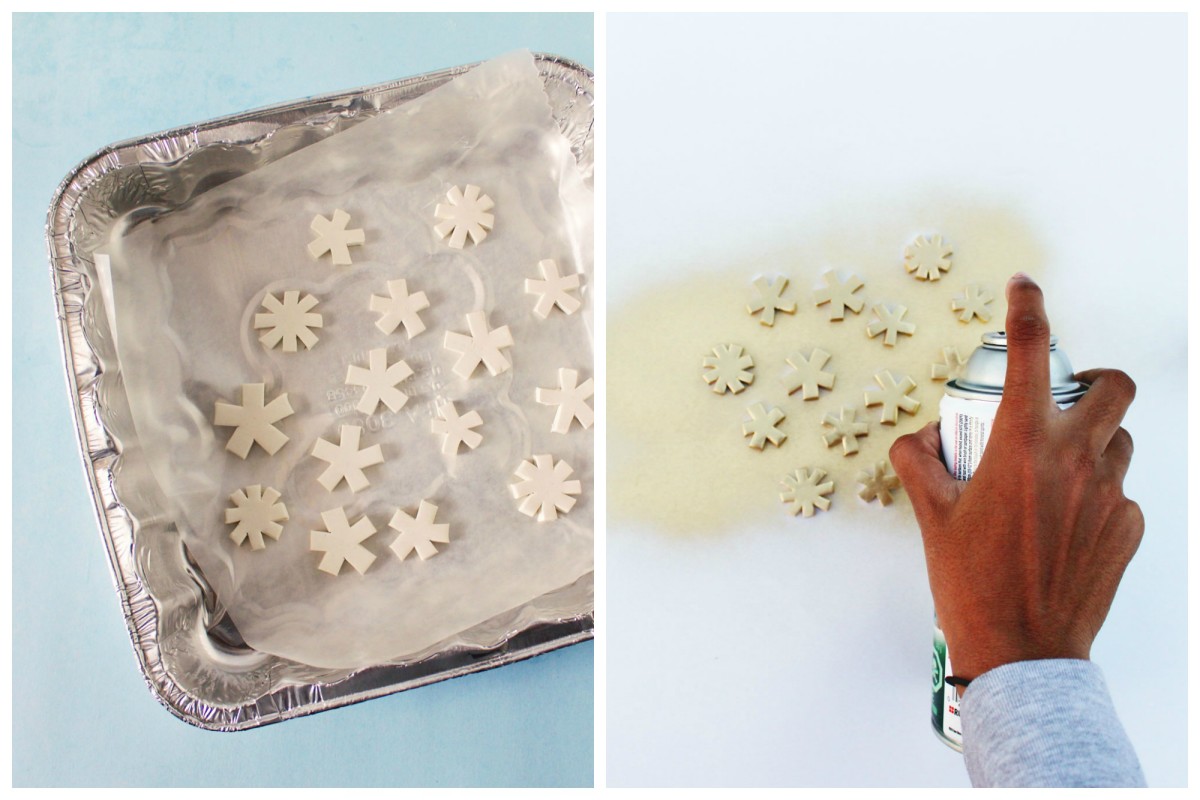 5. Once dry, add a tiny drop of super glue to the back center of the clay.
6. If your magnet has an adhesive side, remove the sticker sheet and attach the adhesive side to the magnet, pressing down to squish the glue. If needed, trim the magnet to a small square to make it invisible from the front.




Anusha, these magnets are lovely and they are gold so makes them even more special!
Thanks for sharing:)
Thanks Marwa, gotta love the gold spray paint!